1. Introduction
The CodeX Insurance Advisor (CIA) is a World Wide Web (WWW) application that provides its users with automated analysis of insurance policies.
(1) One feature of the system is claims analysis. The system is able to determine whether or not specific insurance policies cover specific claims.
(2) A more advanced feature of CIA is portfolio analysis. The system can compare policies to each other in general and provide an analysis of overlaps and gaps, thereby allowing its users to configure insurance portfolios that provide desirable coverage with minimal redundancy.
This document is a brief tour of CIA for new users. It shows how to get started and introduces the system's insurance dashboard. It shows how to enter and manage information about people and policies and claims. It then shows how to analyze claims.
2. Getting Started
Since CIA is a WWW-based service, we start by loading a suitable browser. (Sierra runs in Safari, Chrome, Firefox, and other browsers. In our examples here, we use Safari, though the appearance and interaction are virtually the same in all major browsers.) Once our browser is started, we access CIA by going to the following URL.
http://insurance.stanford.edu
This takes us to CIA's home page. At this point, we have two choices - we can create and use a CIA account or we can use the system anonymously. If we create and use an account, our data is stored on the CIA server and can be accessed at any time, in any browser, on any computer with an Internet connection. If we use the system anonymously, the data we enter is stored only in our browser and nothing is stored on the server. While this assures us of privacy, the downside is that we can access our data only within the browser we used to enter that data, and we will have to re-enter that data if we access the system from another browser or the same browser on another computer.
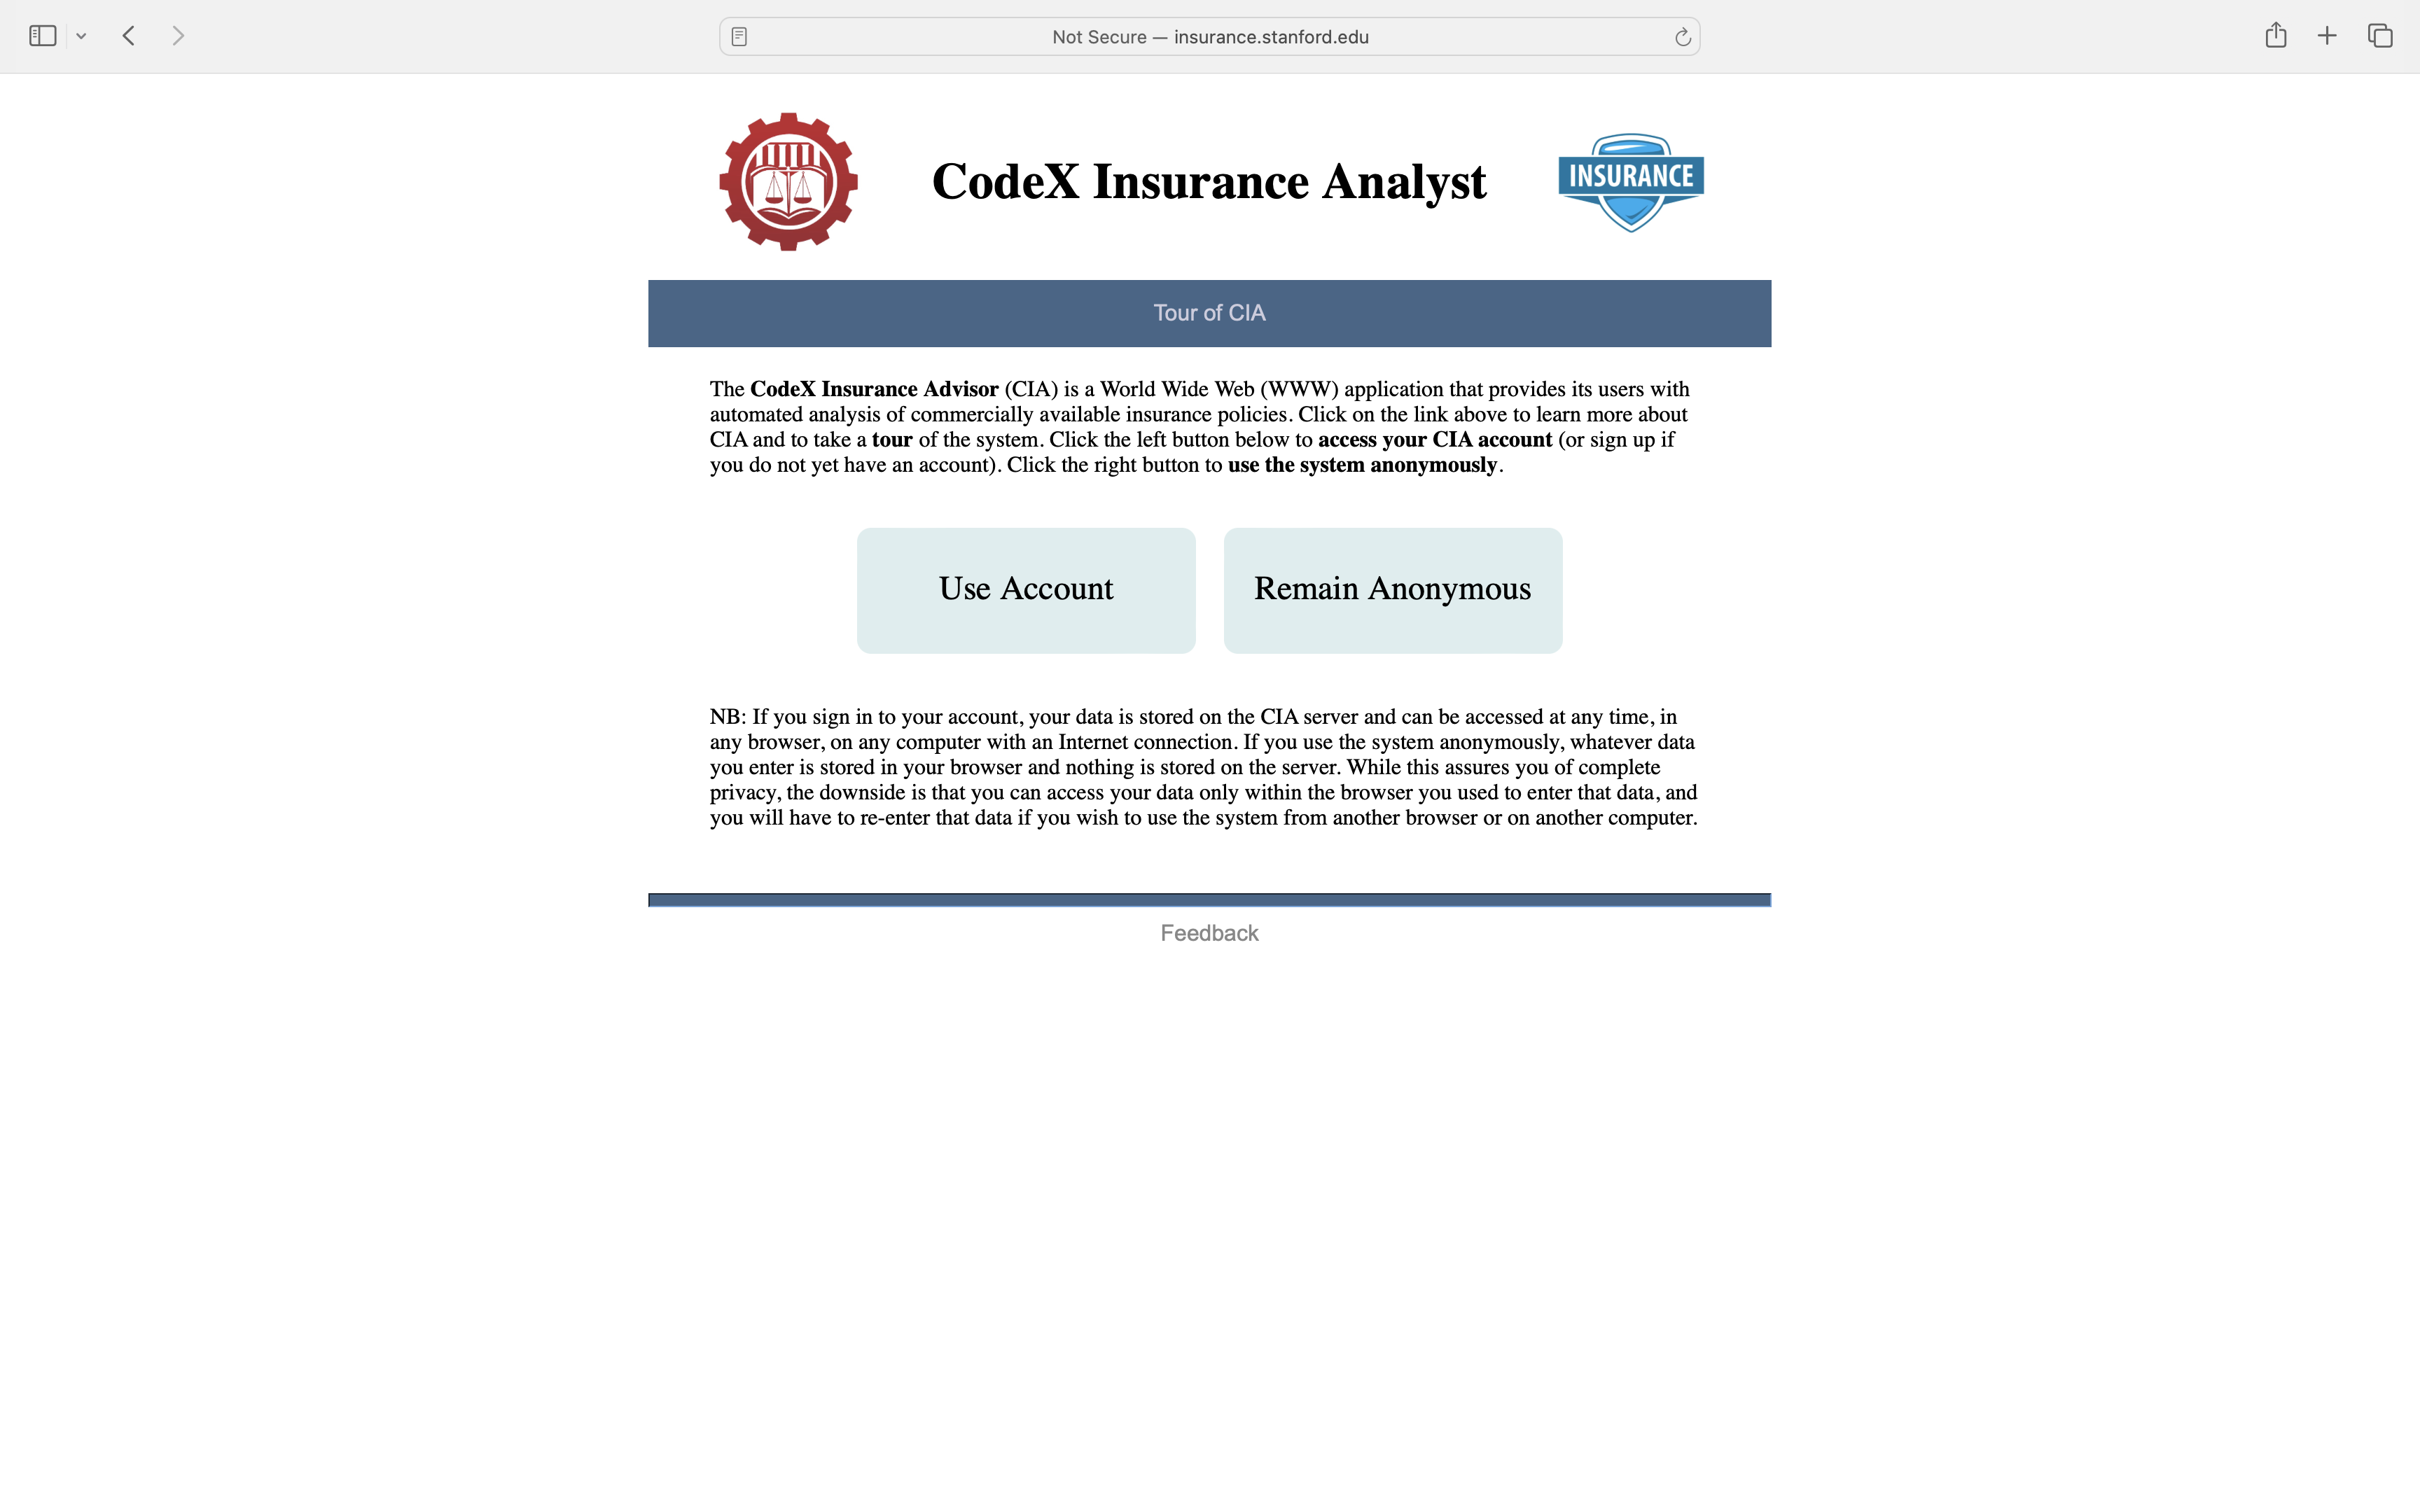
For our tour, we click on Use Account and sign in as a fictional user with identifier steve. To sign in, we enter Steve's id steve and his passcode and click Sign In.
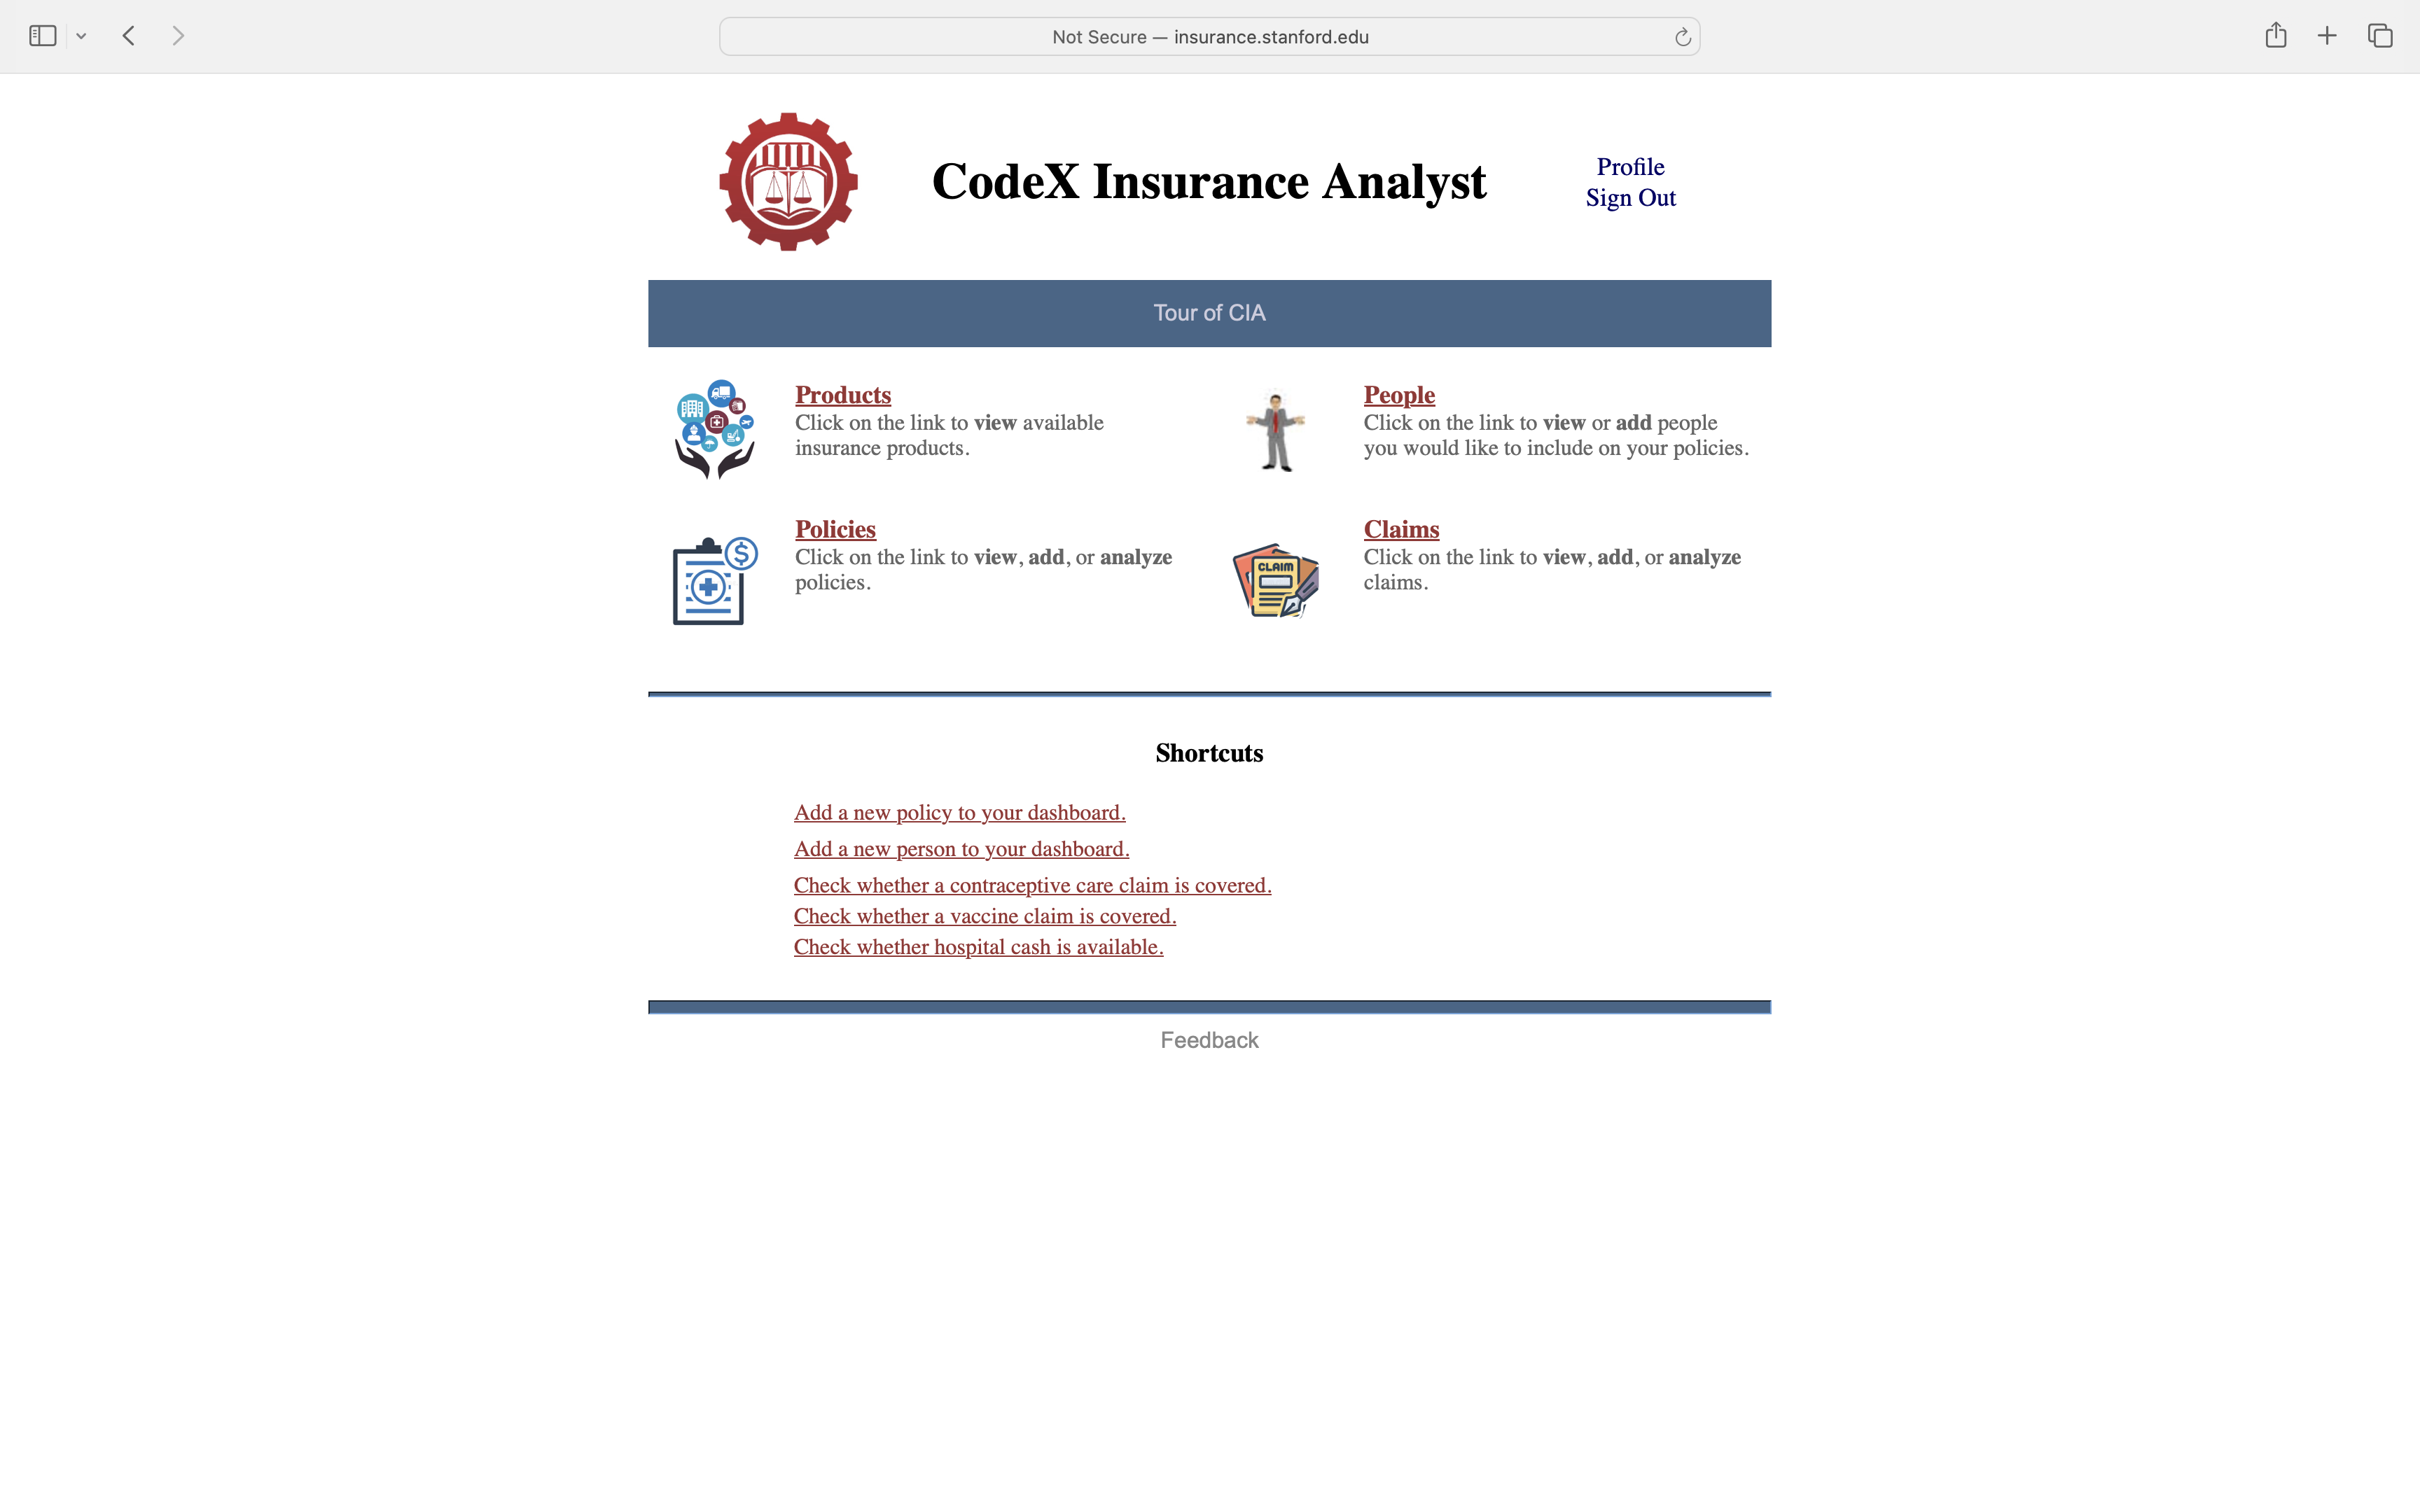
3. Dashboard
The first page we see after clicking sign-in is our Dashboard. There are links to pages containing information about various insurance-related items - insurance products, policies, claims, and people.
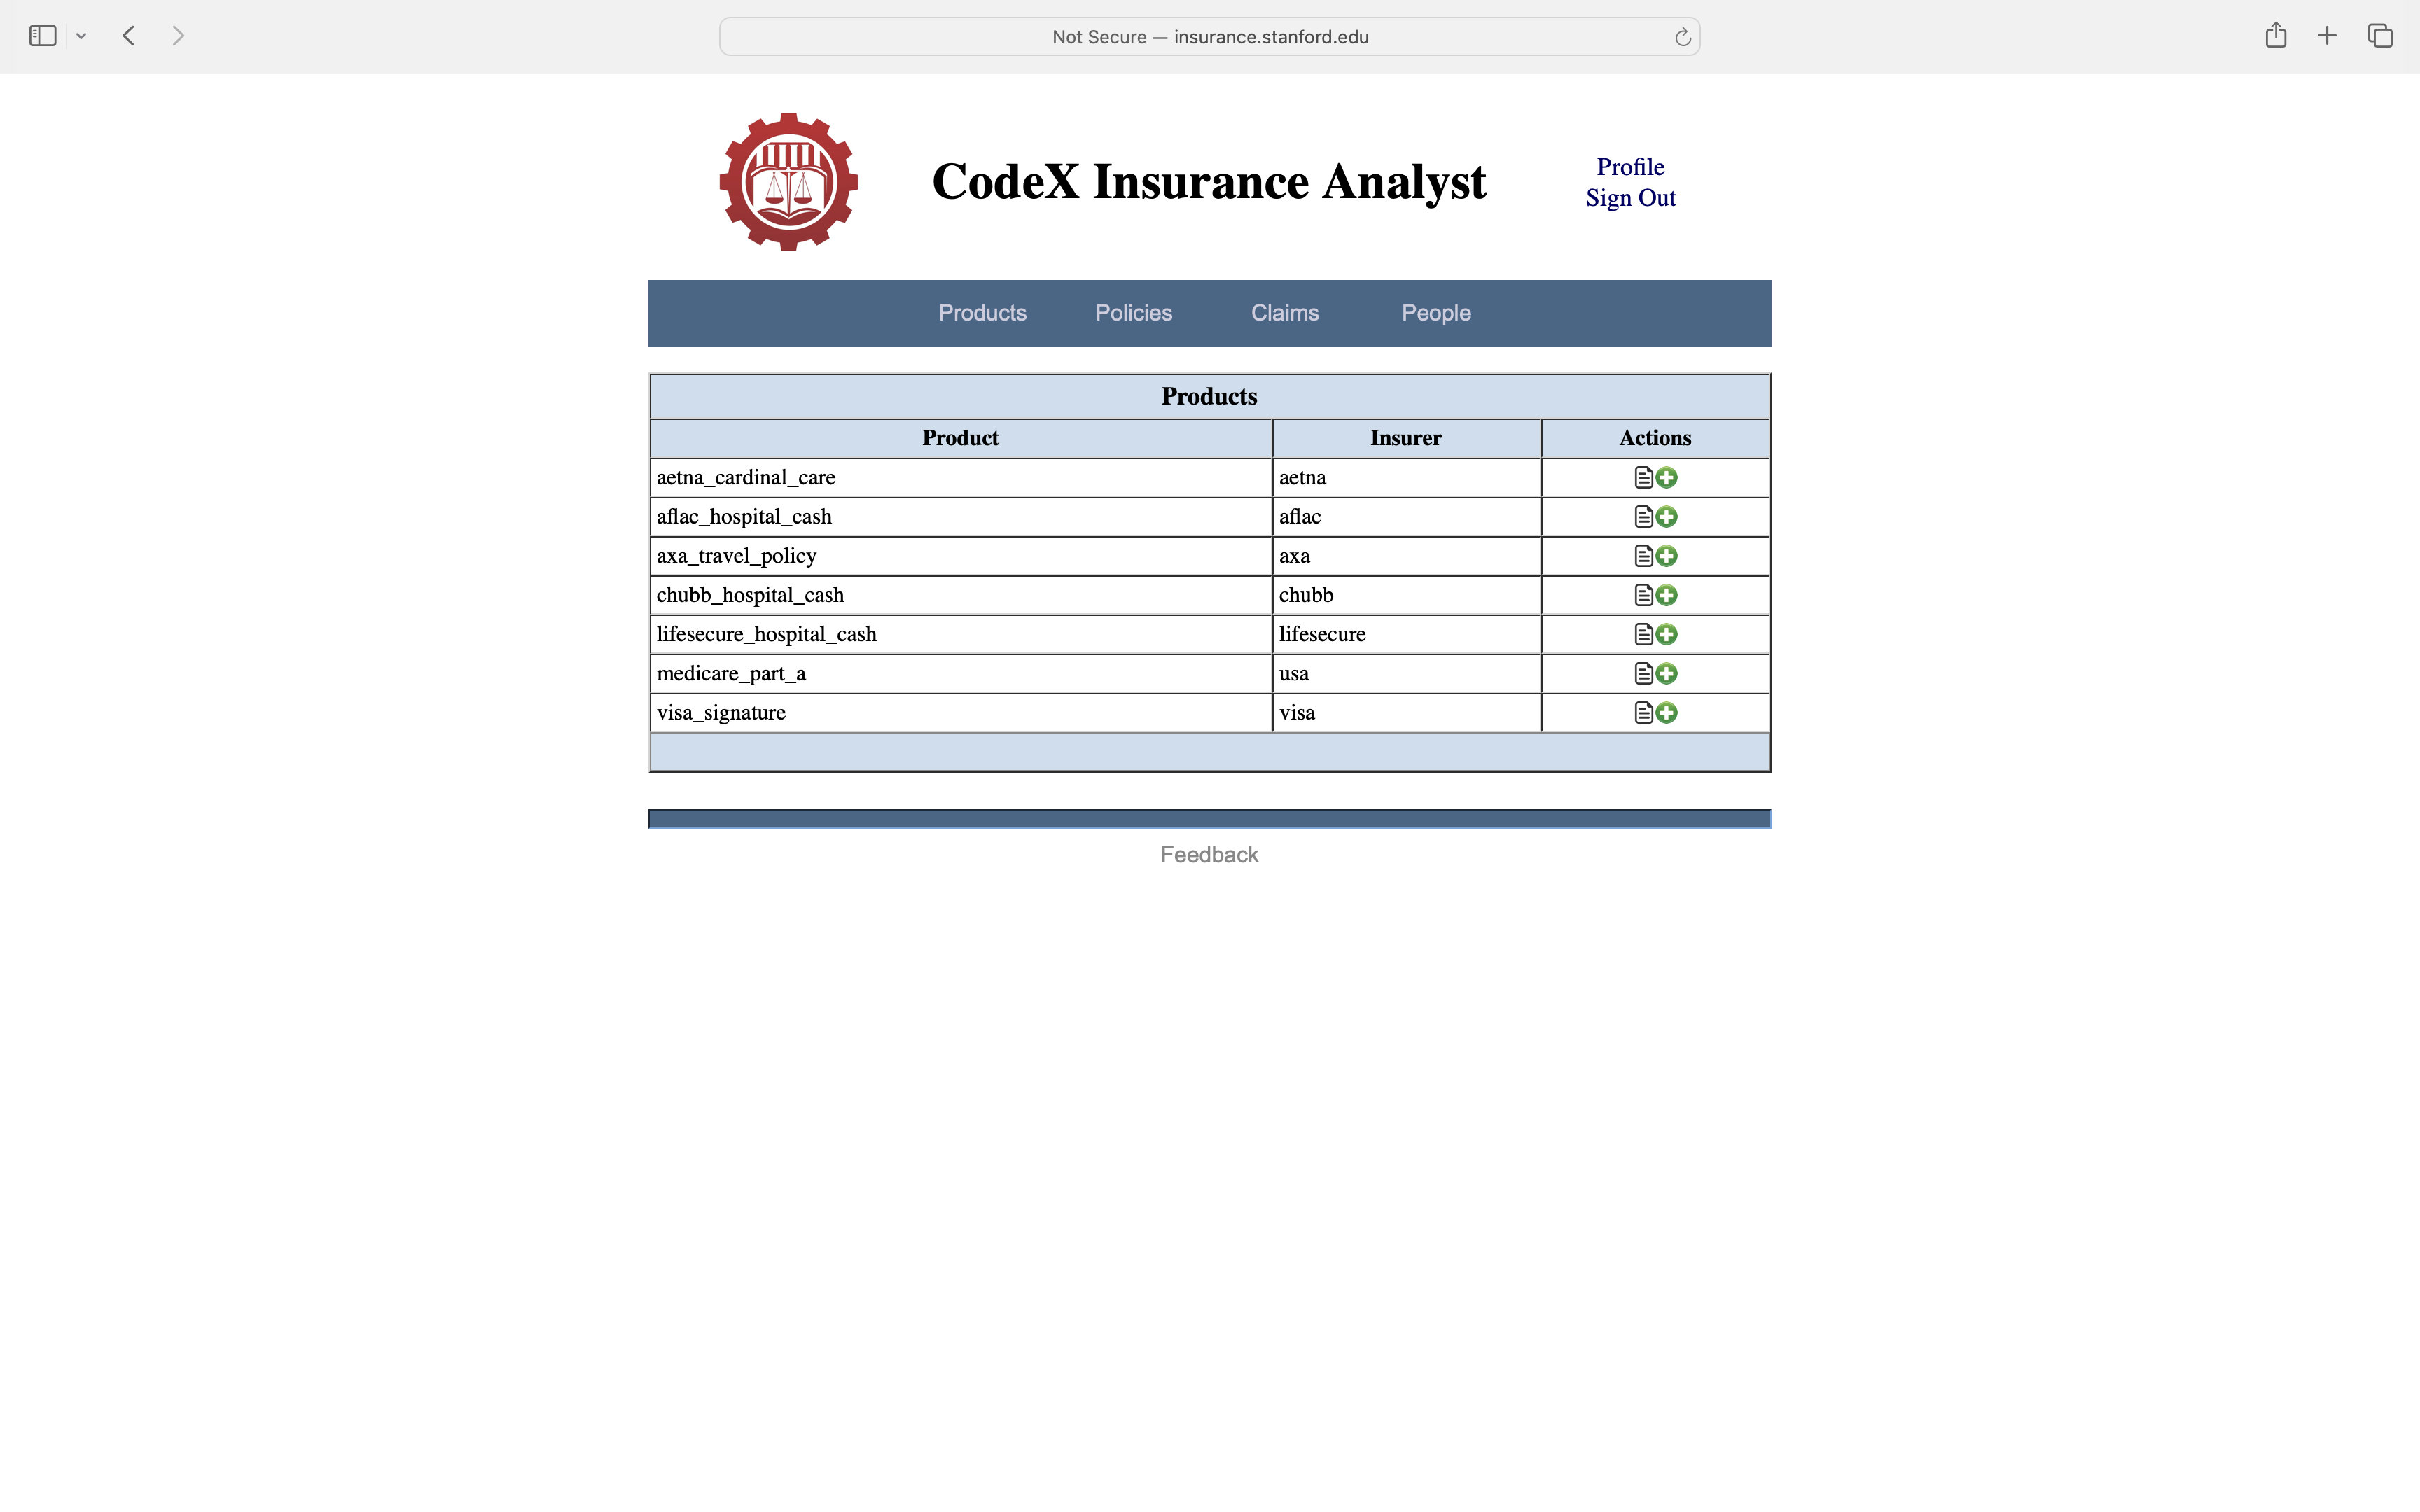
Clicking on Products takes us to a page listing available insurance products. The demonstration system contains information about various commercial products, available from companies like Aetna, AXA, Chubb, and Visa.
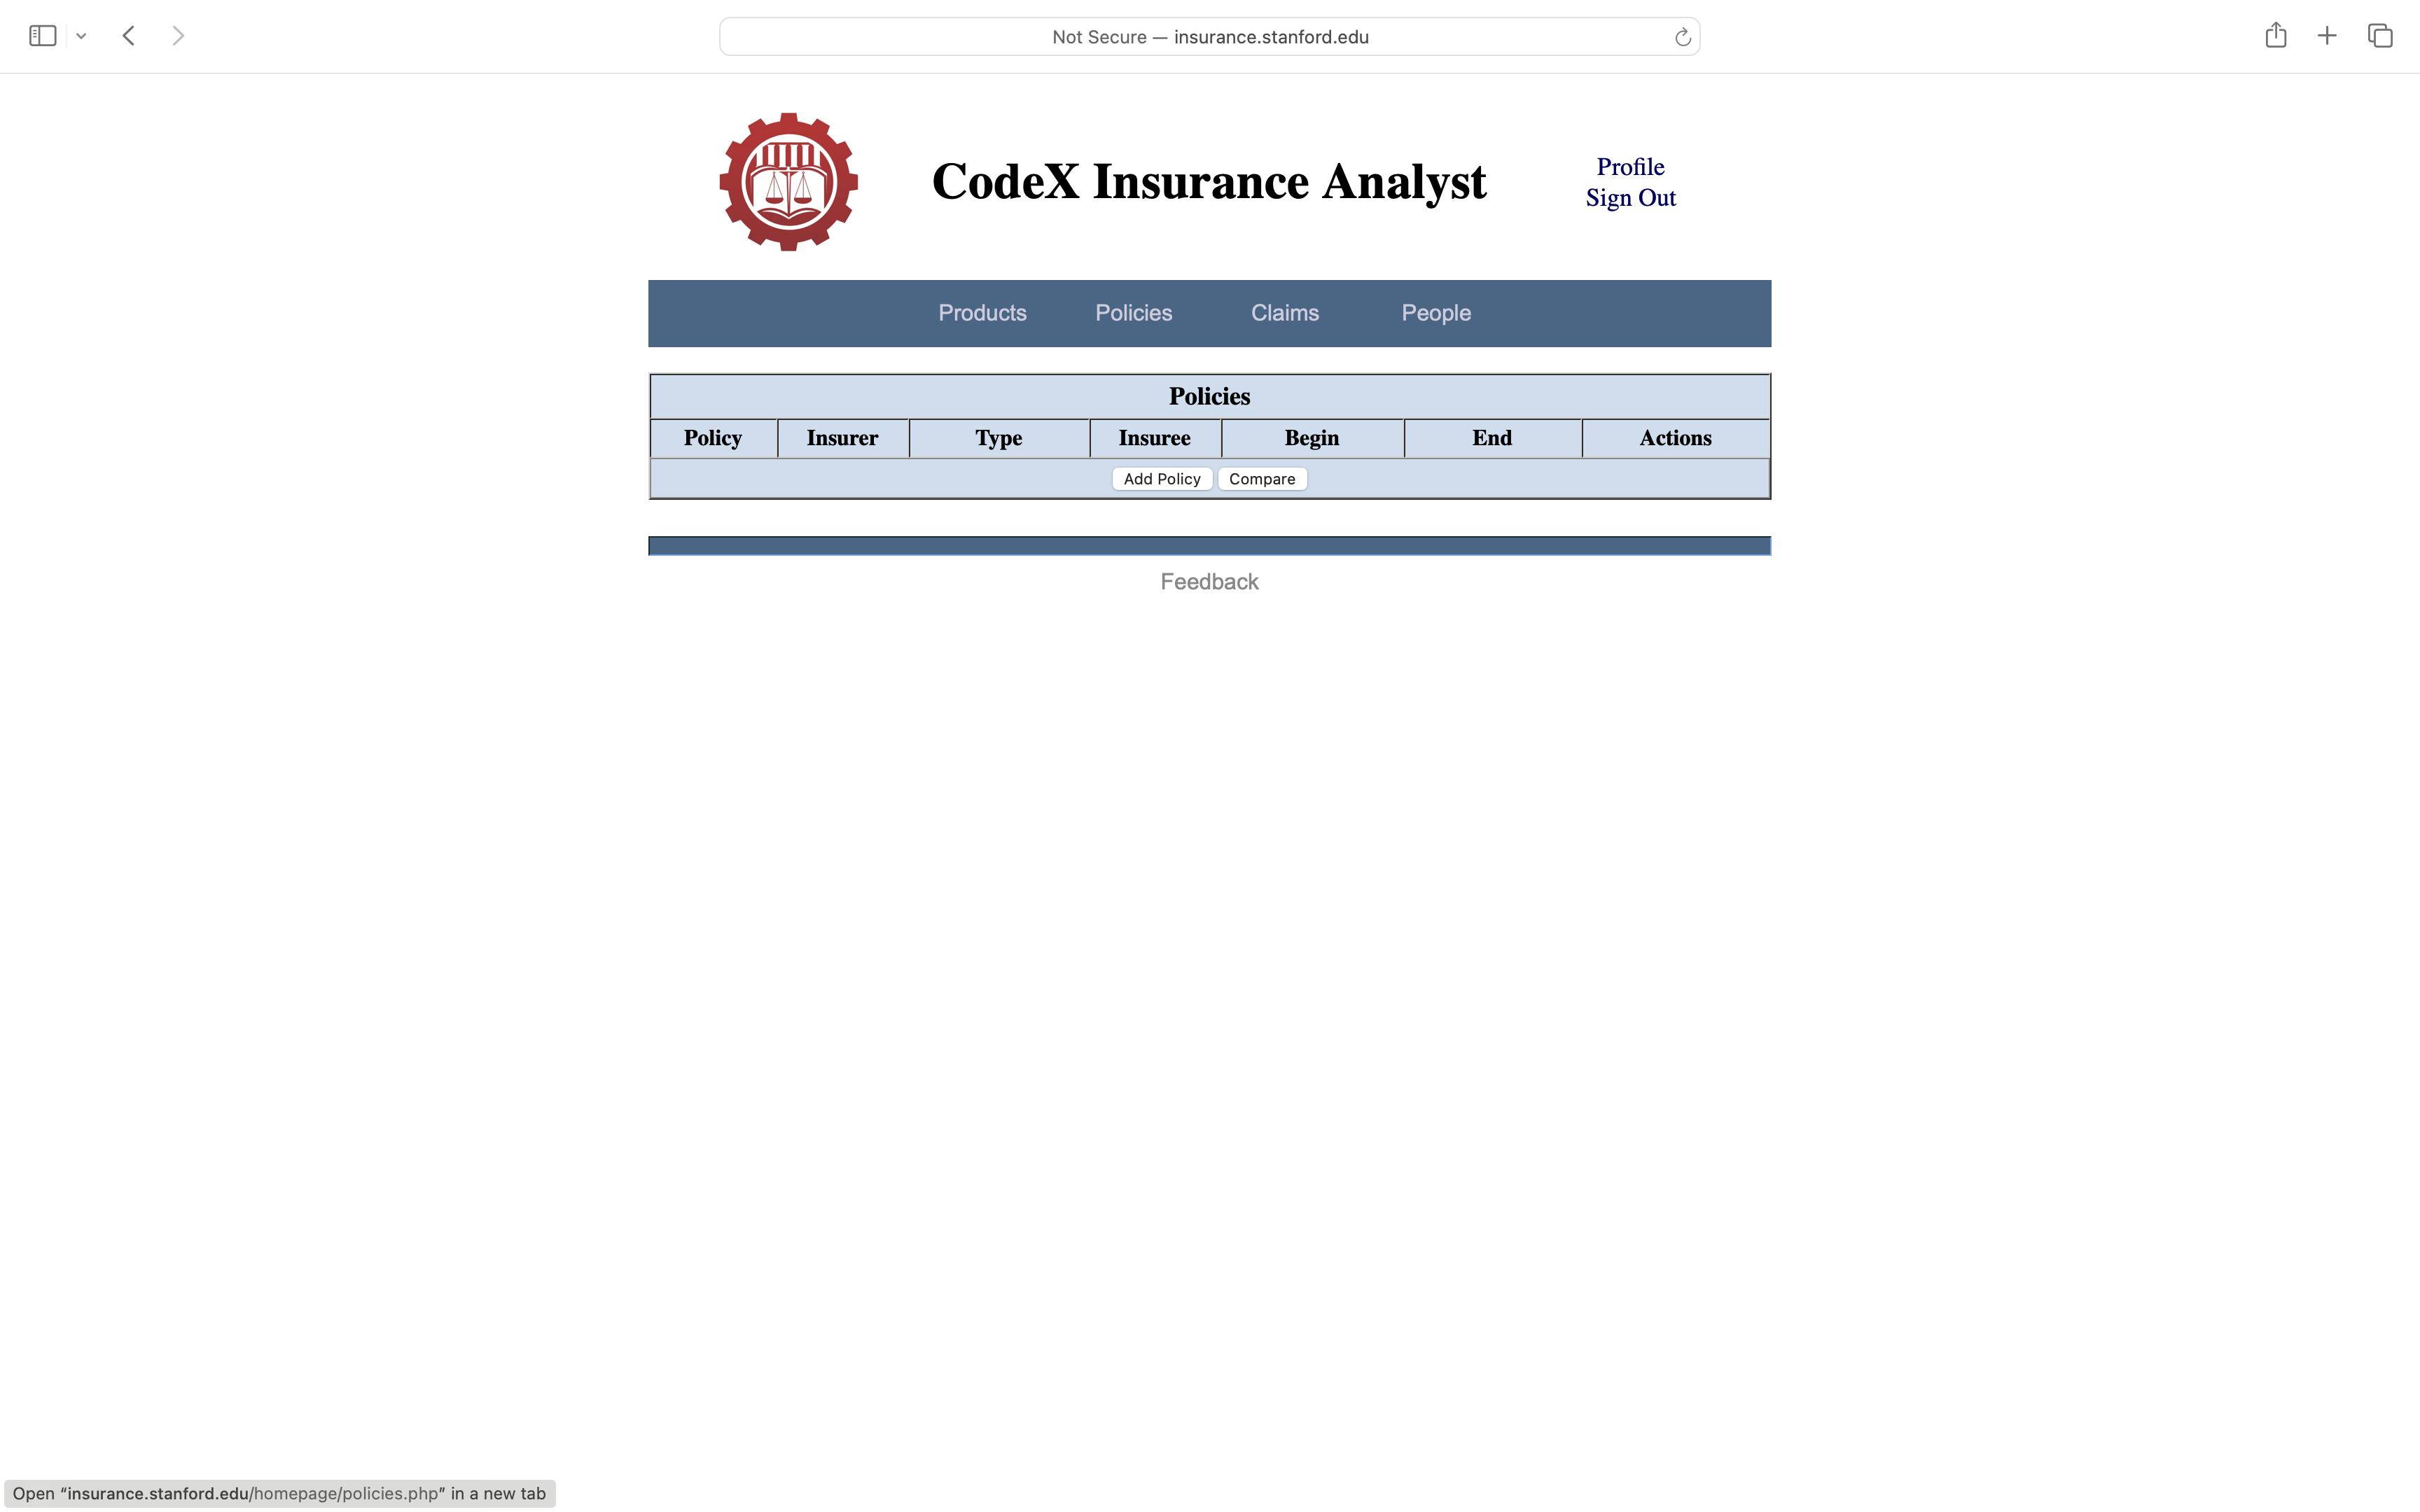
At this point, we can go back to the Dashboard to access information about other items. Alternatively, we can use the command bar across the top of the page. In either case, clicking Policies, takes us to a page listing all of the policies we have created. In this case, there are none just yet.
Clicking on Claims on the Dashboard or in the command bar takes us to a page of previously defined claims. Once again, there are none just yet.

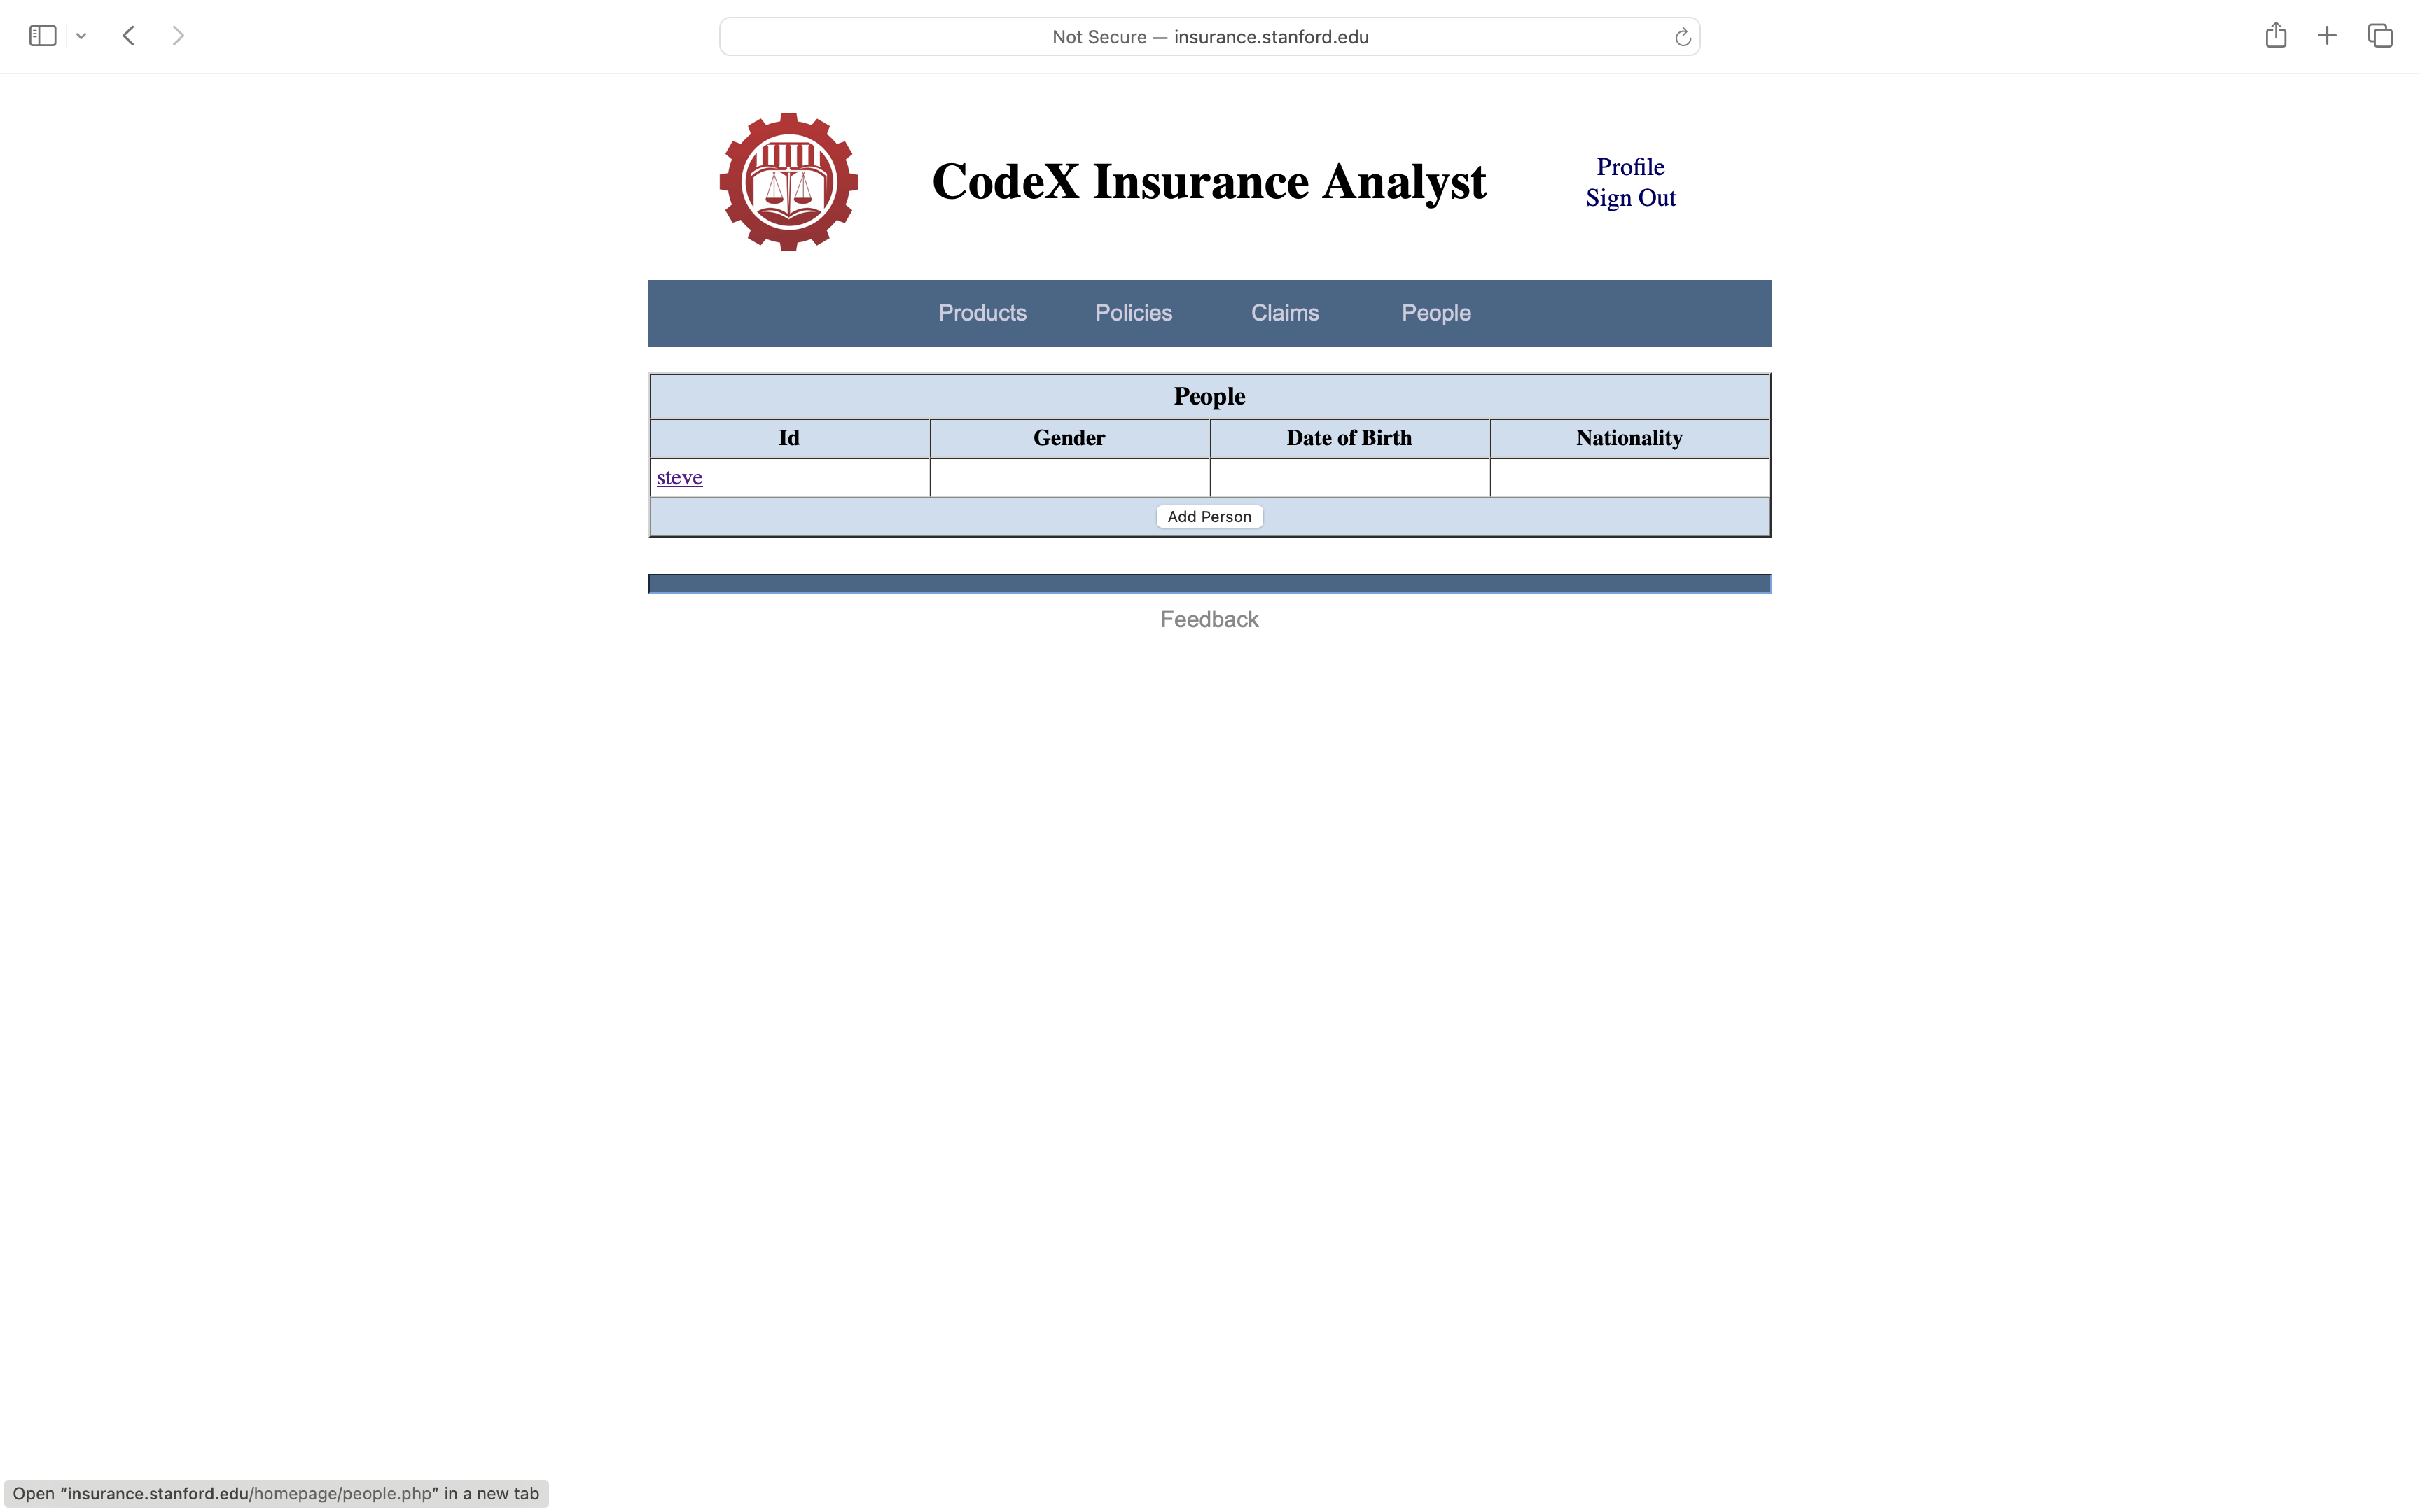
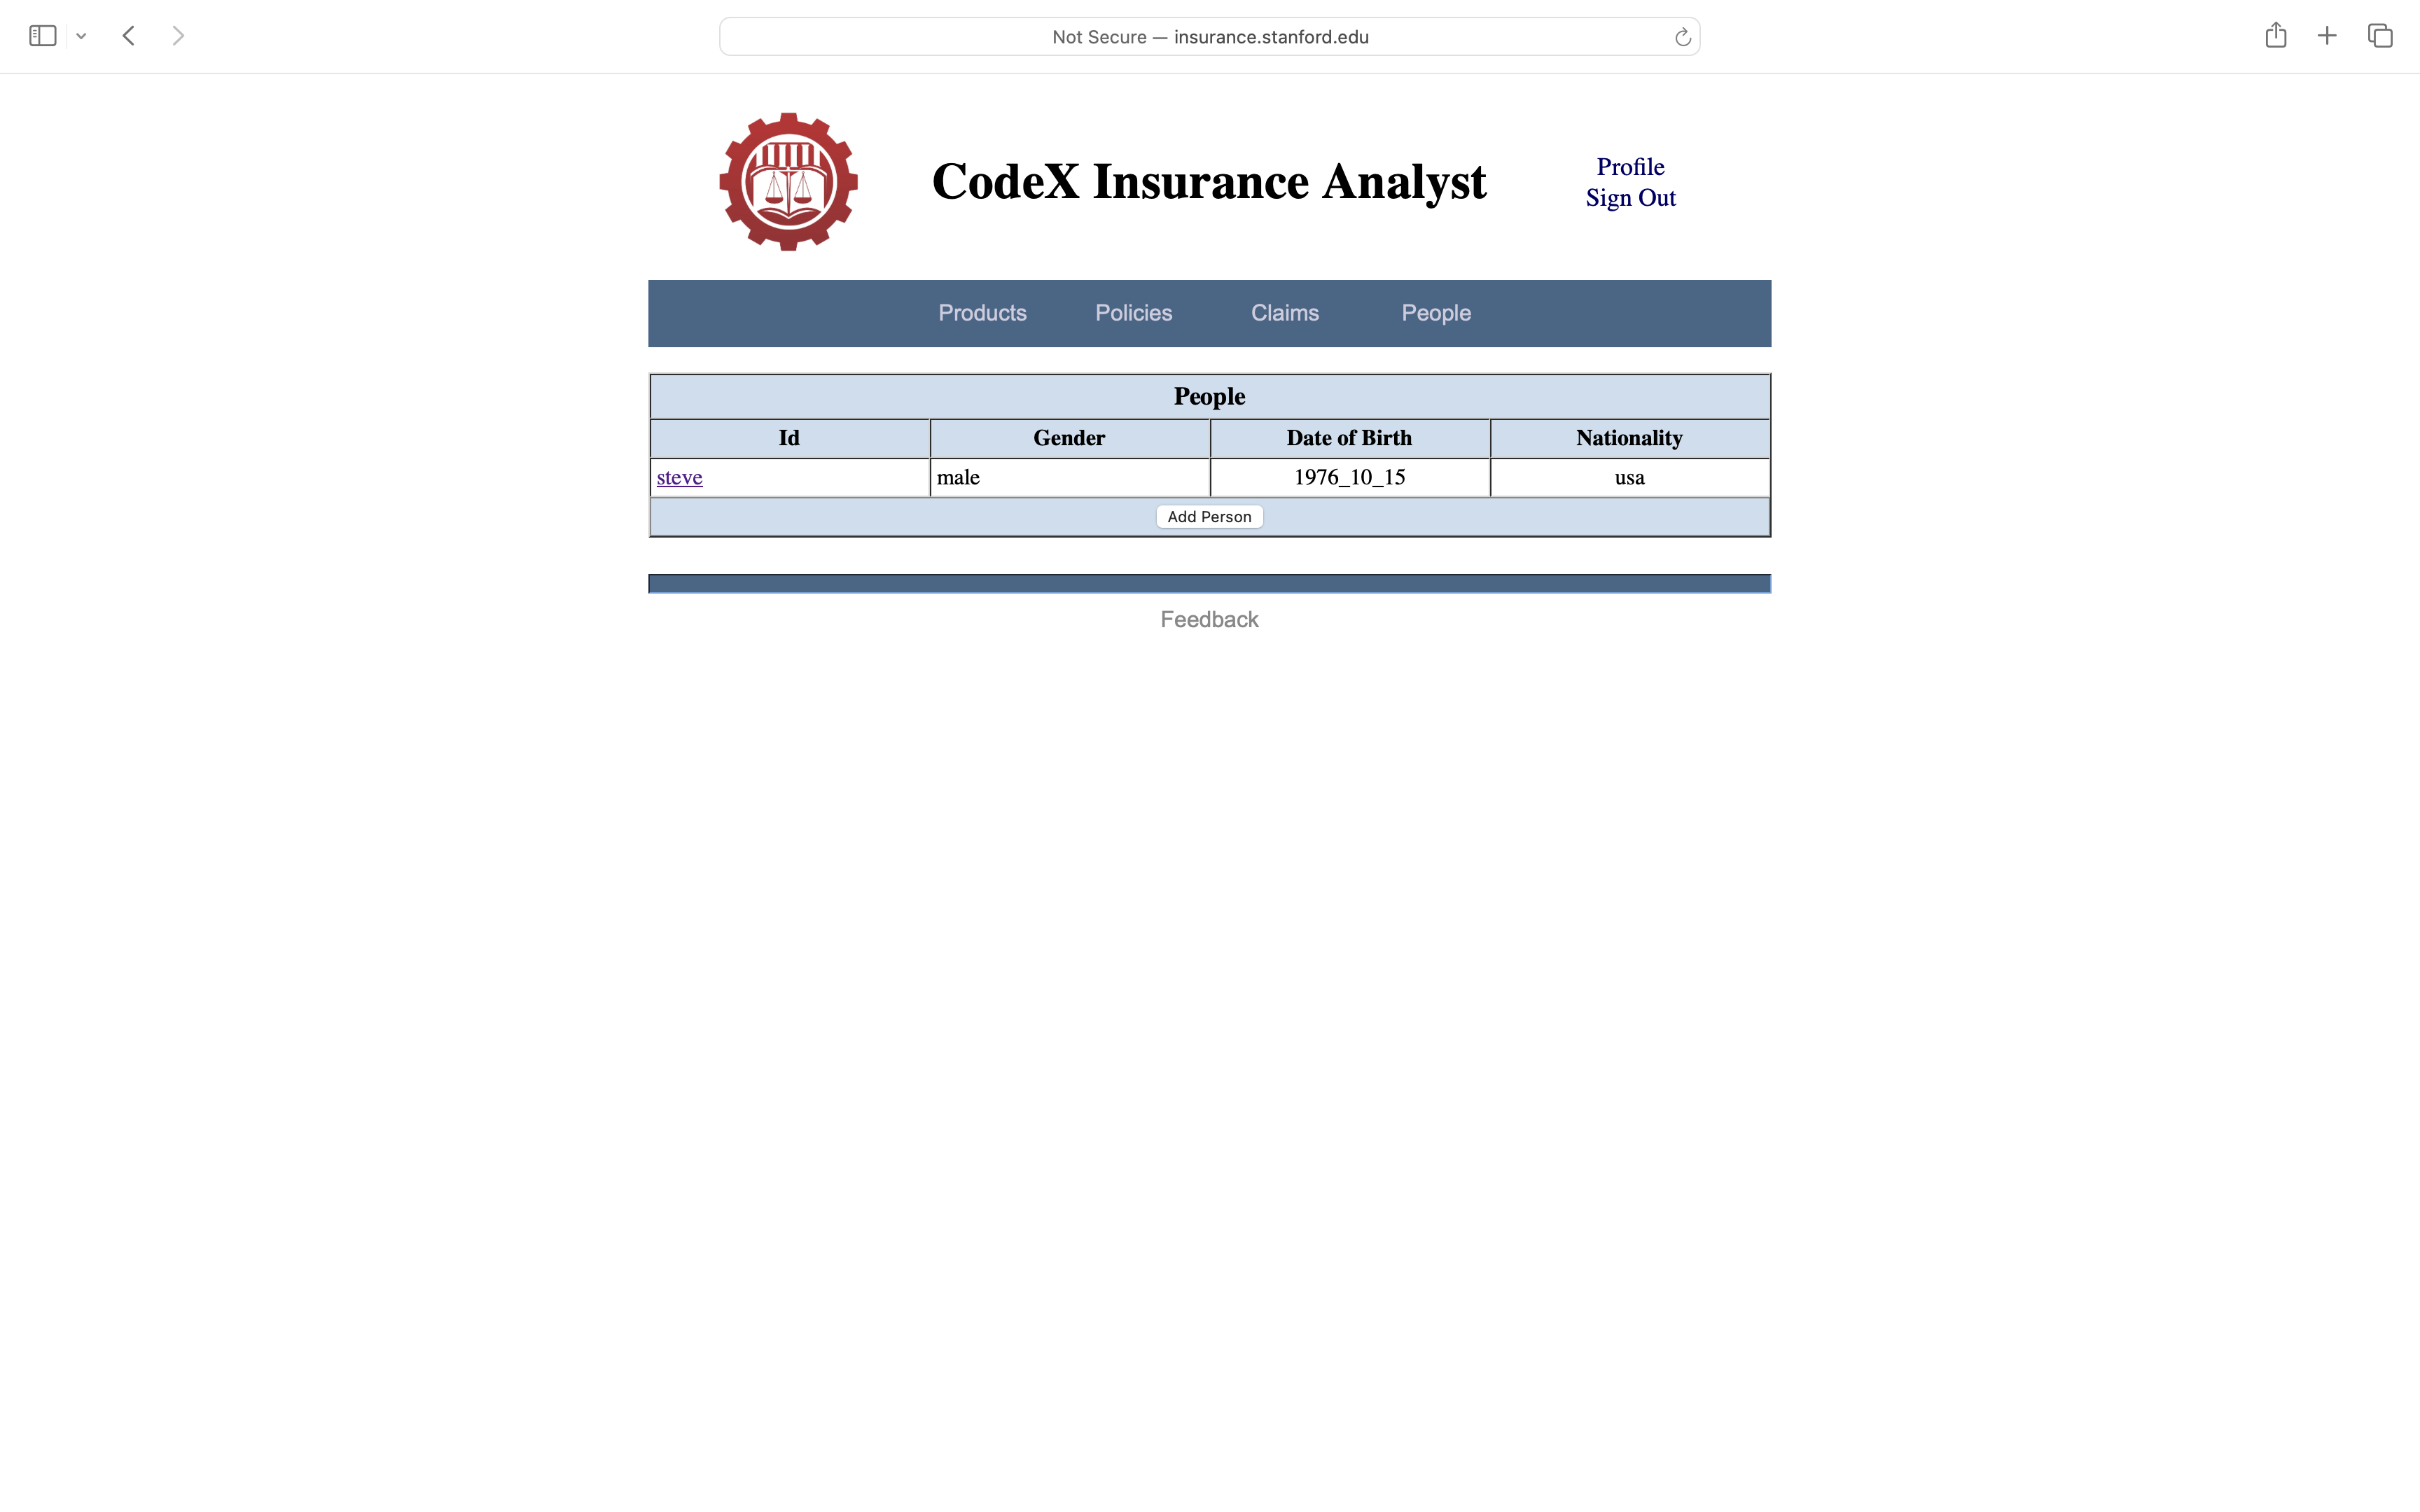
Clicking on People on the Dashboard or in the command bar takes us to a page of people. In this case, there is just one person, viz. Steve, the owner of the account. However, there is no information associated with Steve just yet.
Note that at the bottom of the Dashboard there are links to access common CIA services. All of these services can be invoked from the pages just described. These links at the bottom of the Dashboard are simply shortcuts to save us a few mouse clicks to access those services.
4. People
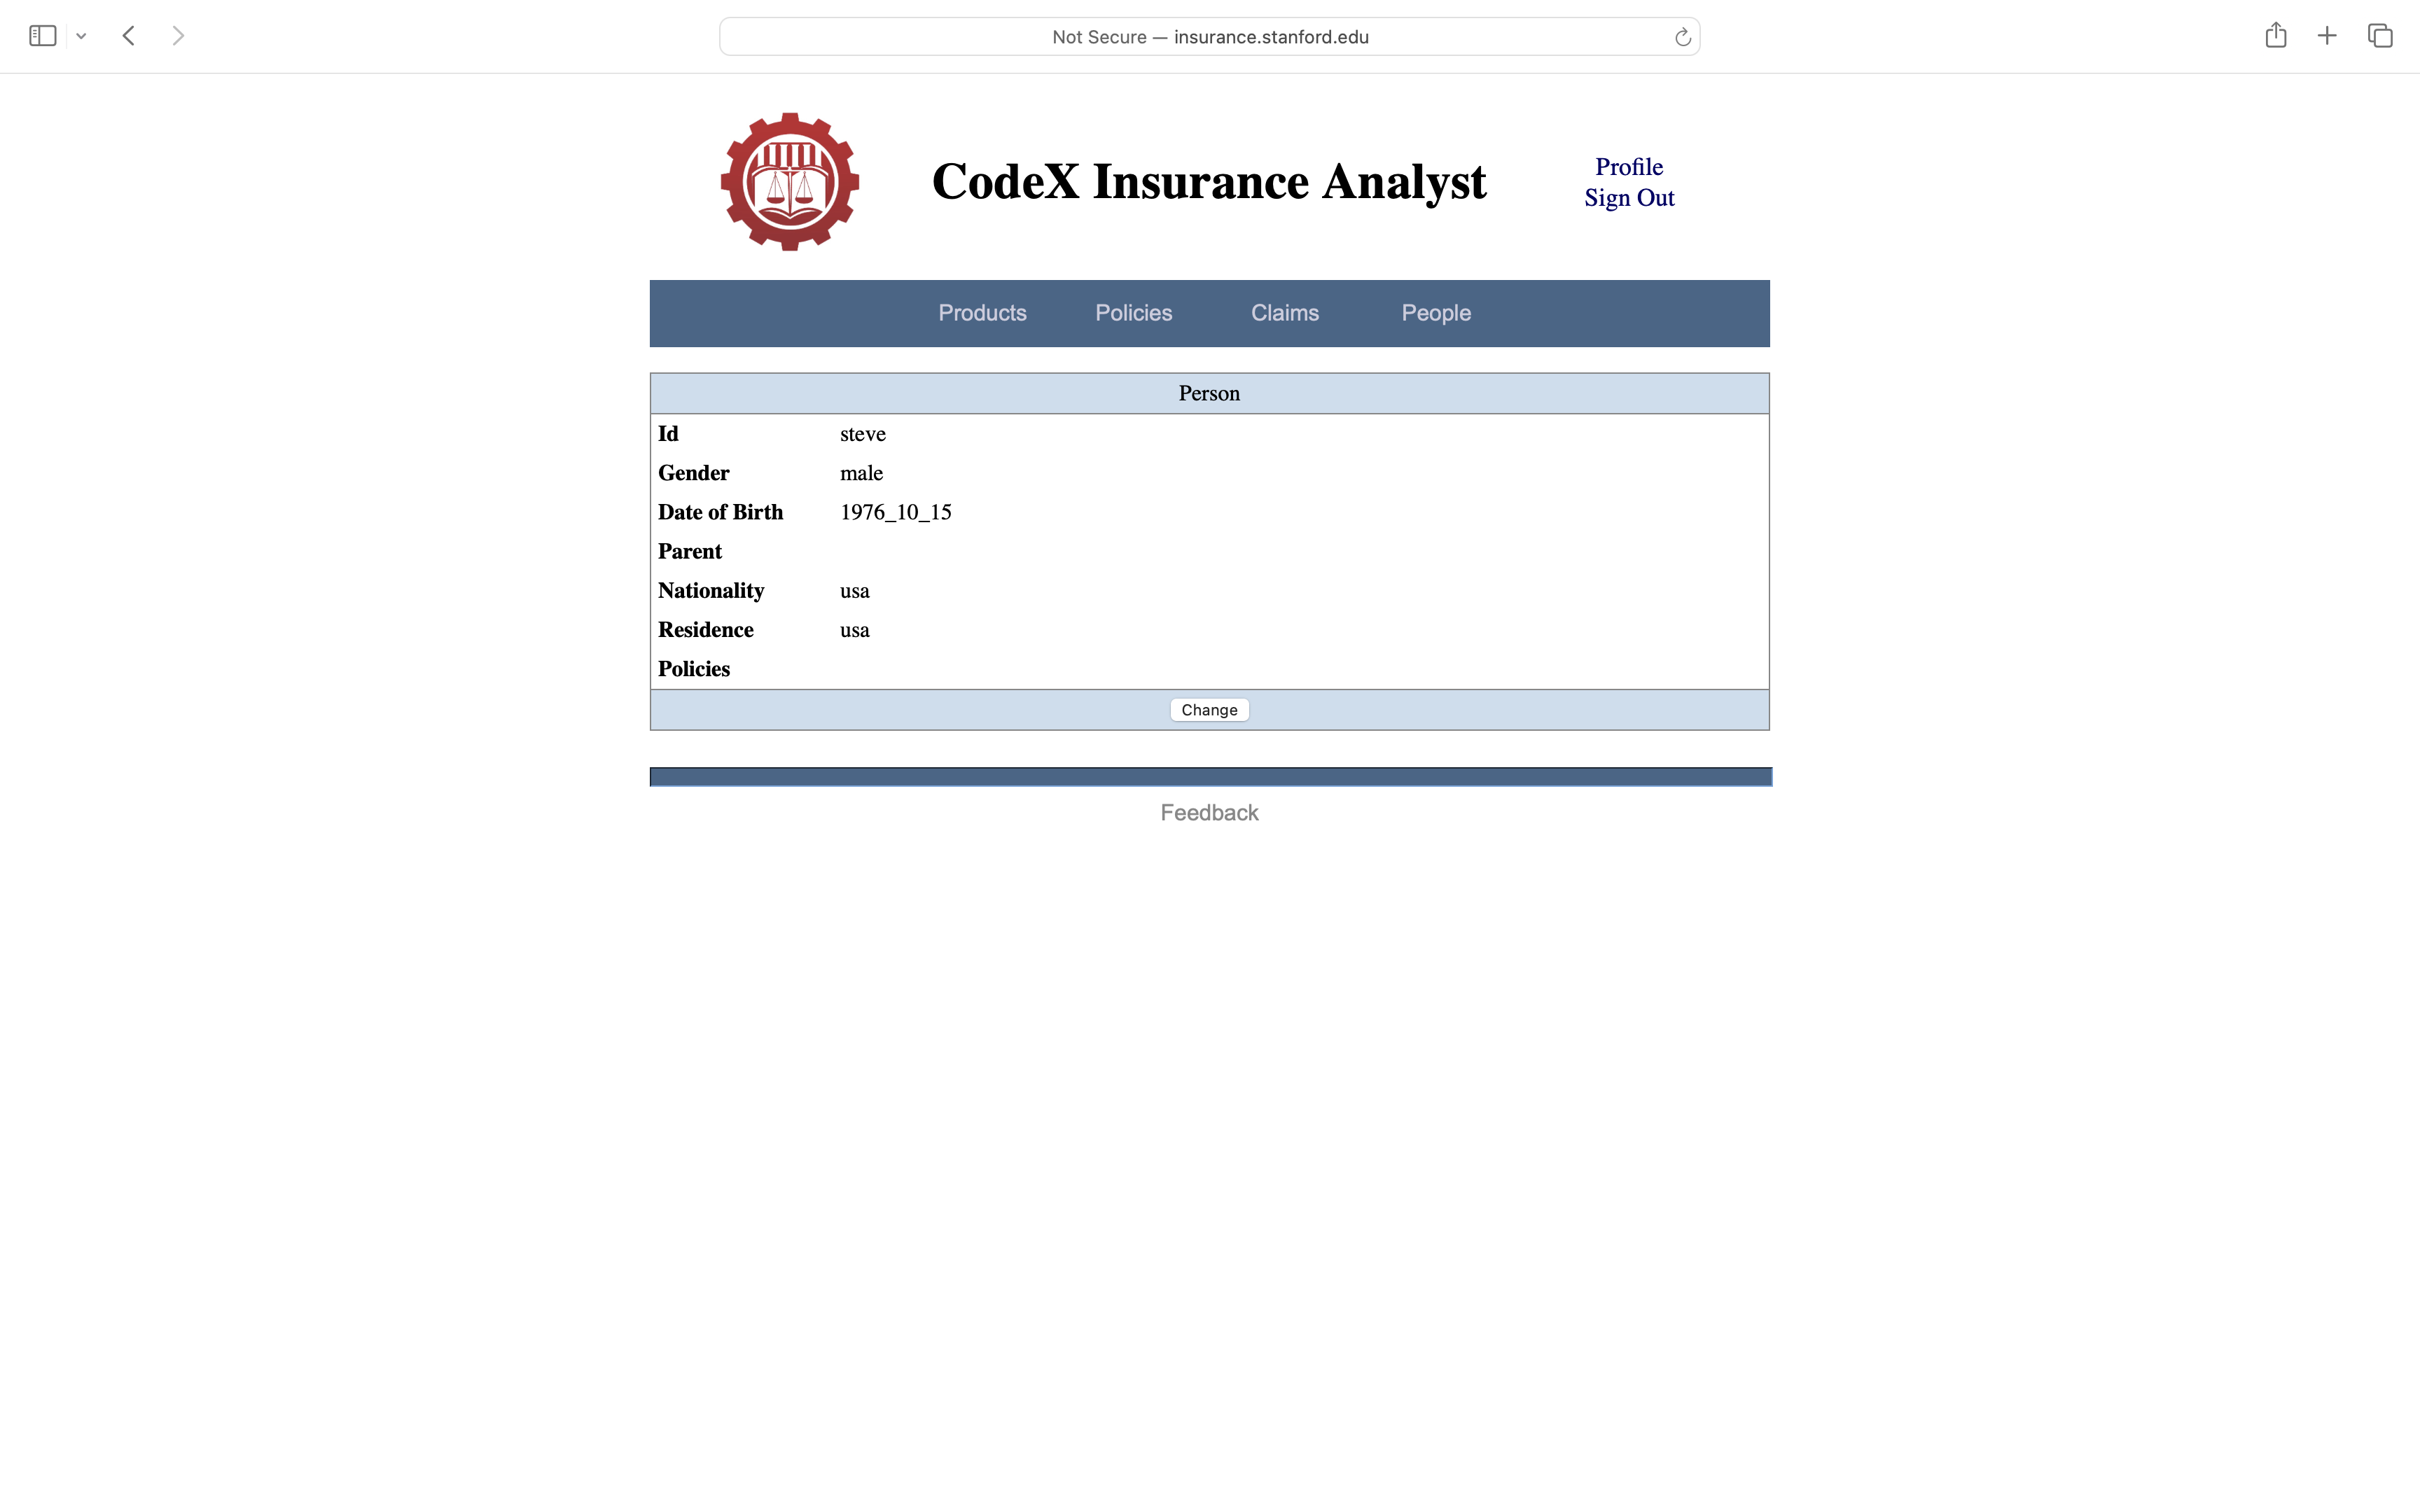
The first thing to do in using CIA is to add some people and supply information about those people. Since Steve is already listed on the People page, we just need to add some relevant data. To this end, we click on the hyperlink for Steve on the People page. This results in an Inspect page that shows us information about Steve in a different format.
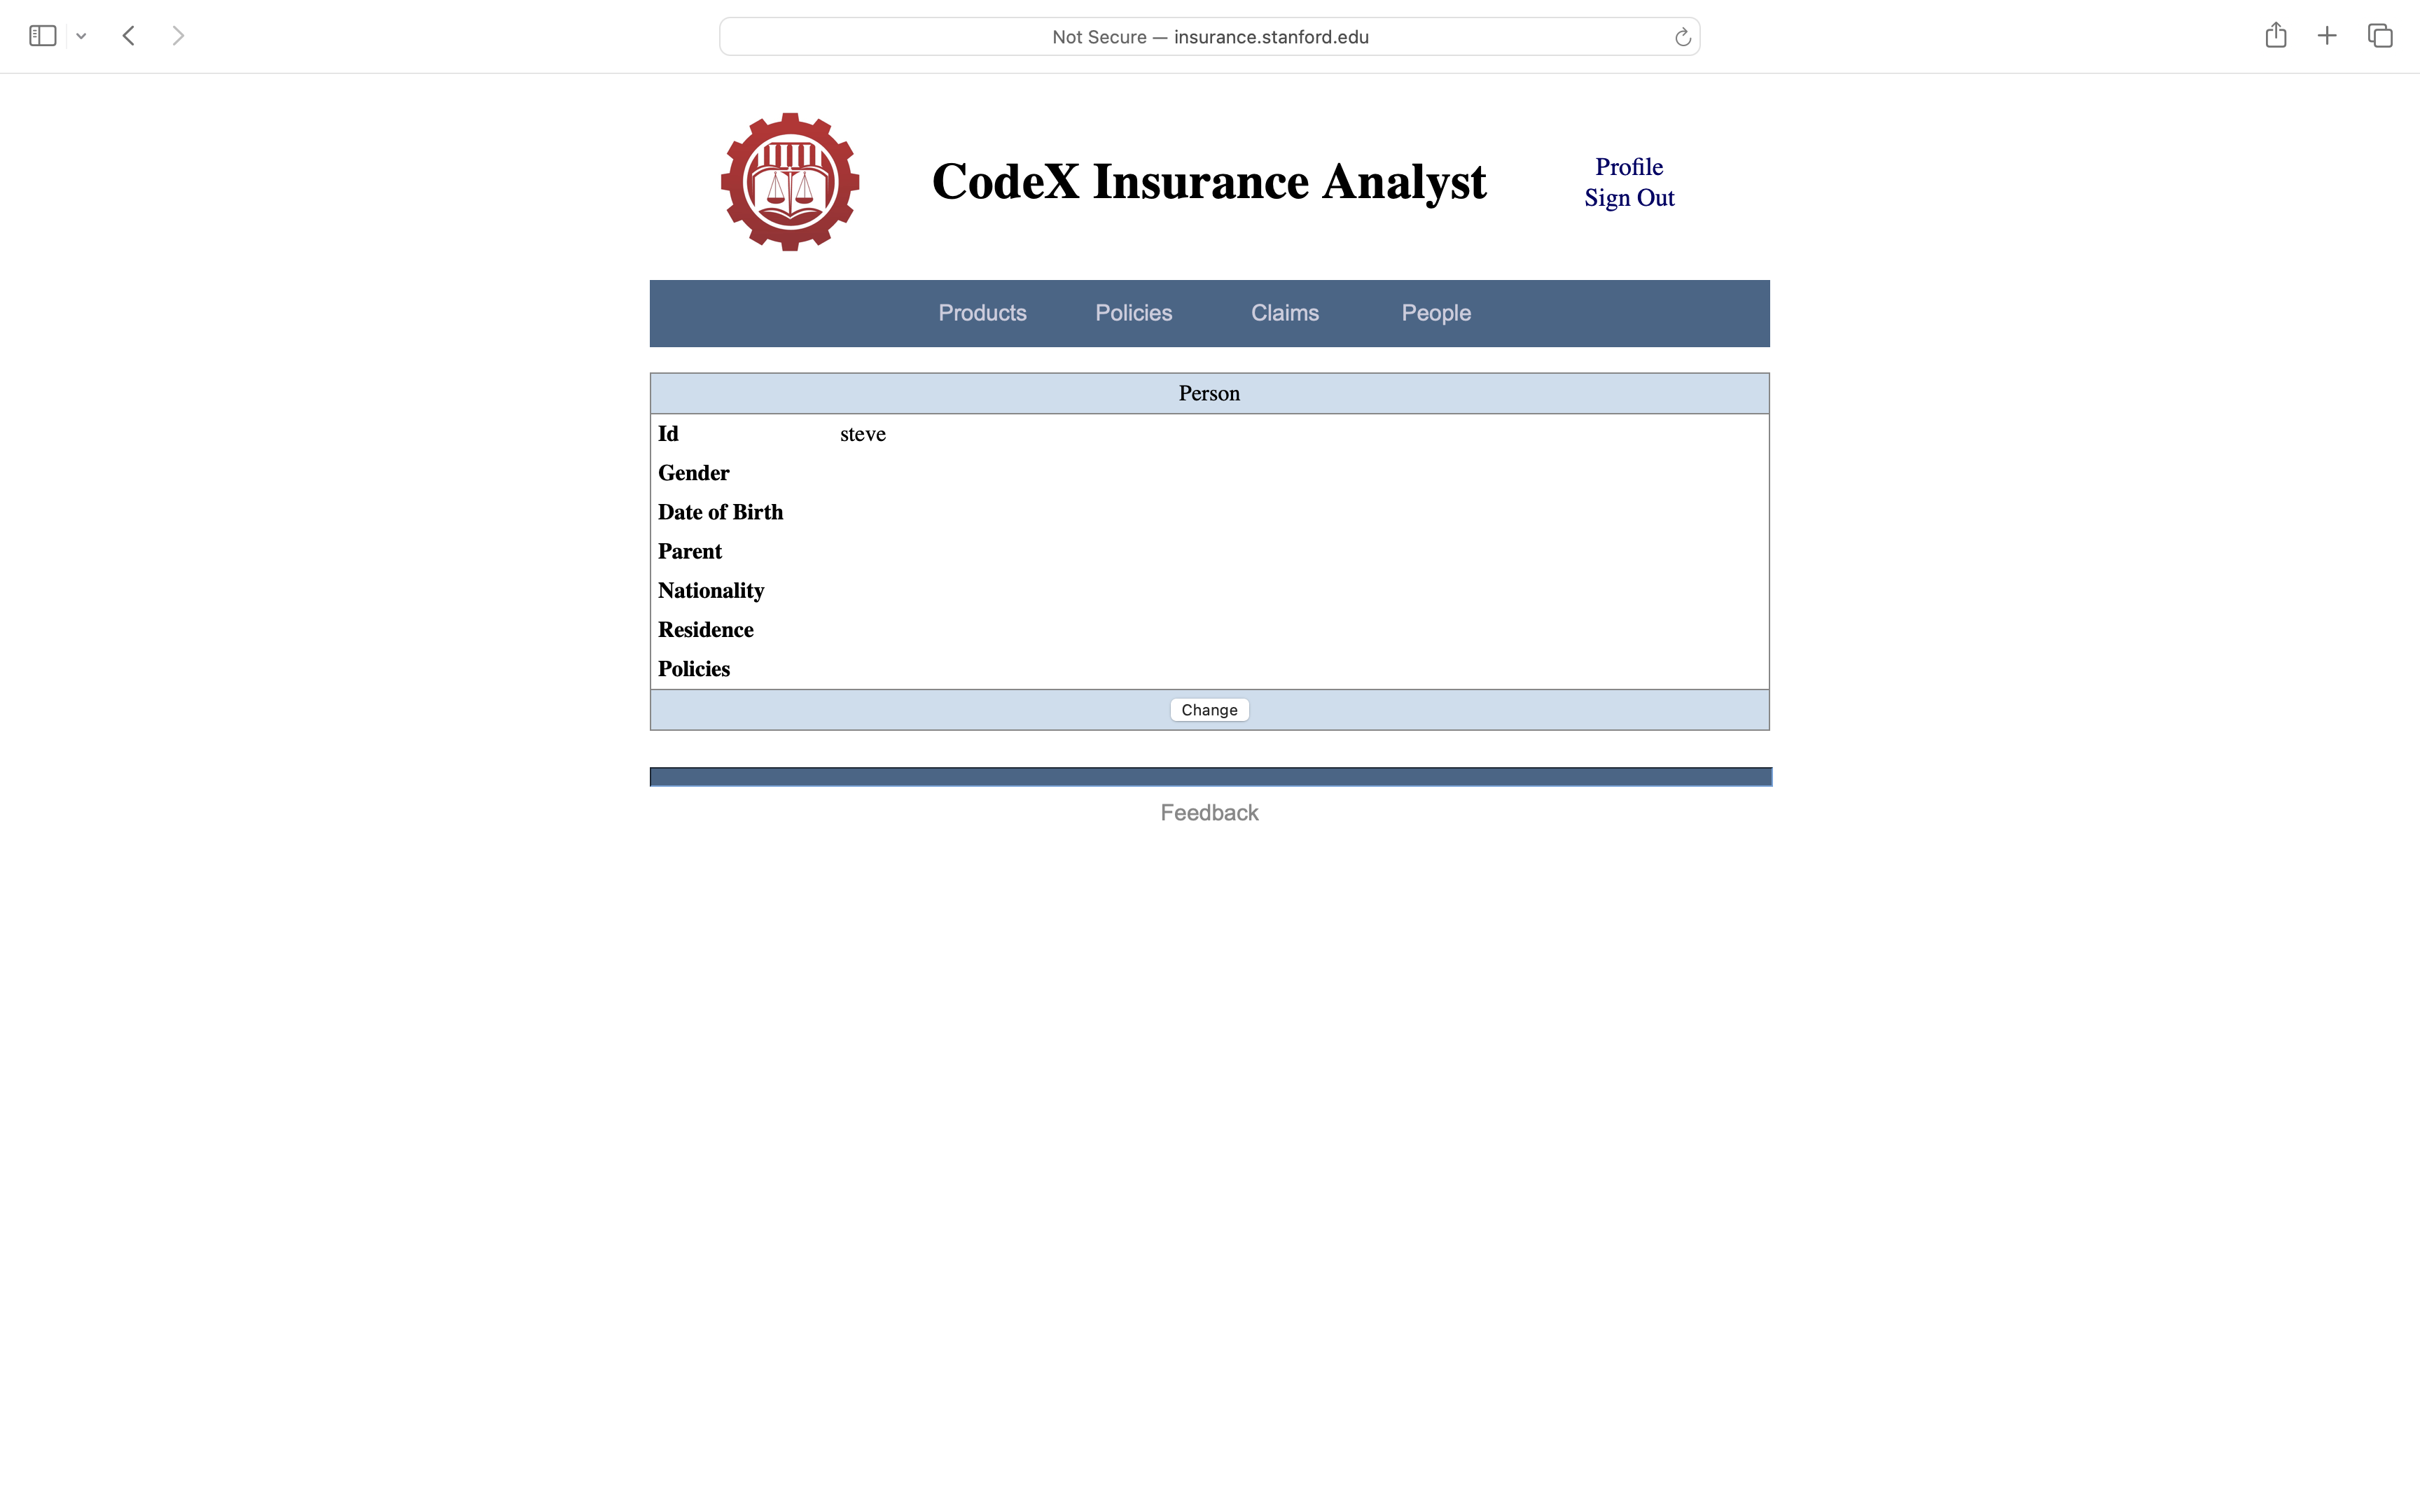
Clicking the Change button at the bottom of the page leads to a Change page that allows us to enter or modify information about Steve.
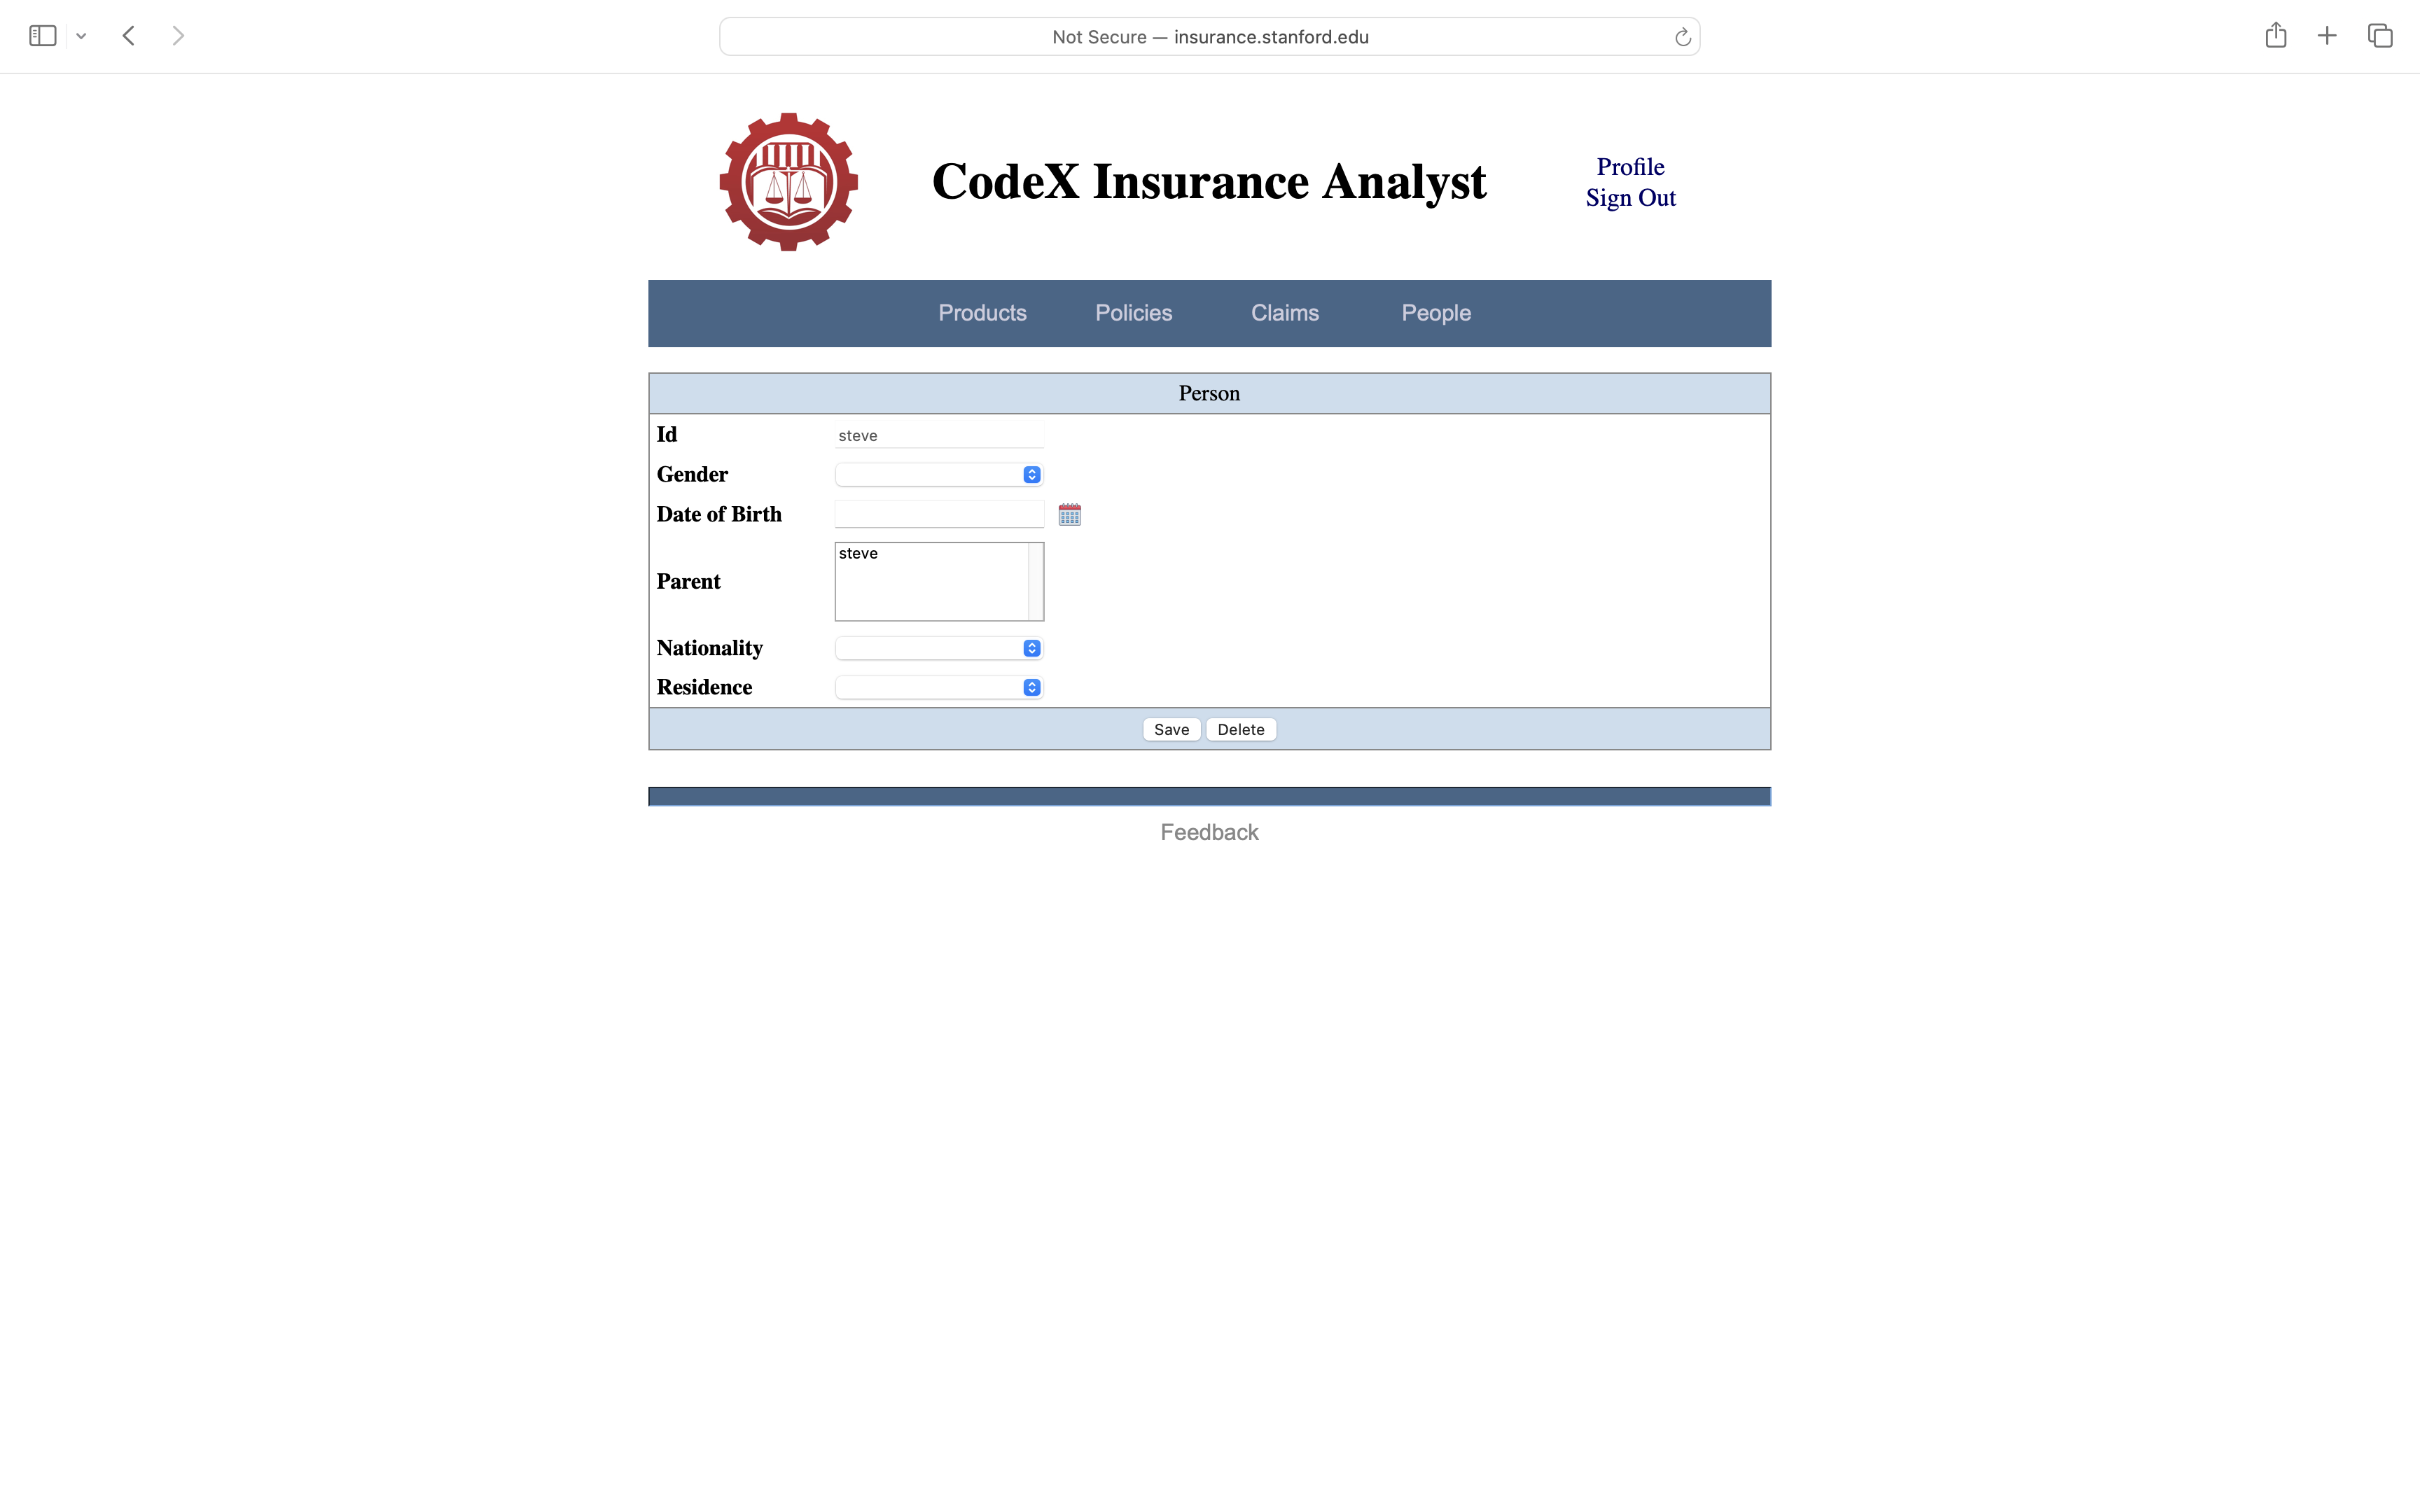
We fill in various details about Steve, e.g. his gender, his date of birth, his nationality, and his country of residence..
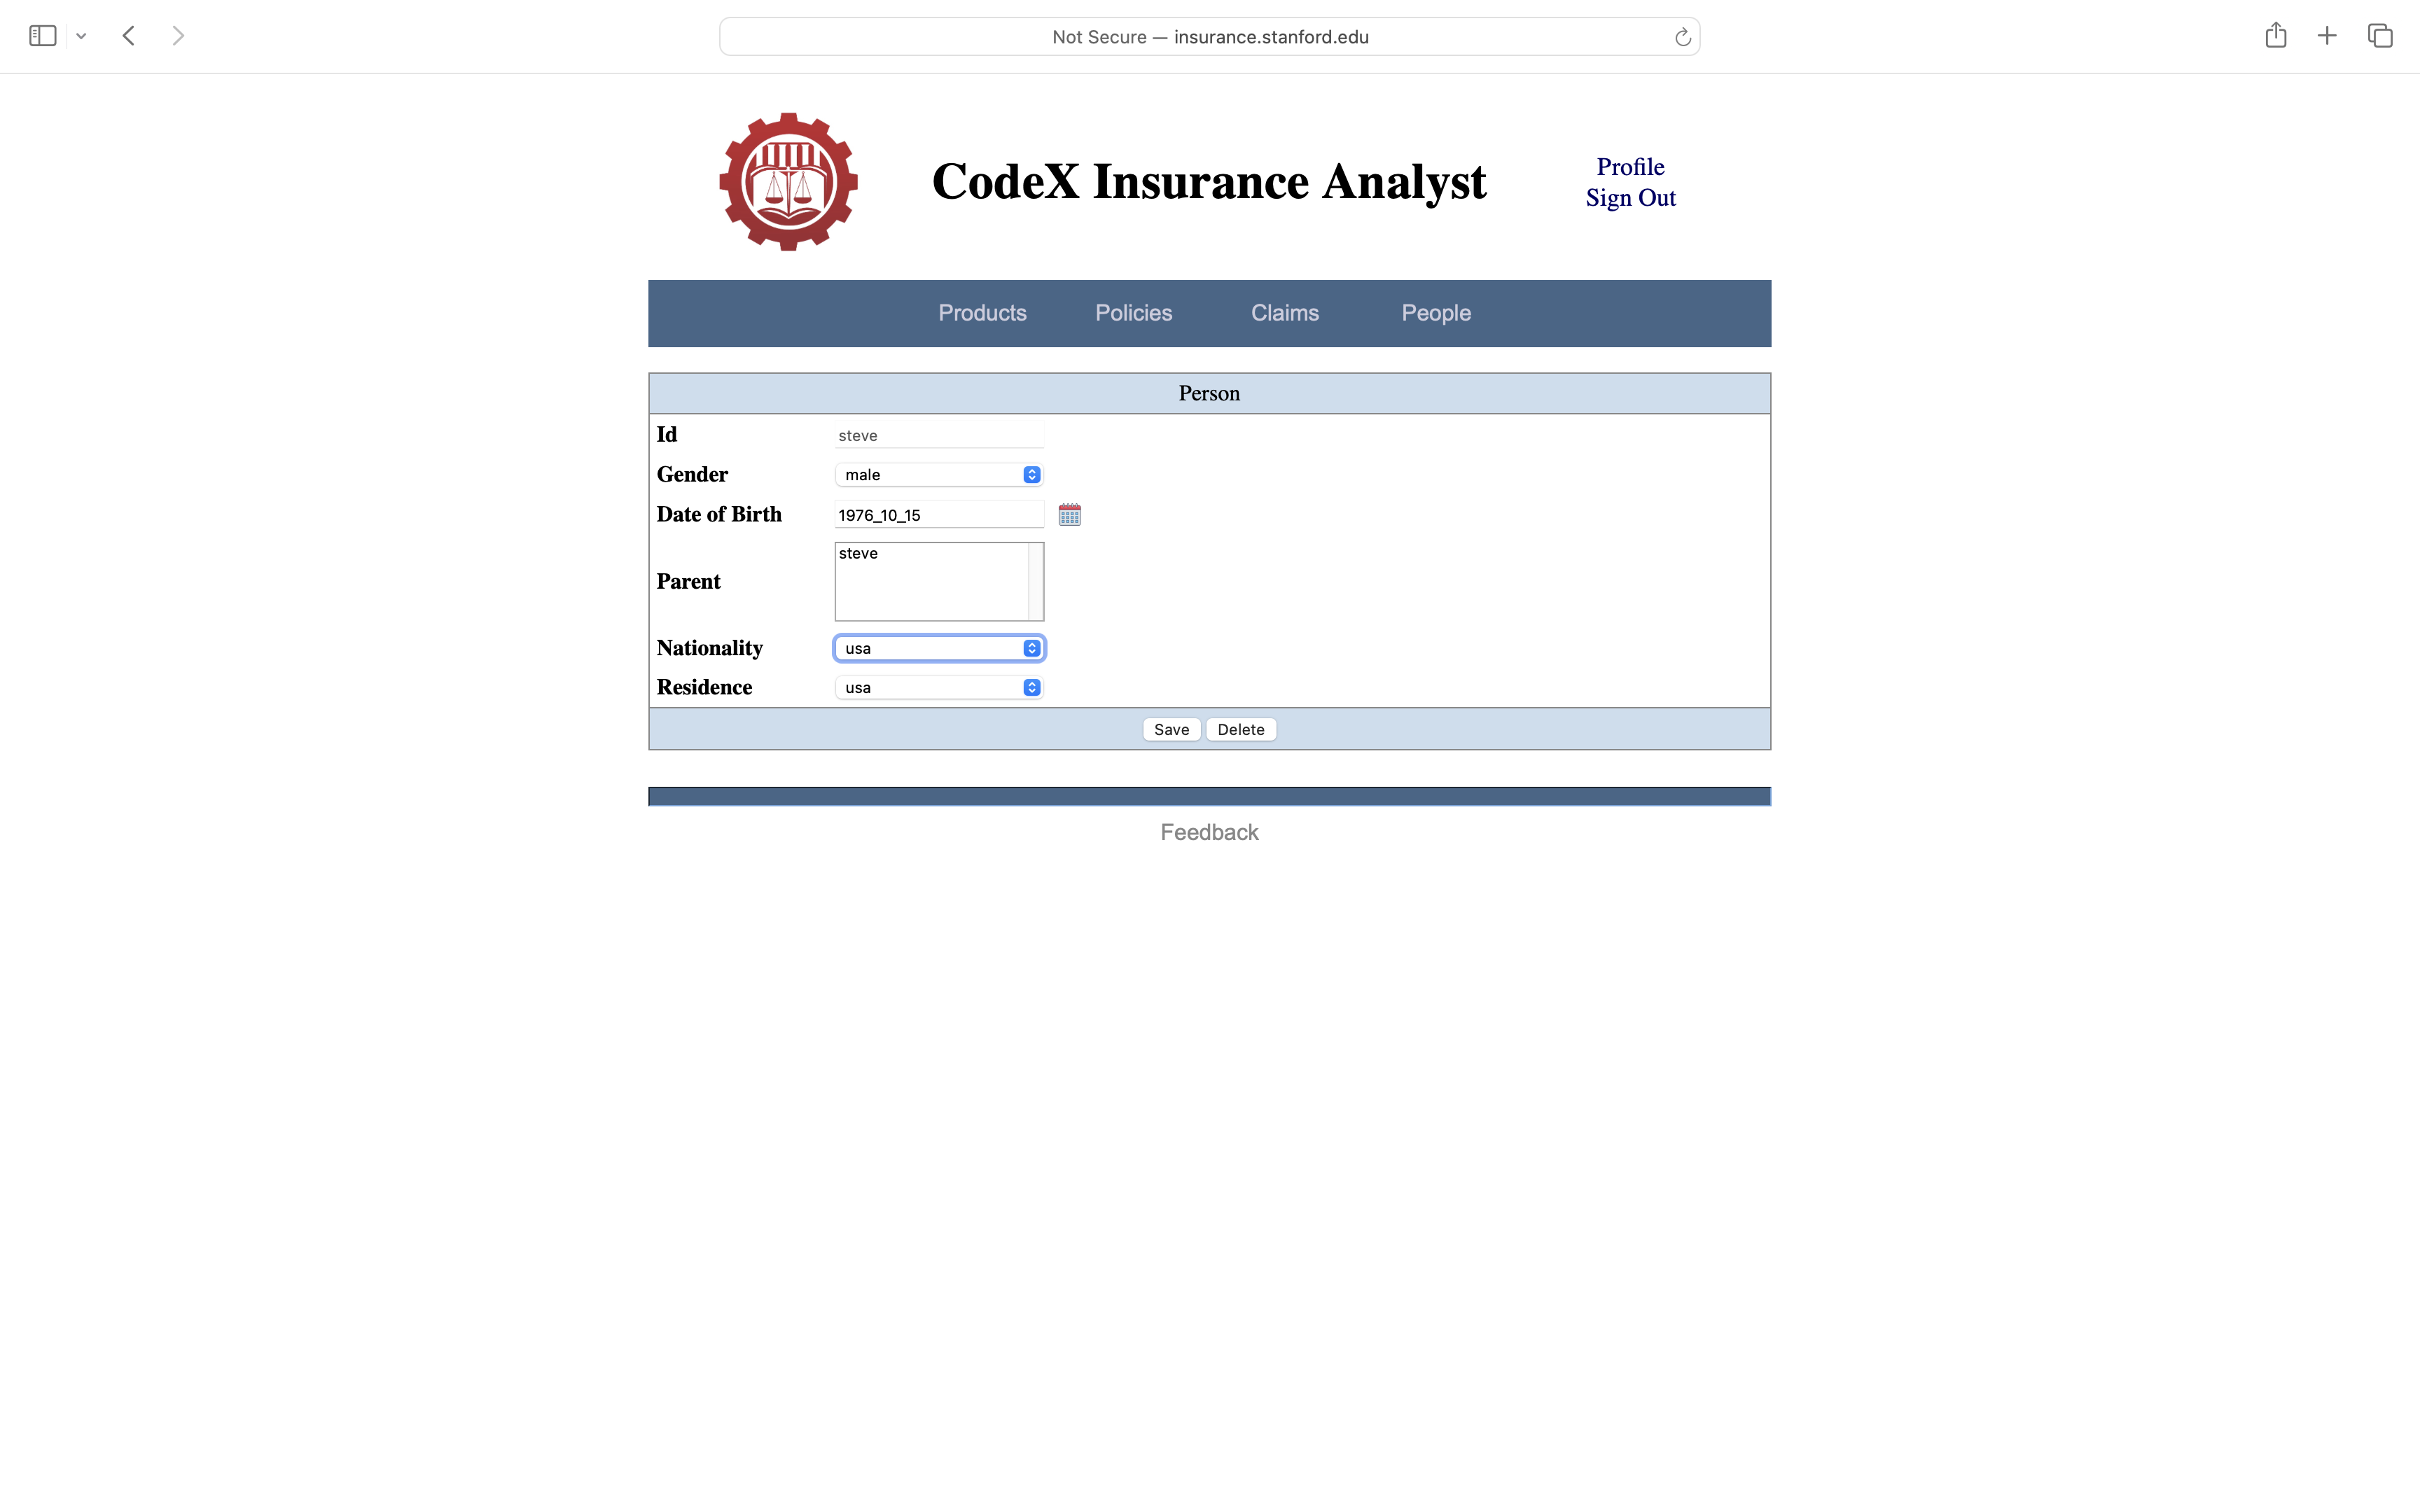
Once we are done, we click the Save button to record that data in the database and return us to the Inspect page, this time showing the updated information.
We click the People button again, and we see that the information has been updated there as well.
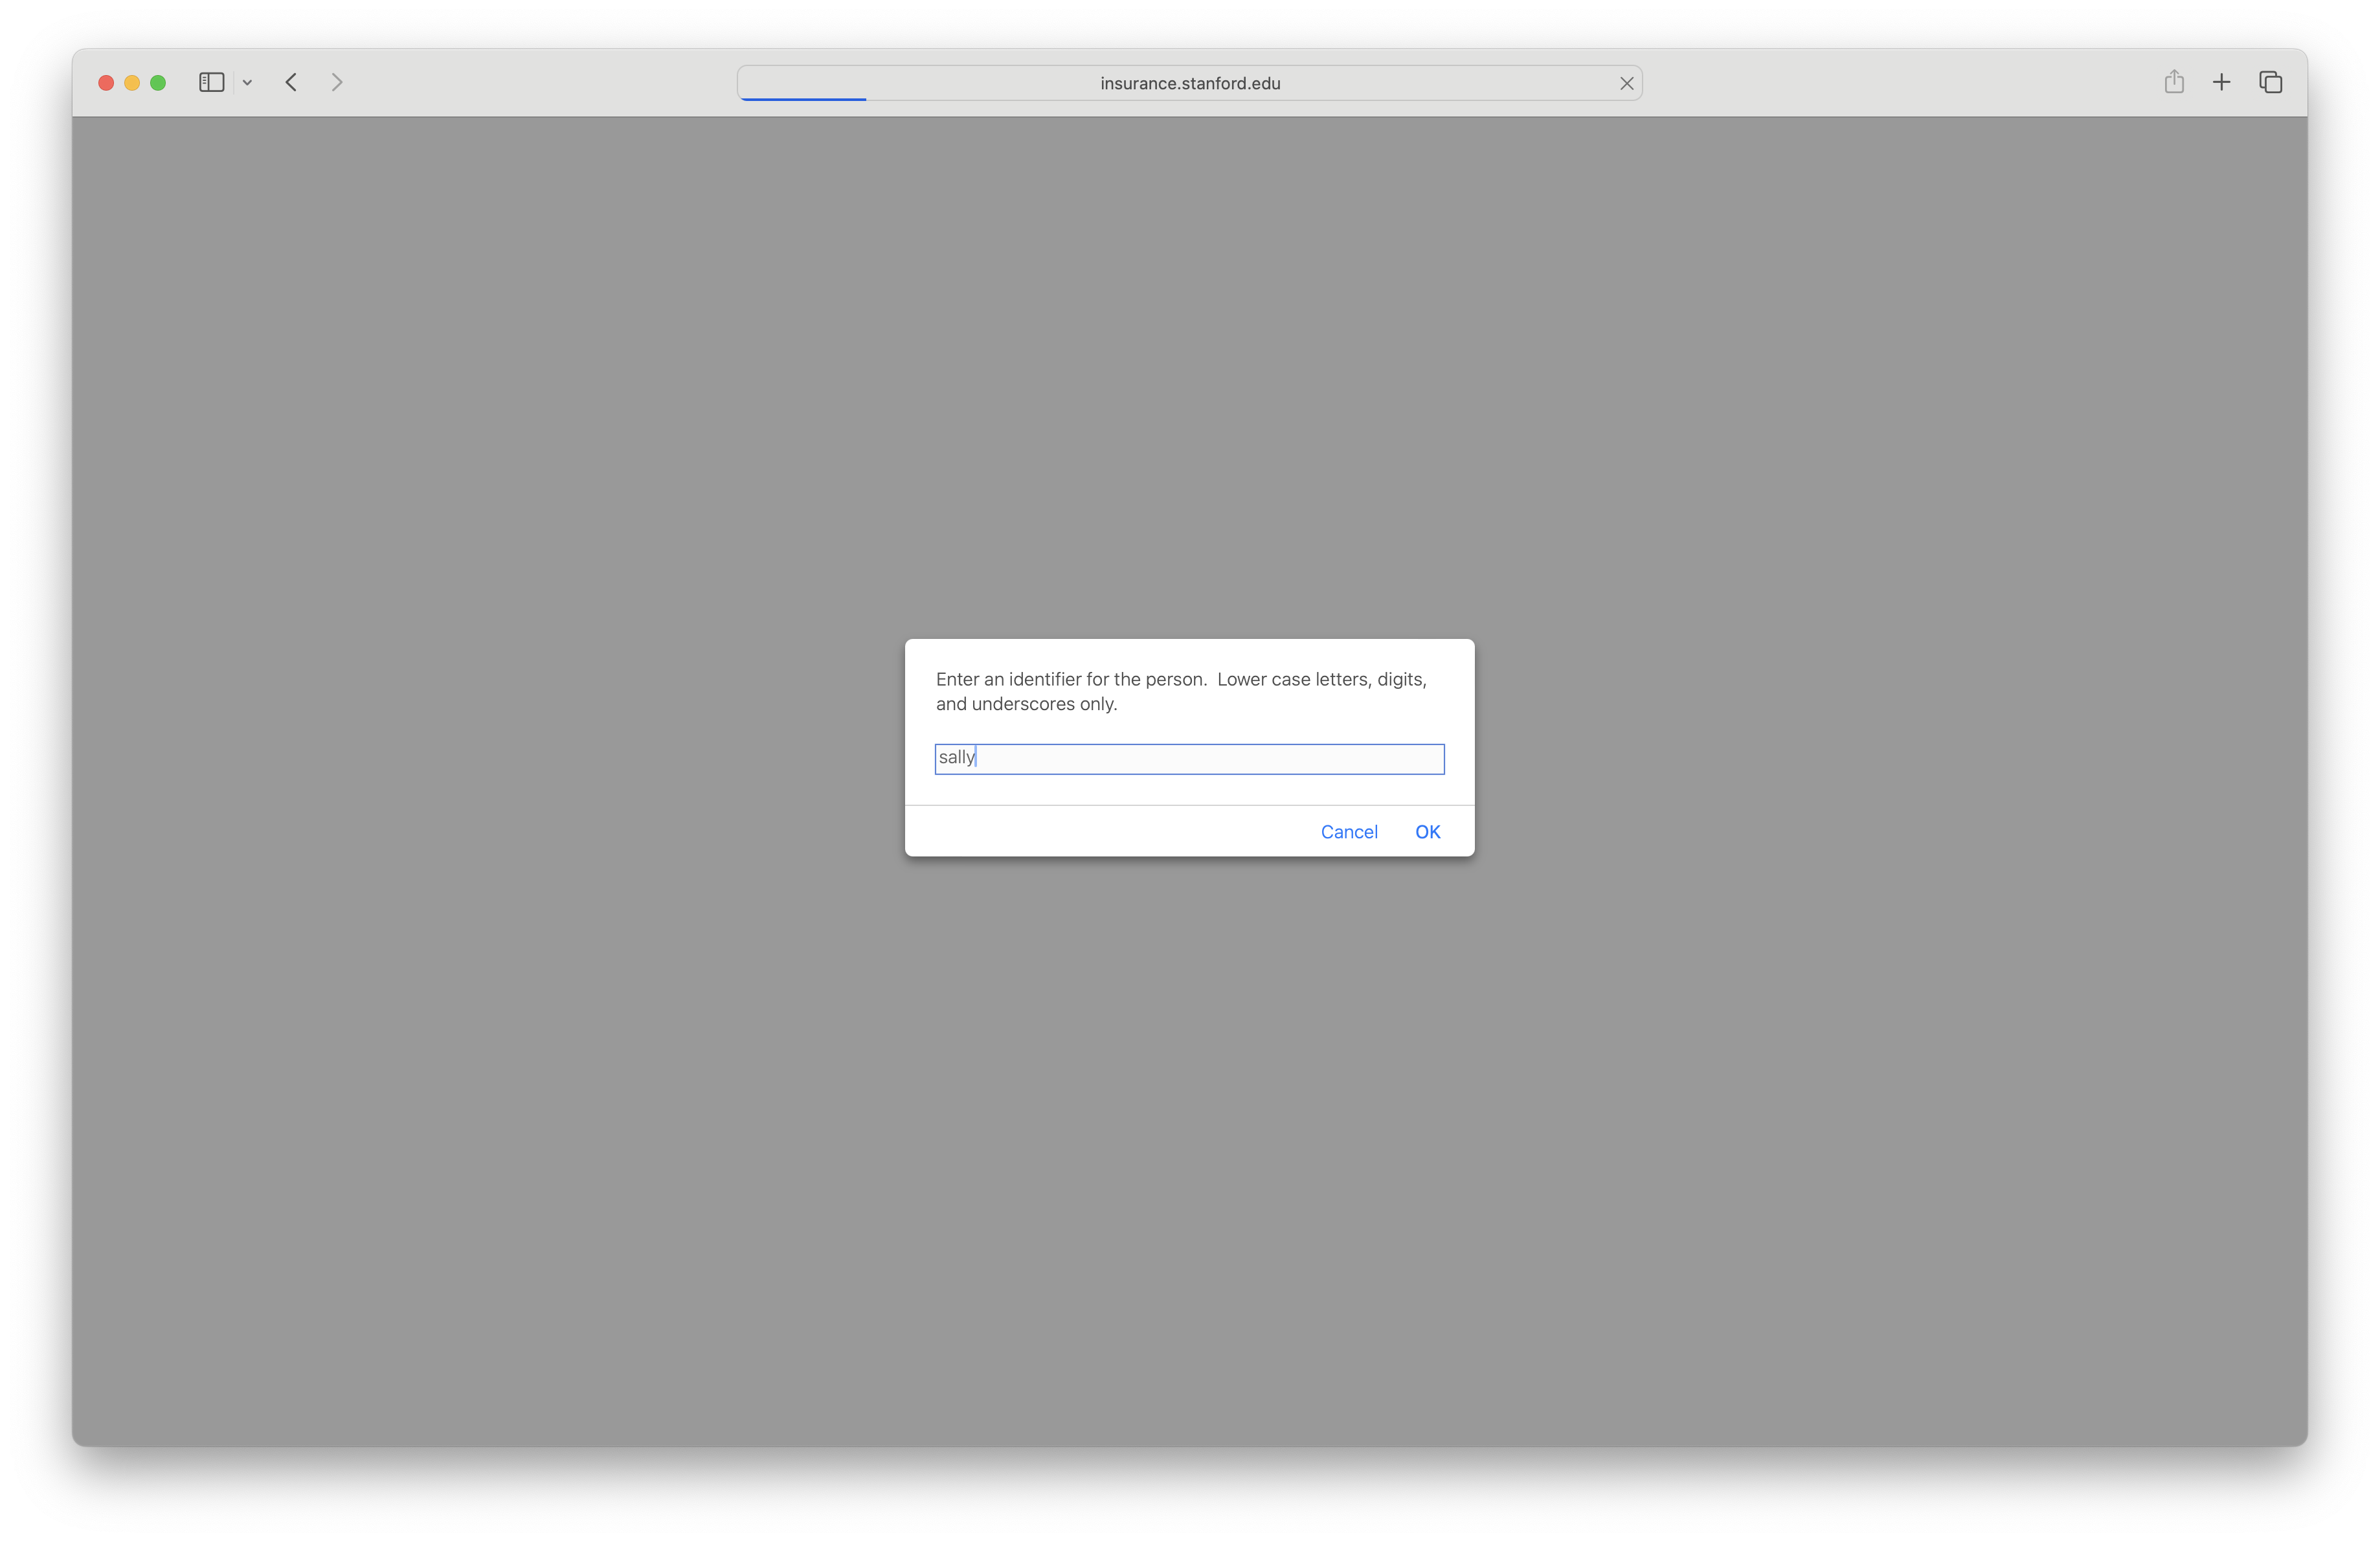
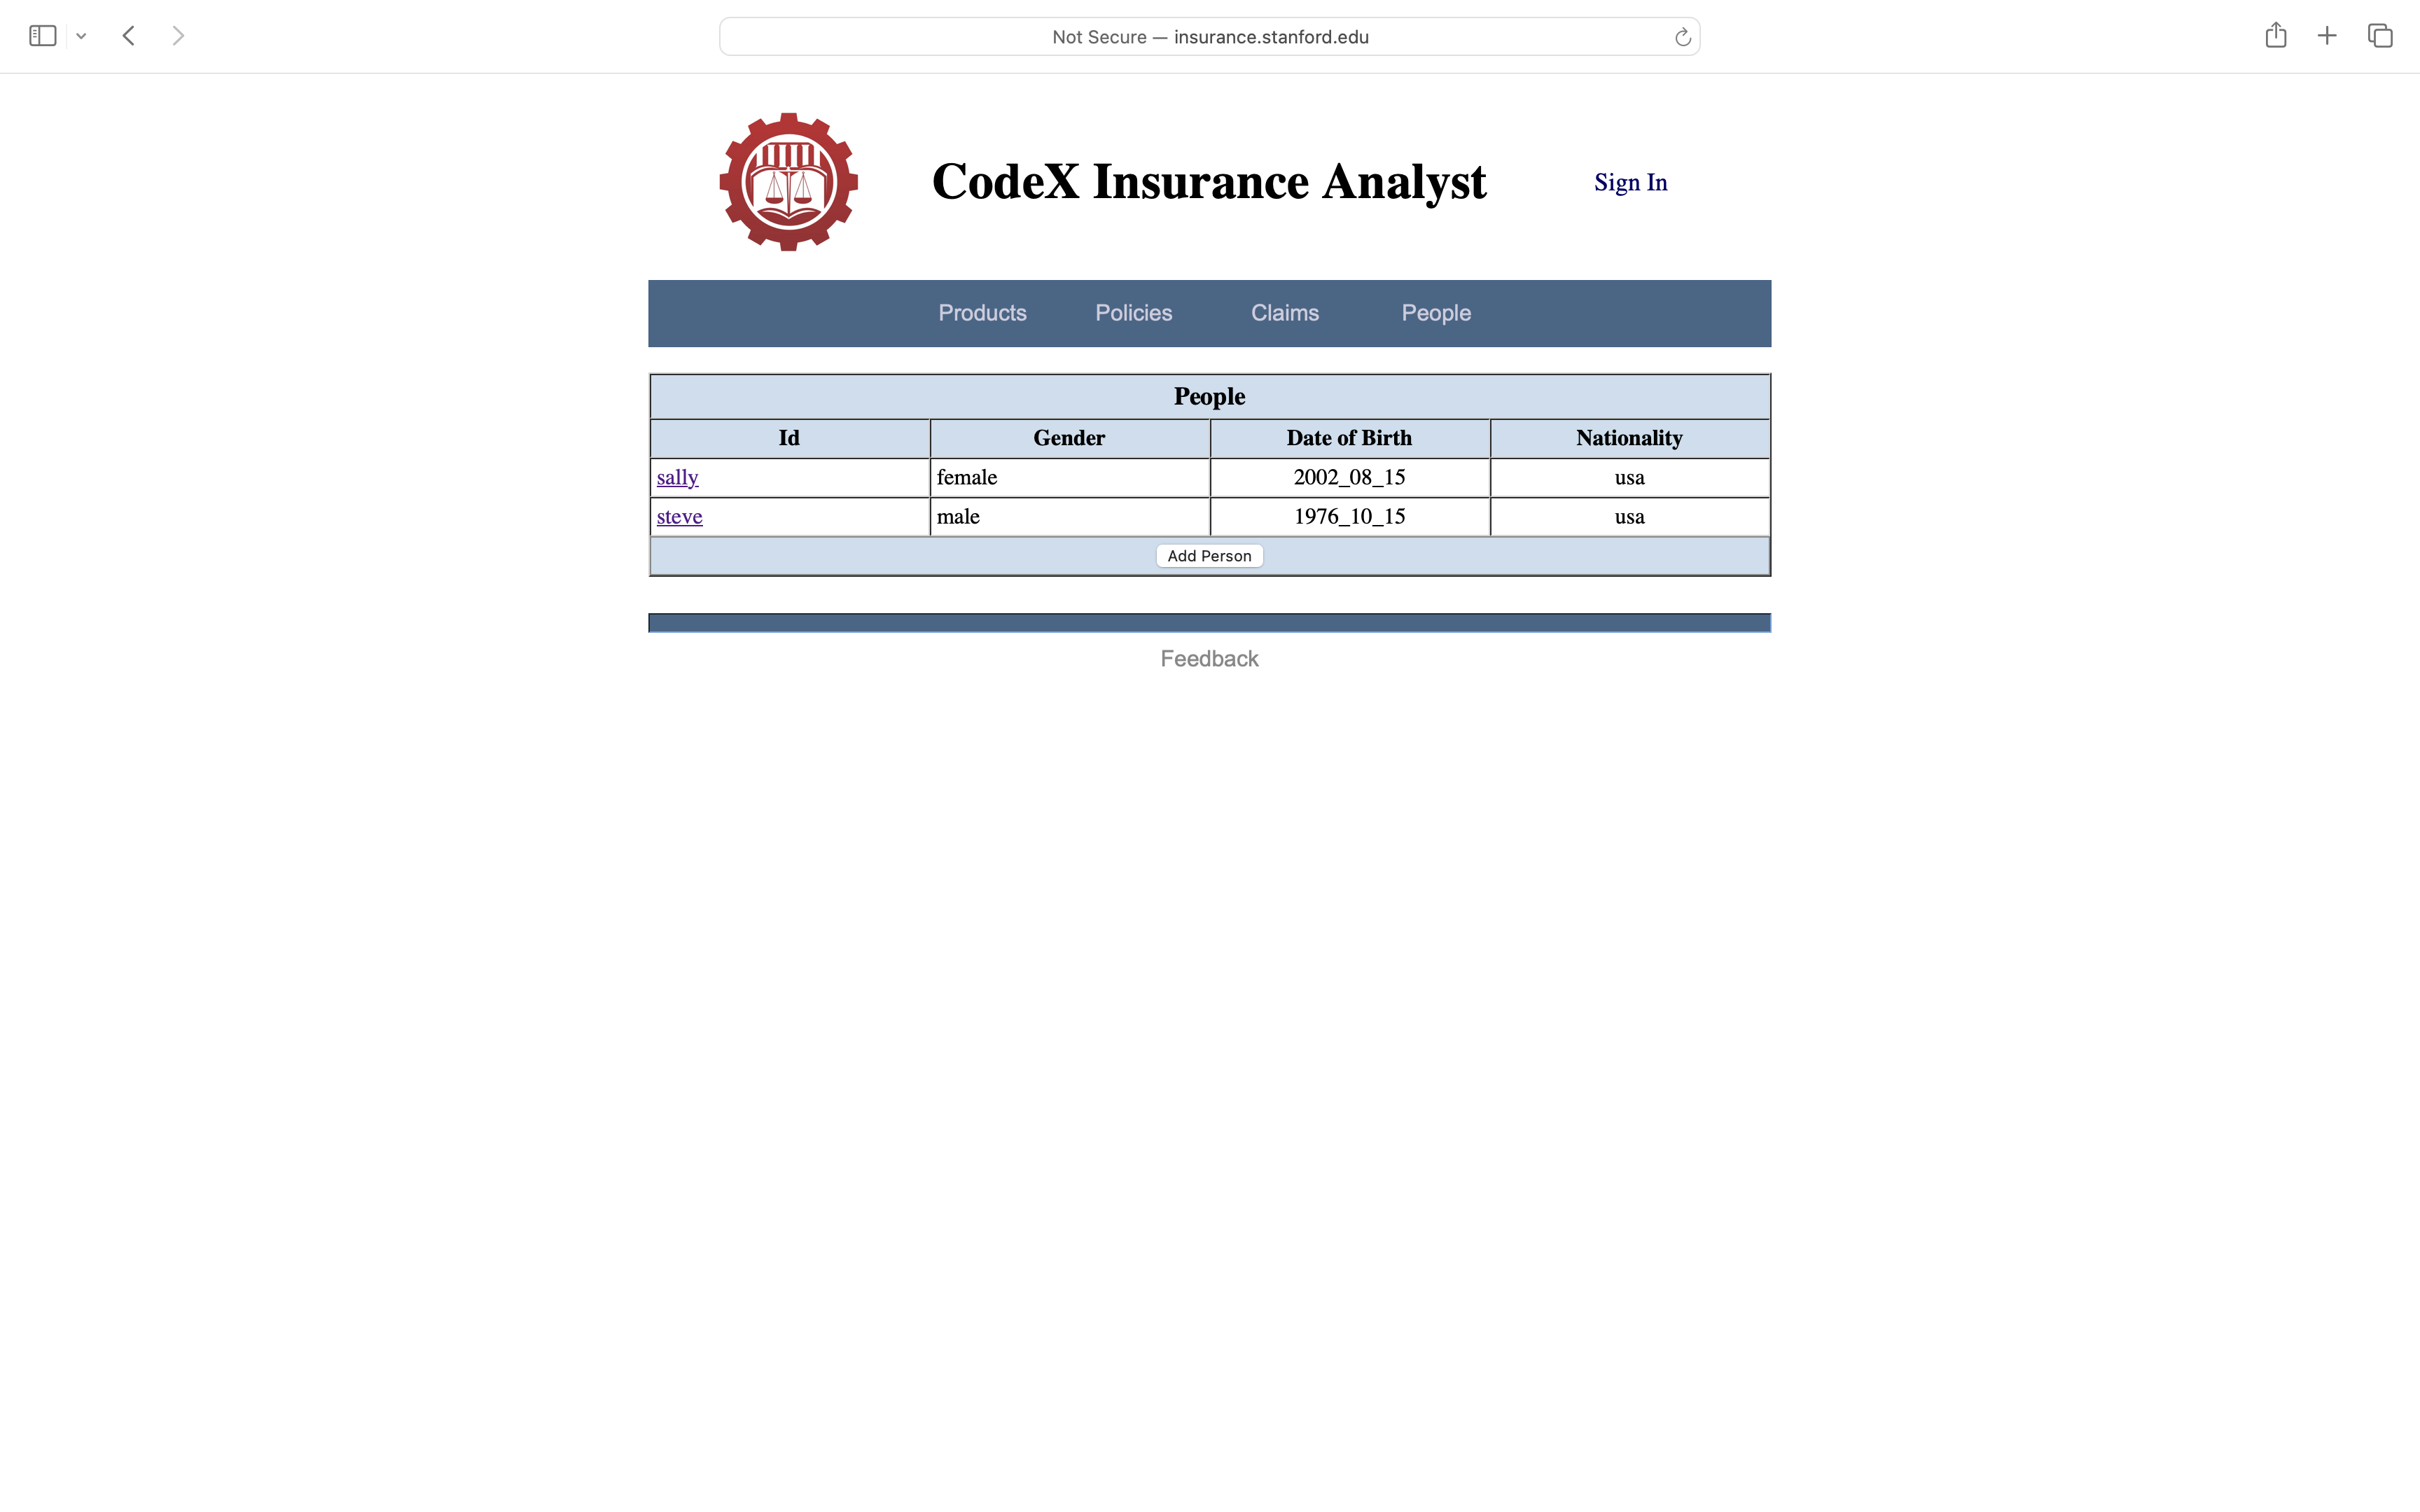
To add another person, we click on the Add Person link at the bottom of the People page. In this case, the system asks us to create an identifier for the person we want to add to CIA. In the current version of the system, we are required to use only lower case letters, digits, and underscores. In this case, we use the identifier sally to refer to Steve's daughter.
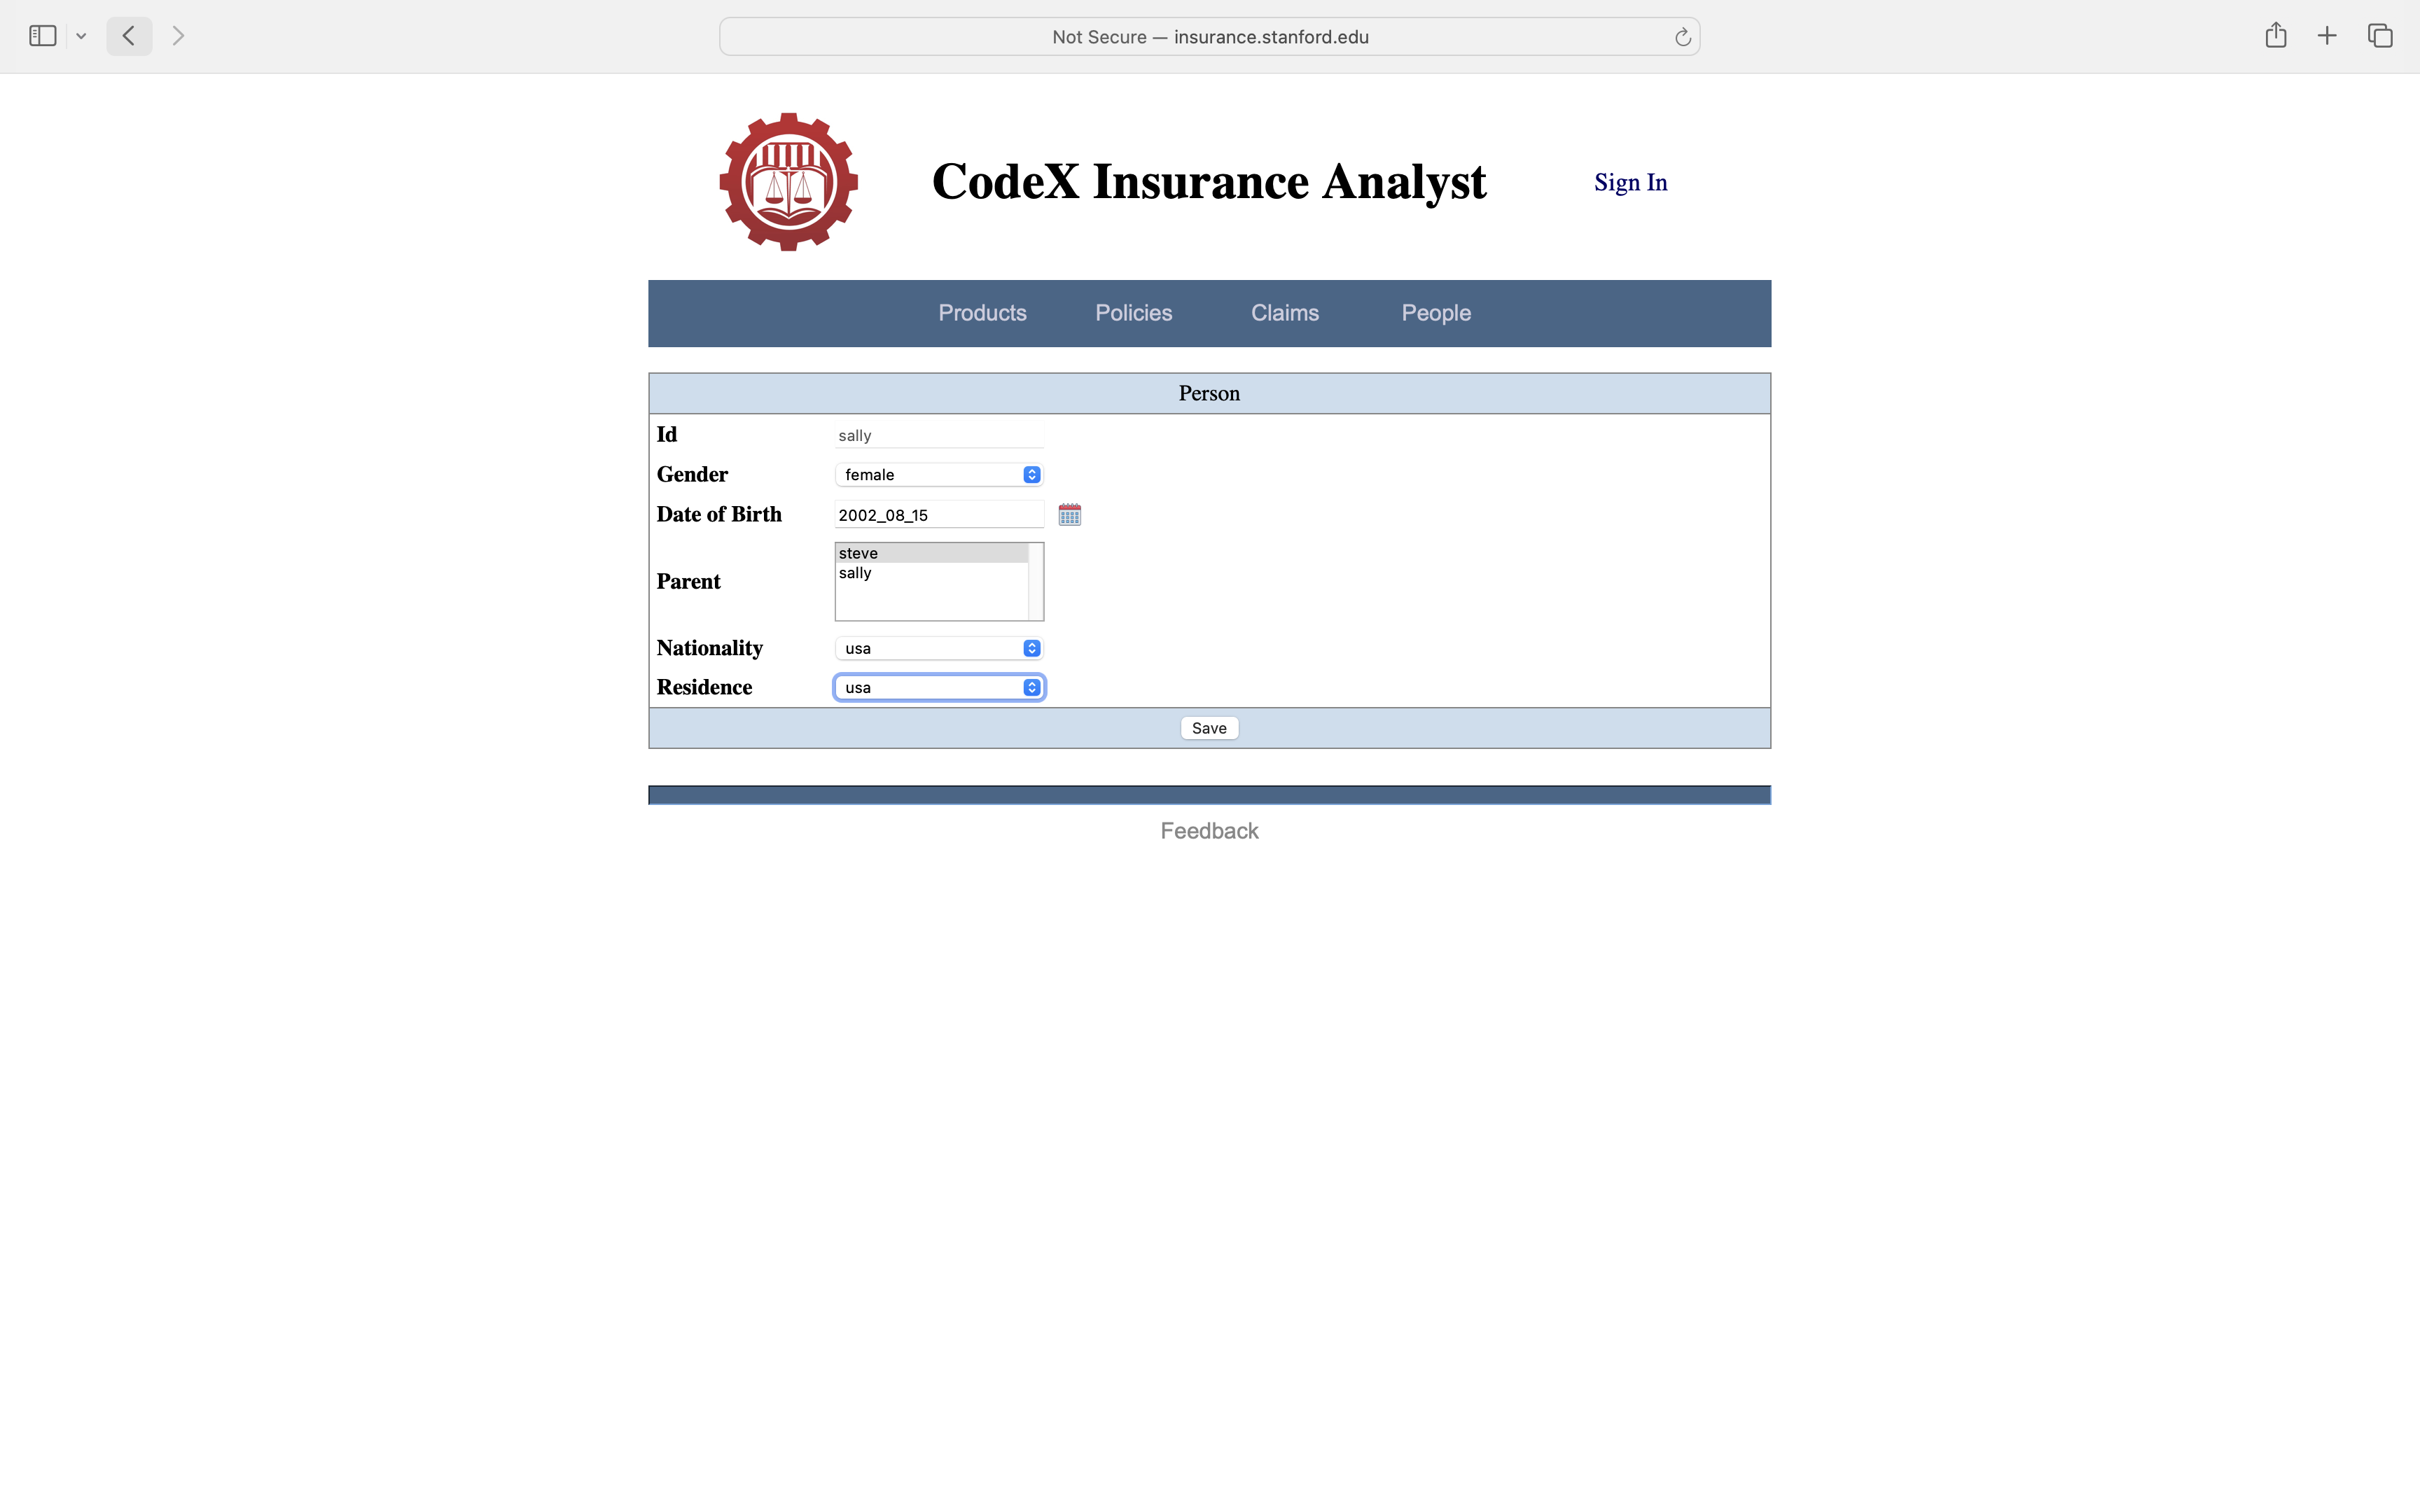
Once again, we are offered a Change page to collect information, this time about Sally. Once again, we enter her gender and date of birth and nationality and country of residence. And once again we click Save to record the information
If we look at the People page, we see that there are two people listed in our CIA database.
5. Products and Policies
Once we have some people in our database, the next step is to create policies. One way to do this is to click on the Products link. Once again, this shows us products known to the system.

Clicking the text icon associated with a product takes us to a brochure describing that product.
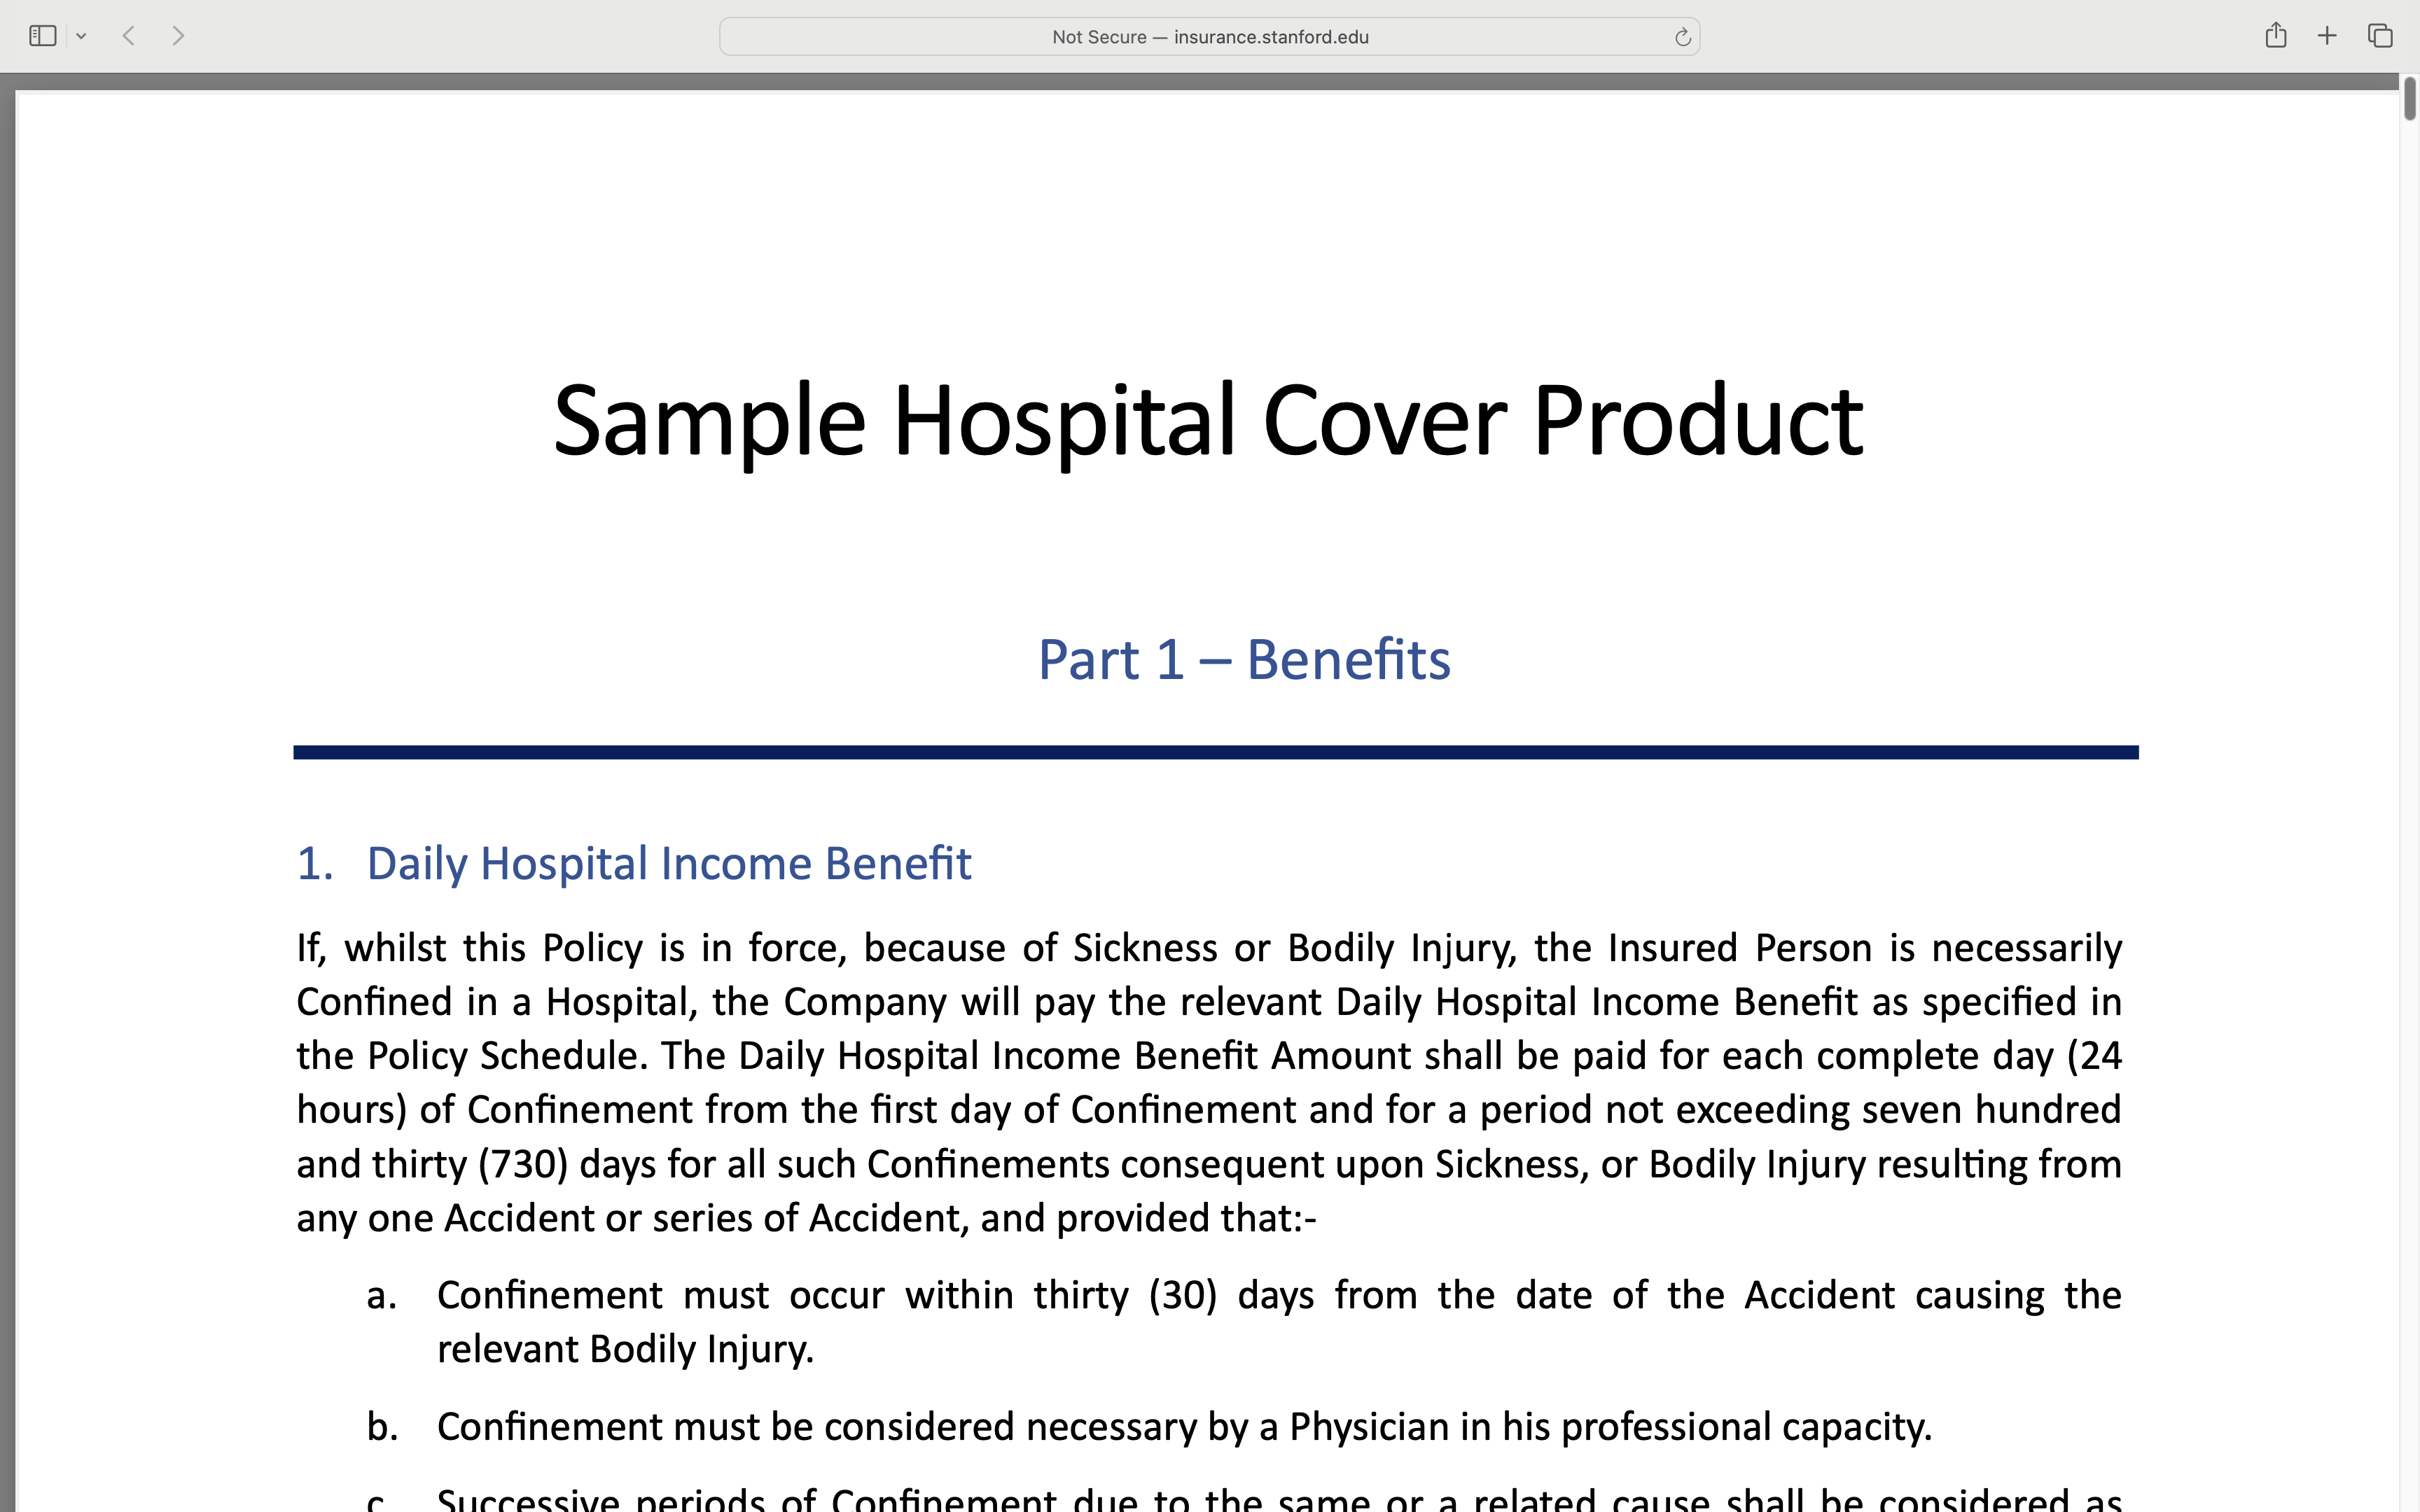
Clicking the + button associated with a product allows us to augment our portfolio with a corresponding insurance policy, i.e. a product together with an insuree, dates, optional "riders", and so forth.
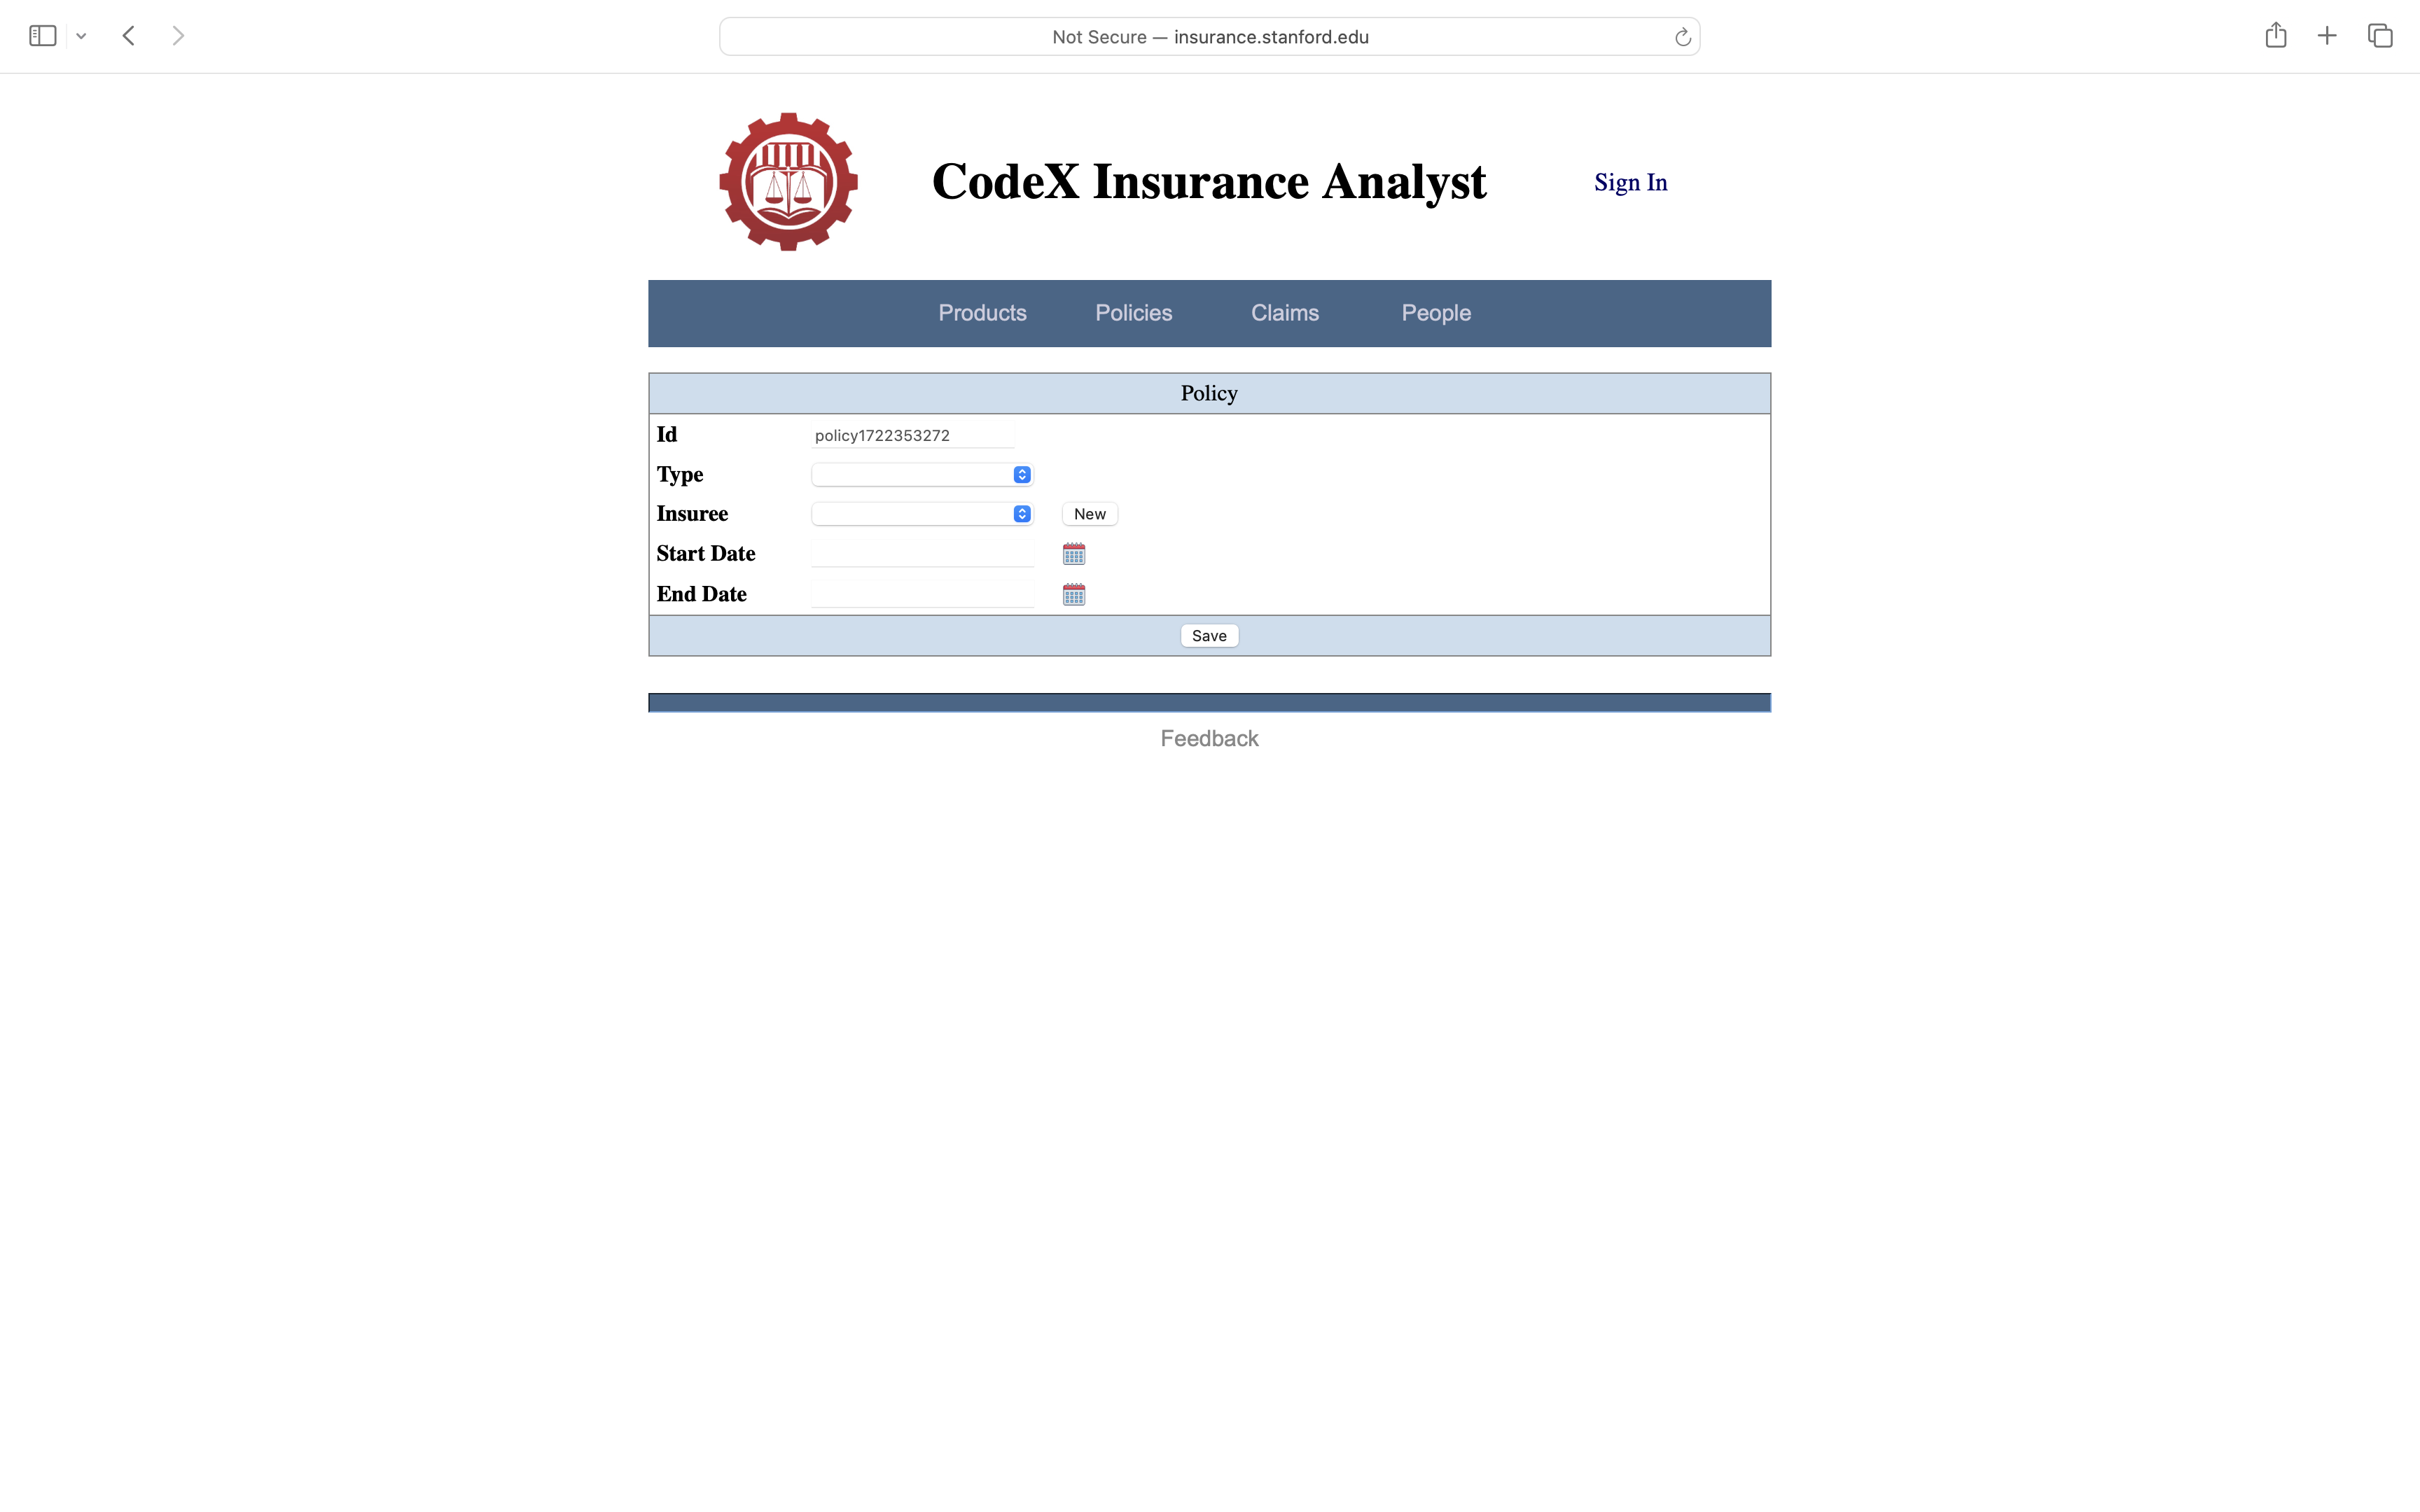
As with people, we add information about the desired policy. Let's say Steve we want to consider a policy with Steve as insuree that runs from January 1 through December 31.
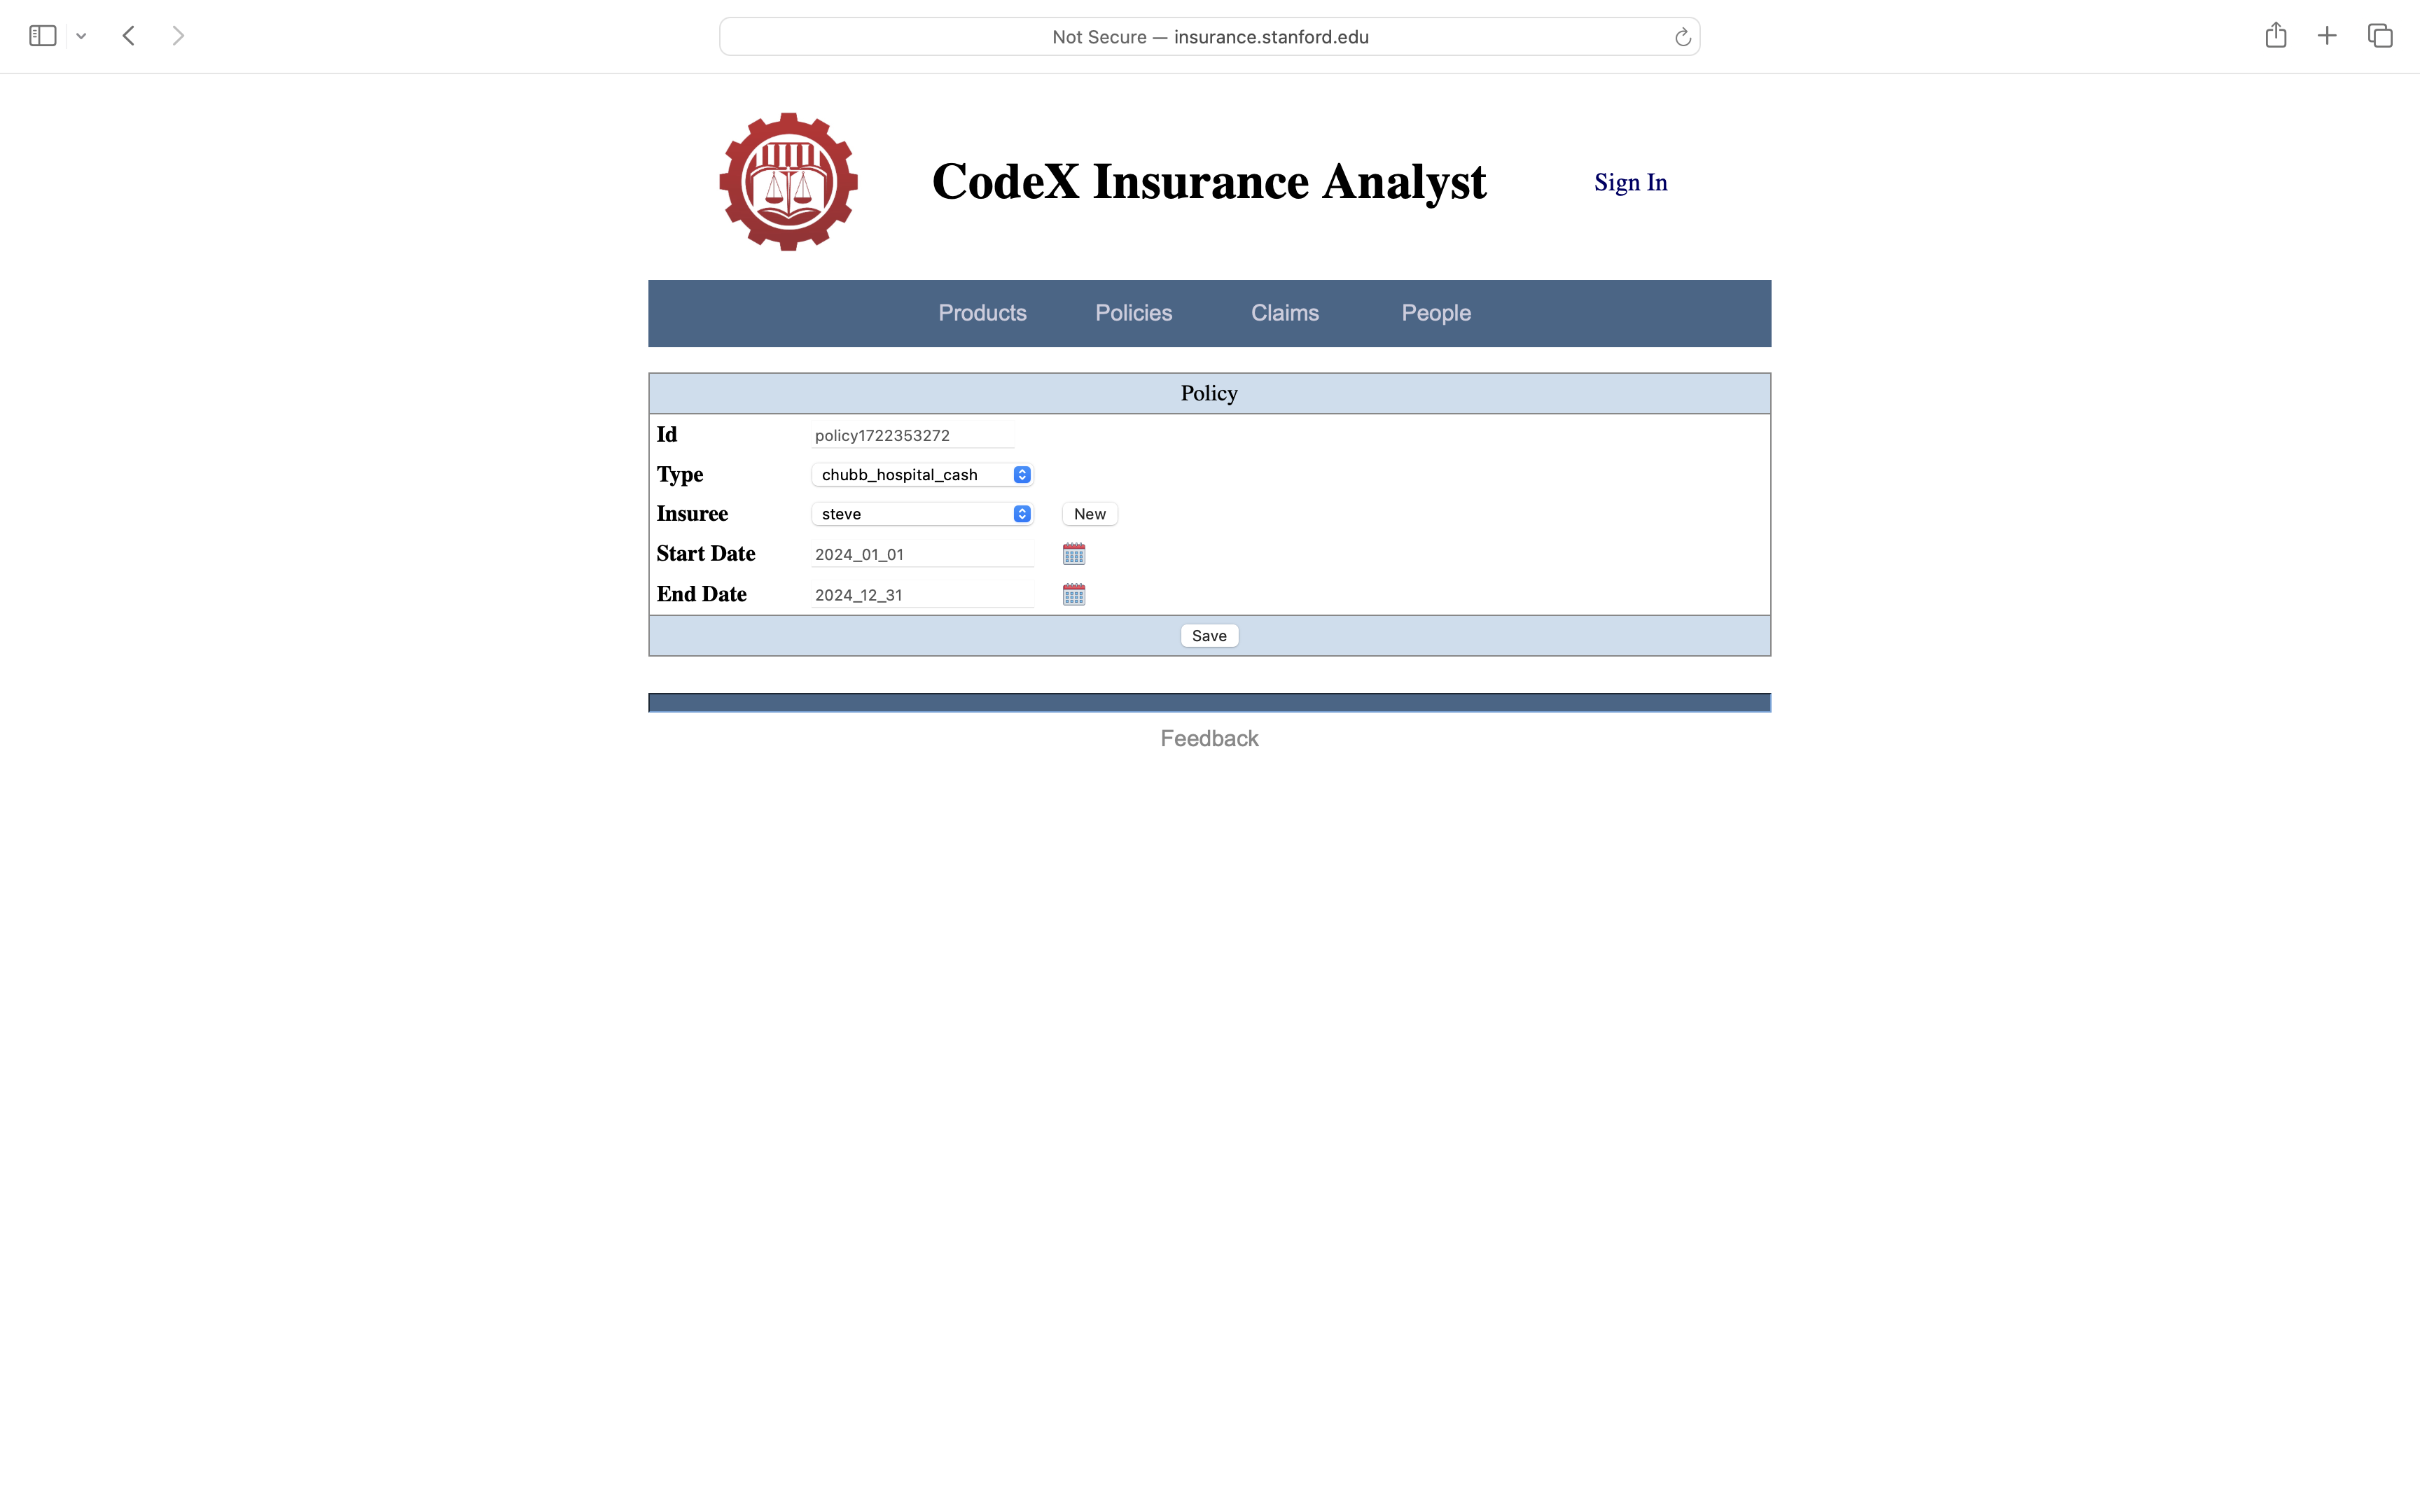
Clicking Save adds the policy into the database for our CIA account.
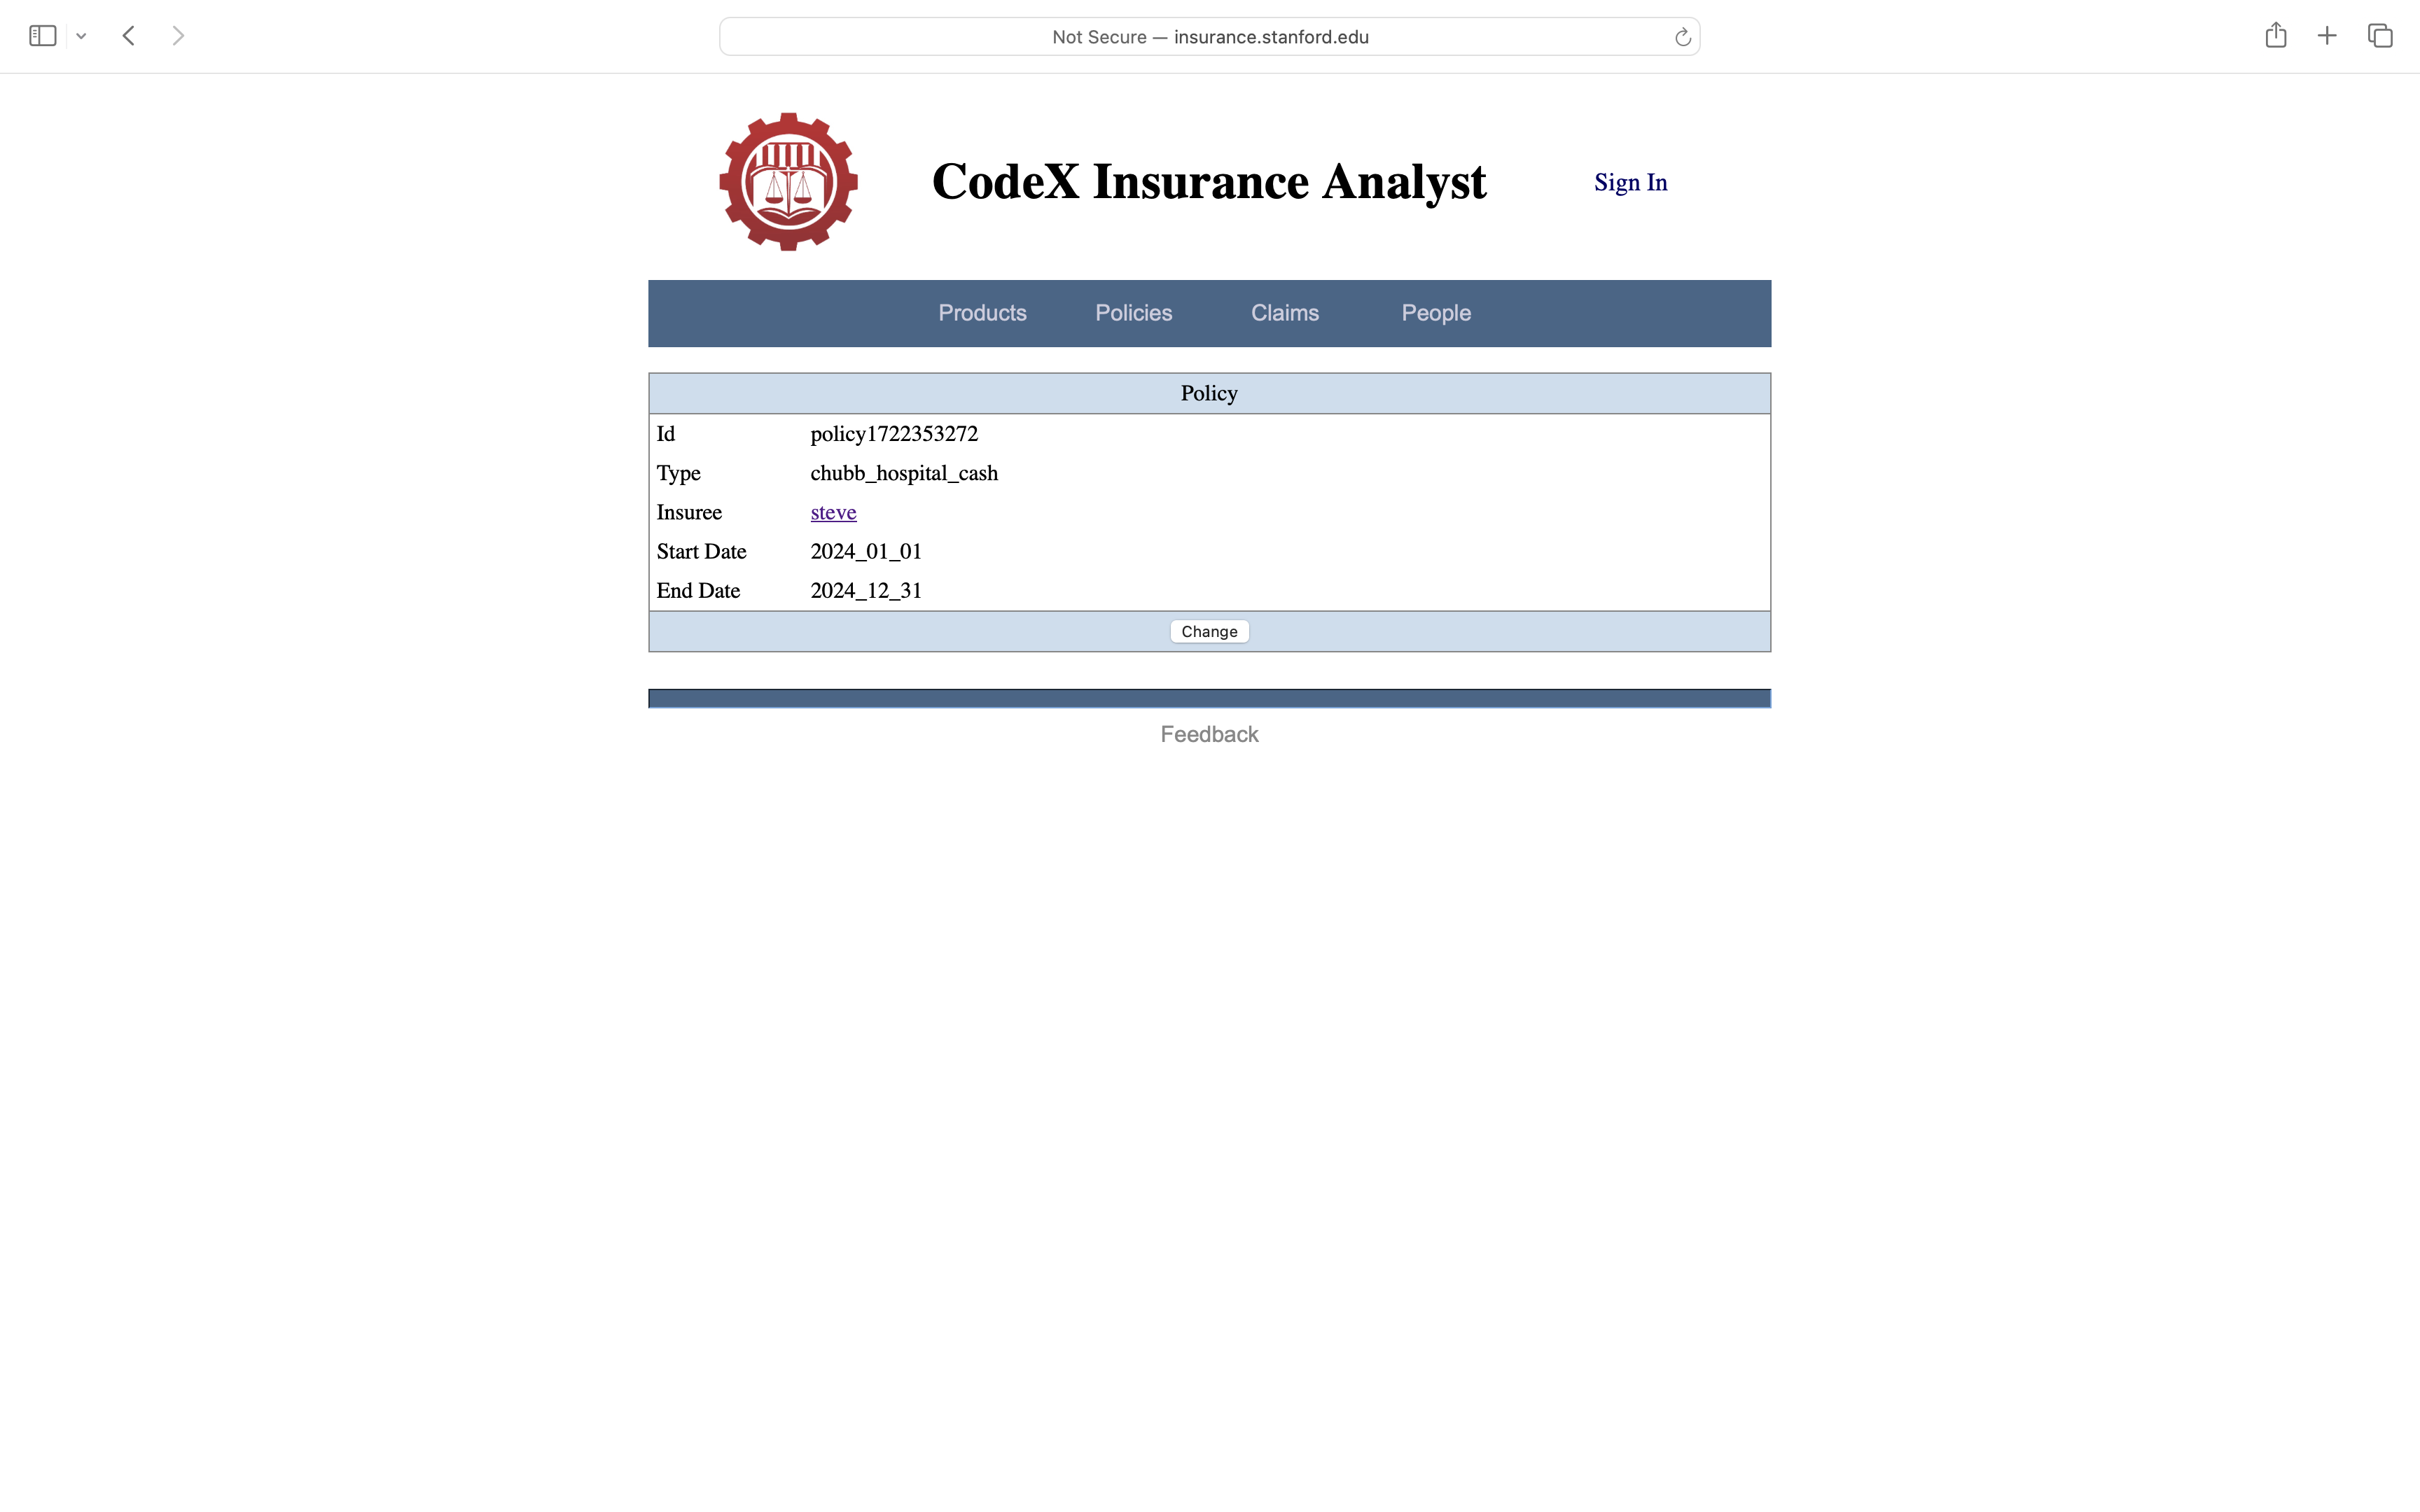
As with People, we can view our policies by going to the Policies page. In this case, we see that we now have one policy, the one we just created.
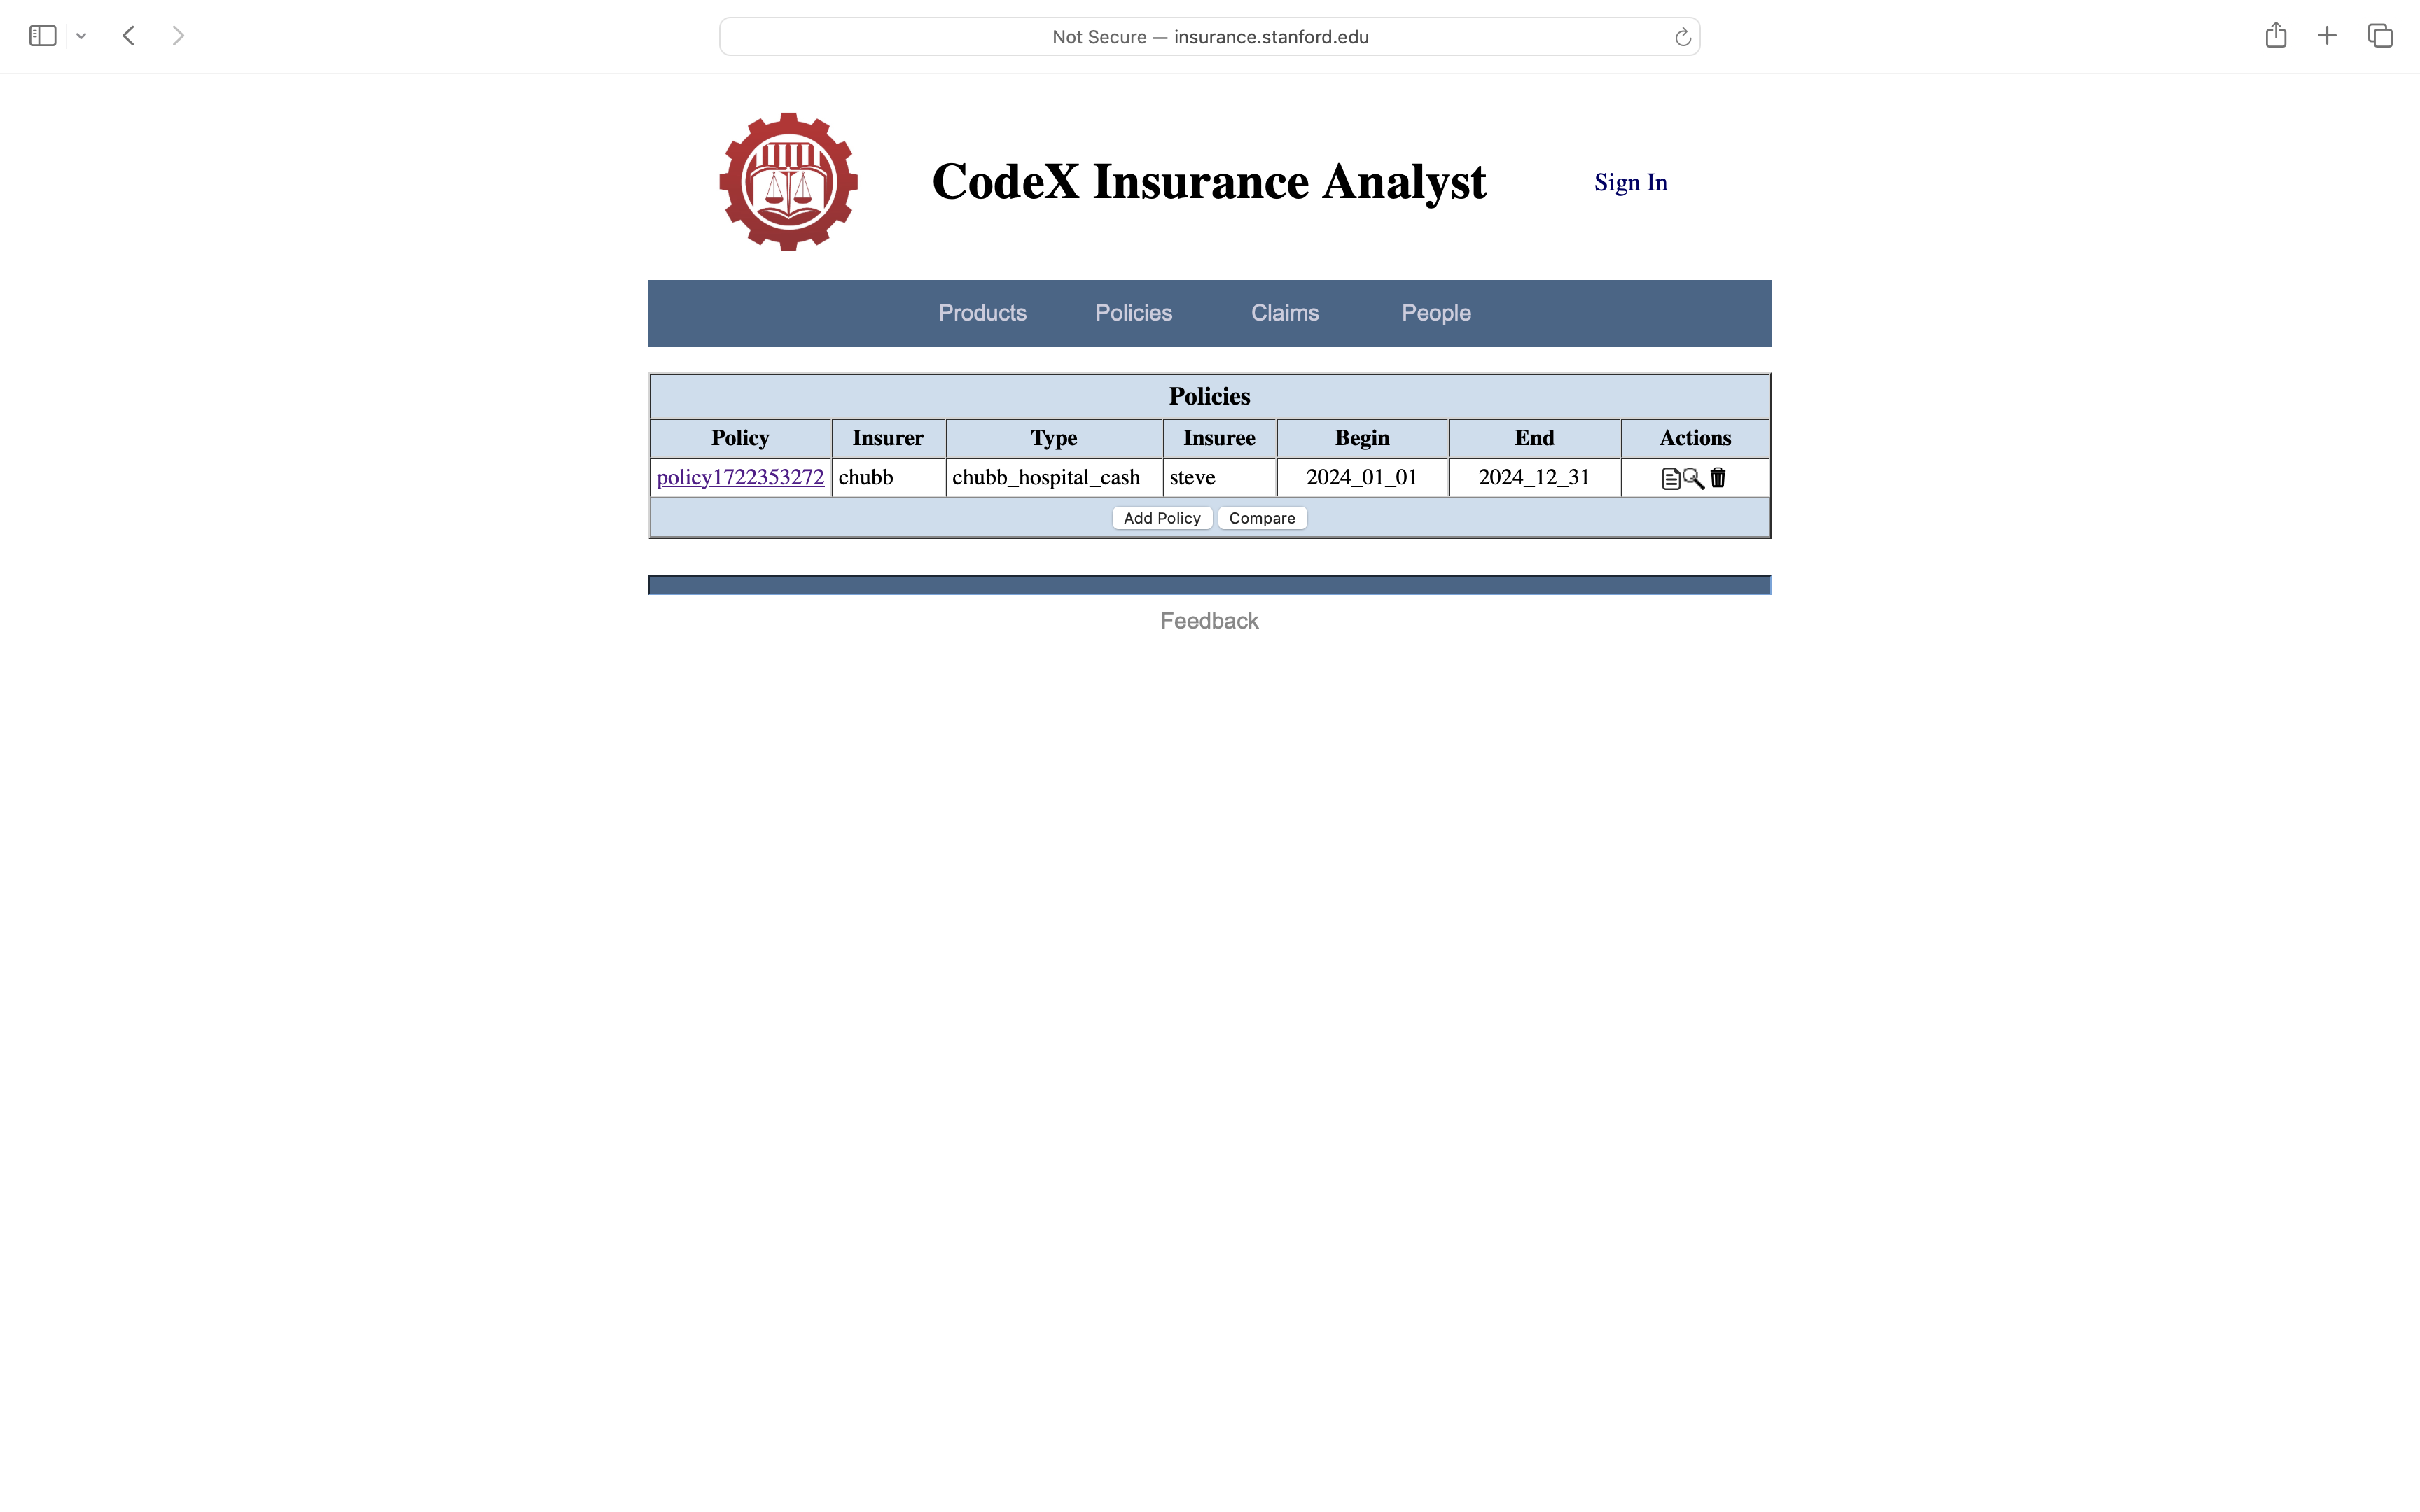
At the bottom of the policies table, there are buttons labeled Add Policy and Compare. Clicking the Add Policy button allows us to add more policies to our portfolio. Clicking the Compare button allows us to compare policies.
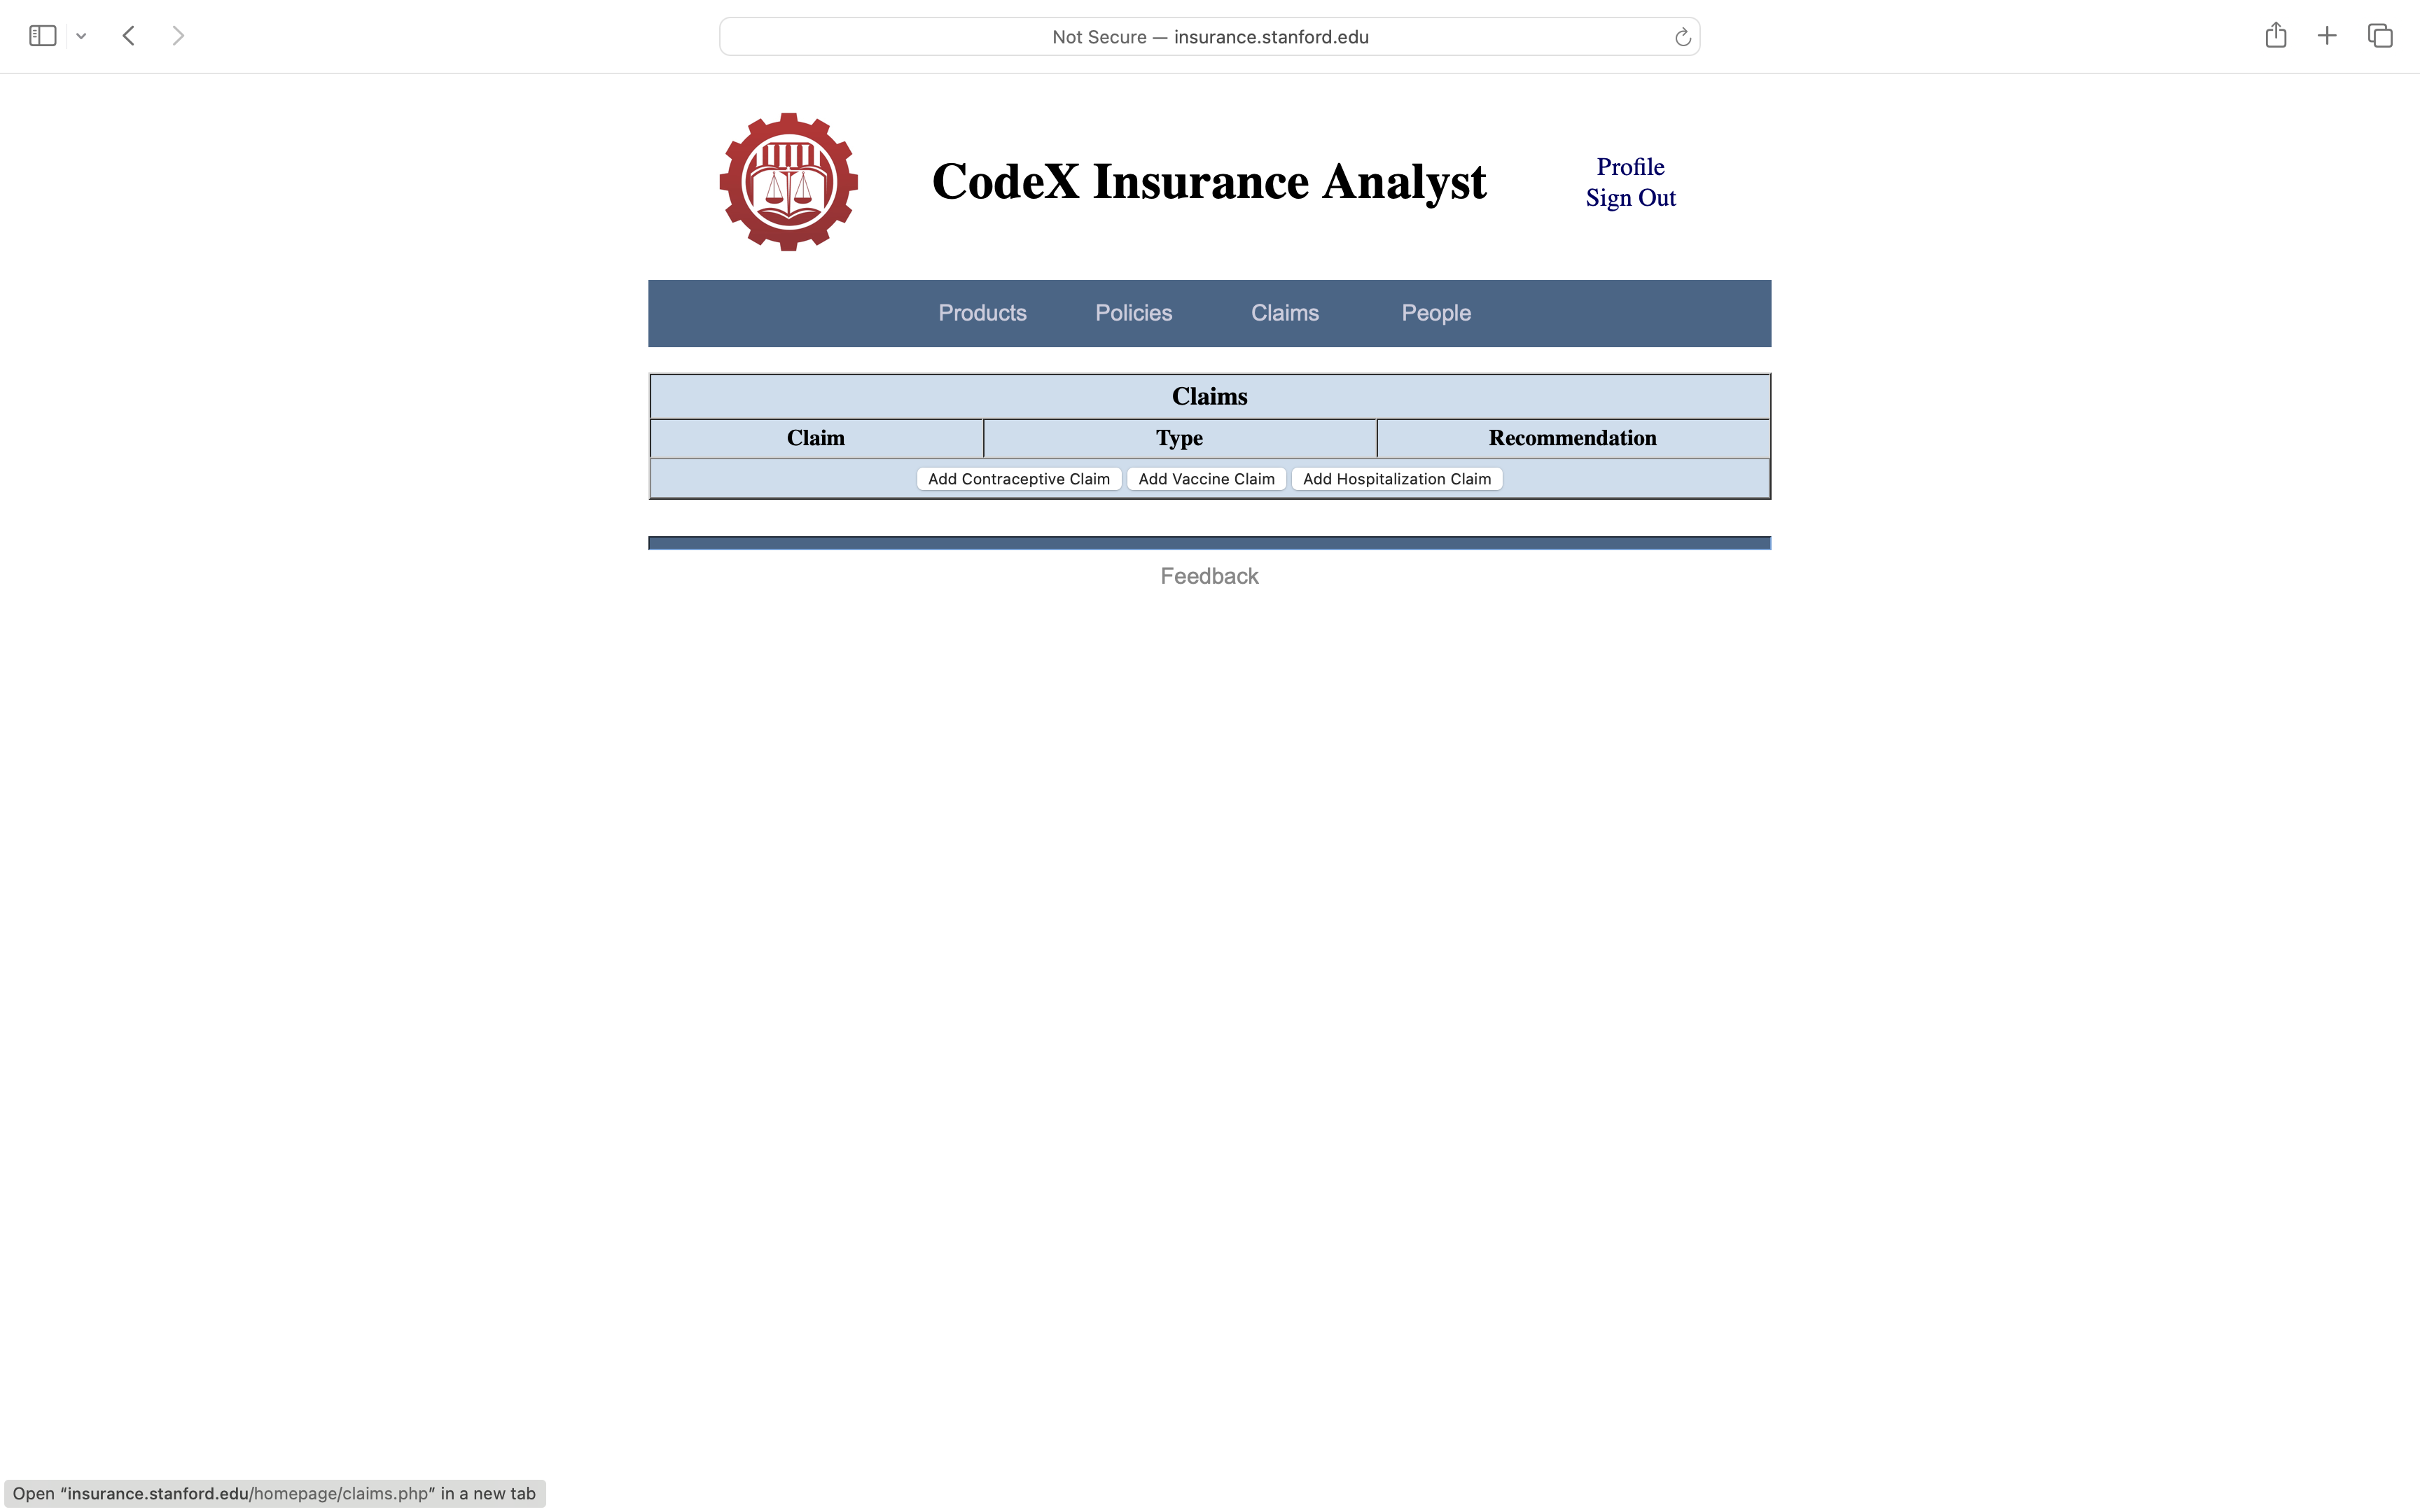
6. Claims
Finally, with some people in the database and a policy or two, we can do some Claims analysis. To this end, we click on the Claims link on the Dashboard or in the command bar to see our (initially empty) table of claims. At the bottom of the claims table, there are buttons labeled Add Contraceptive Claim and Add Vaccine Claim and Add Hospitalization Claim . Clicking one of these buttons allows one to create a new claim of the specified type.
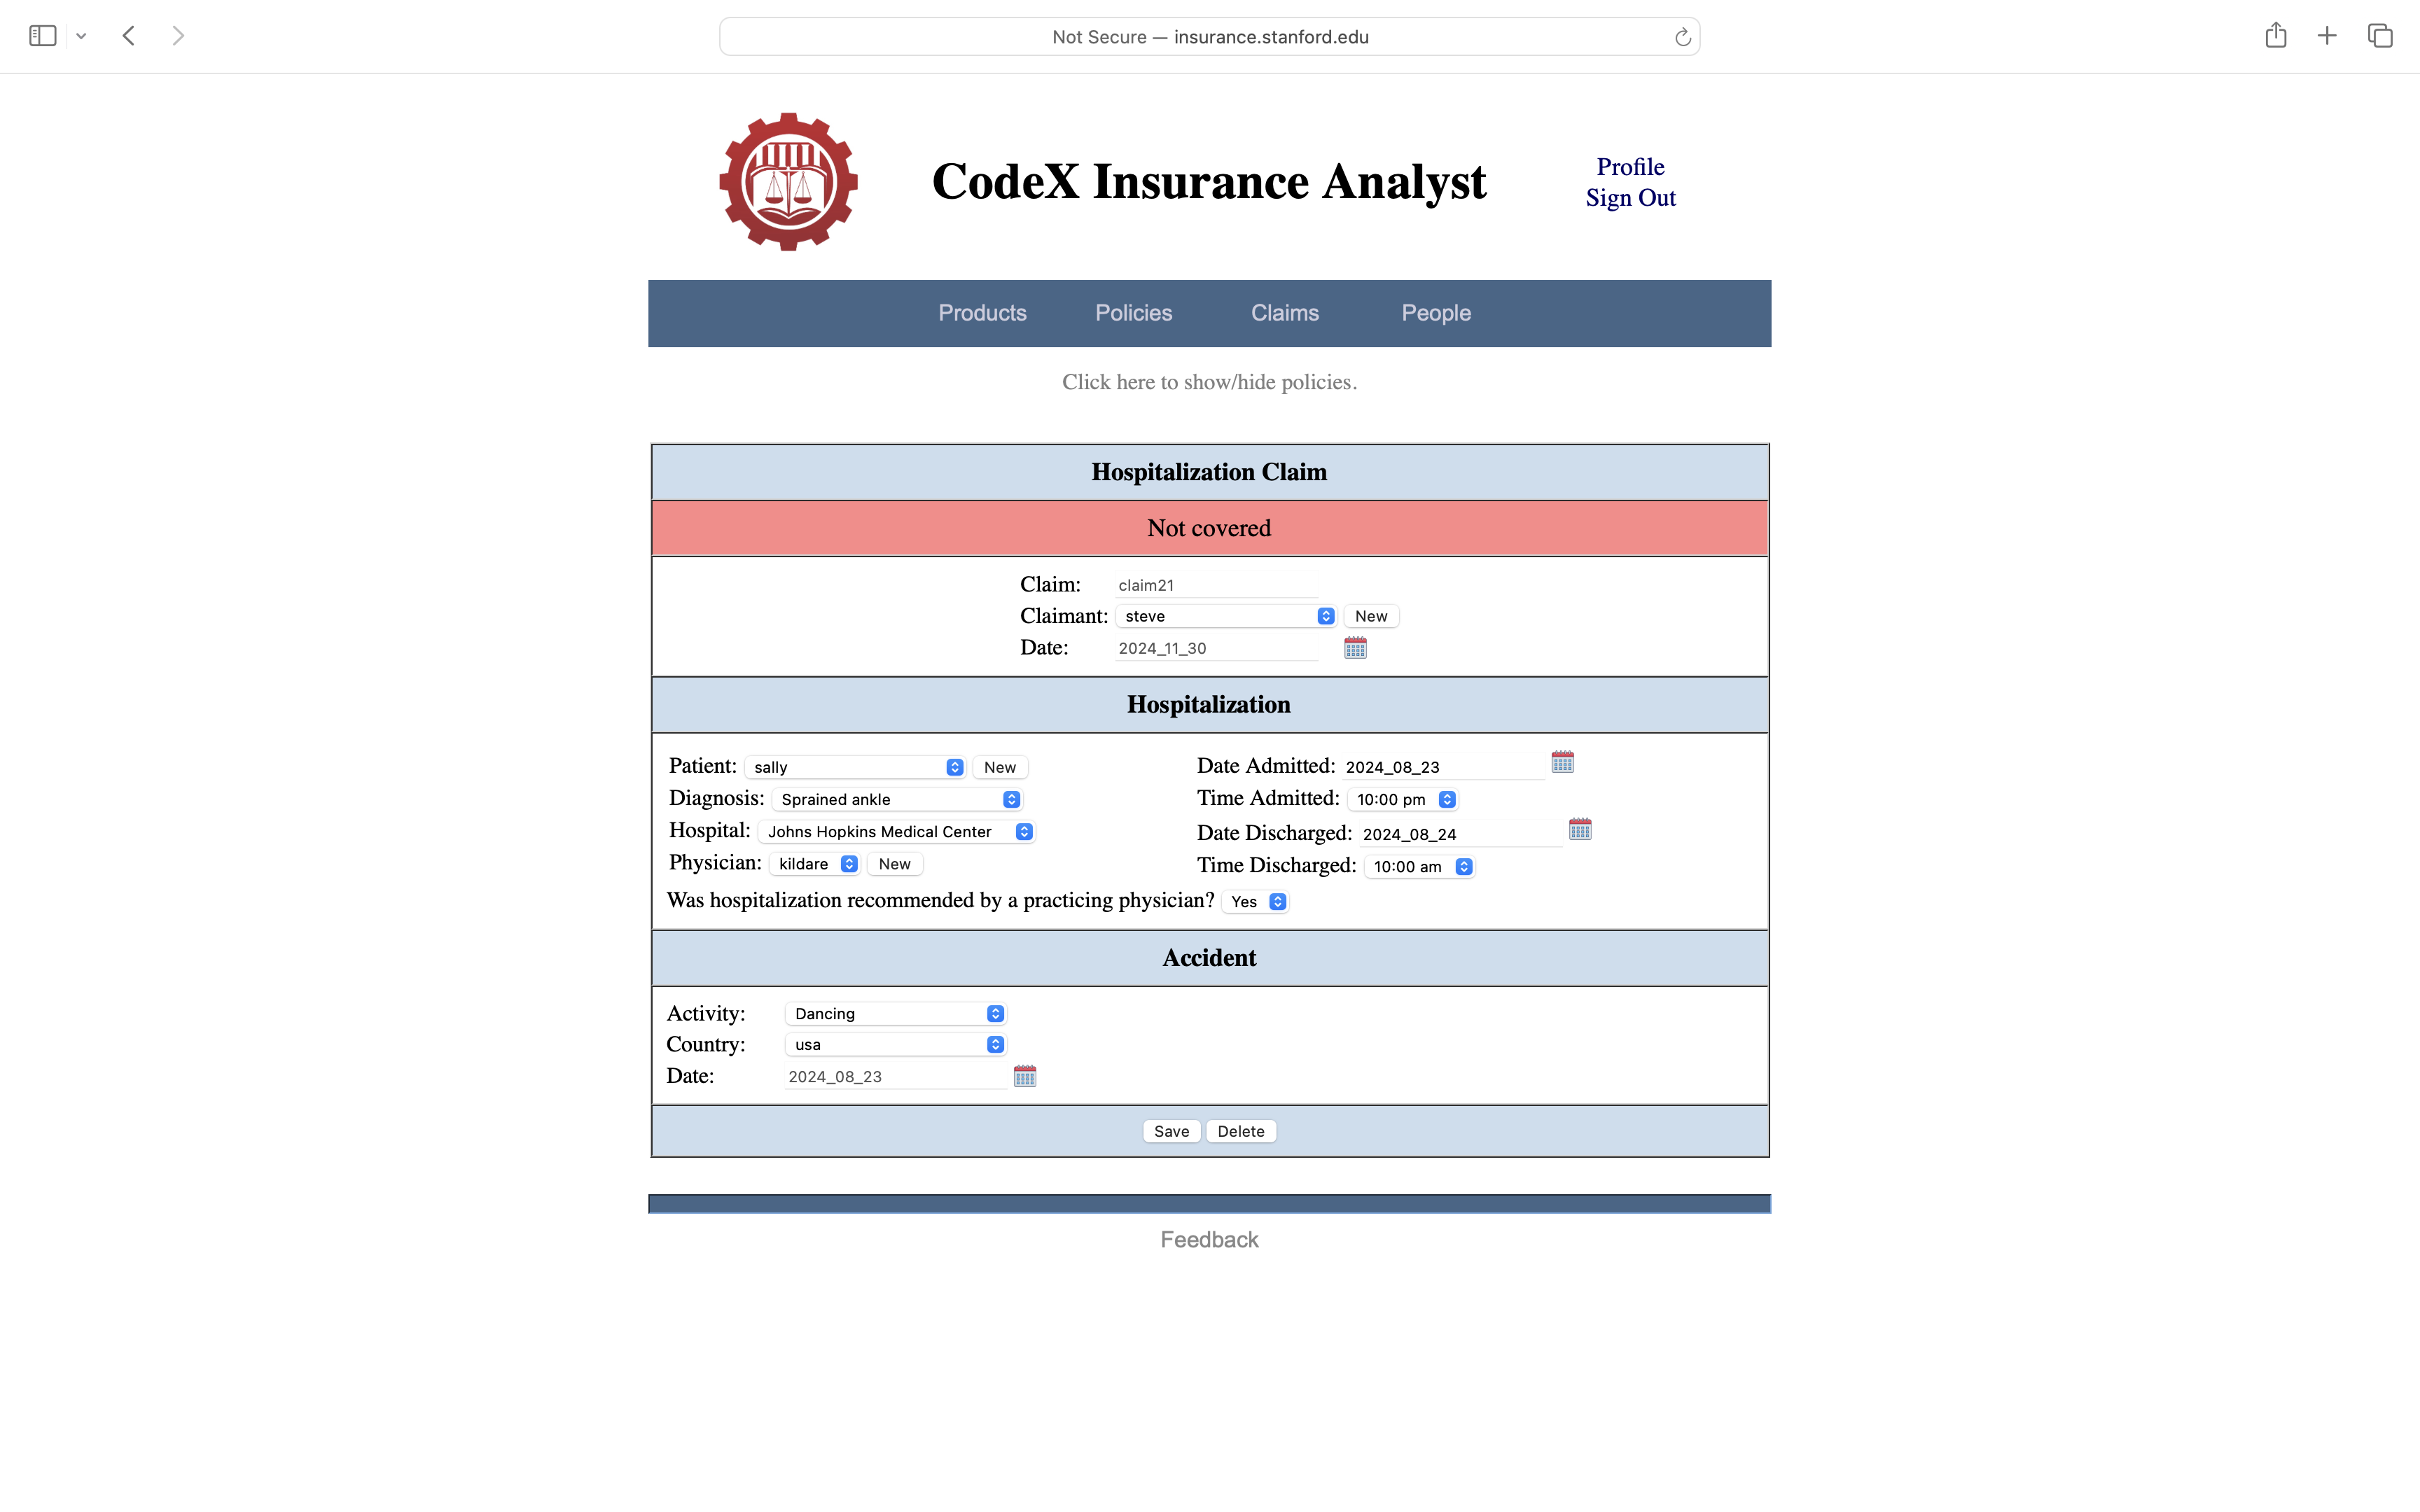
To see an example of CIA's claims analysis in action, let's click on Add Hospitalization Claim. This brings up a page that allows us to enter information about a real or hypothetical claim. In this Steve wants to see if his policy provides for hospital cash for his daughter's stay in the hospital for treatment of a sprained ankle she received while dancing.
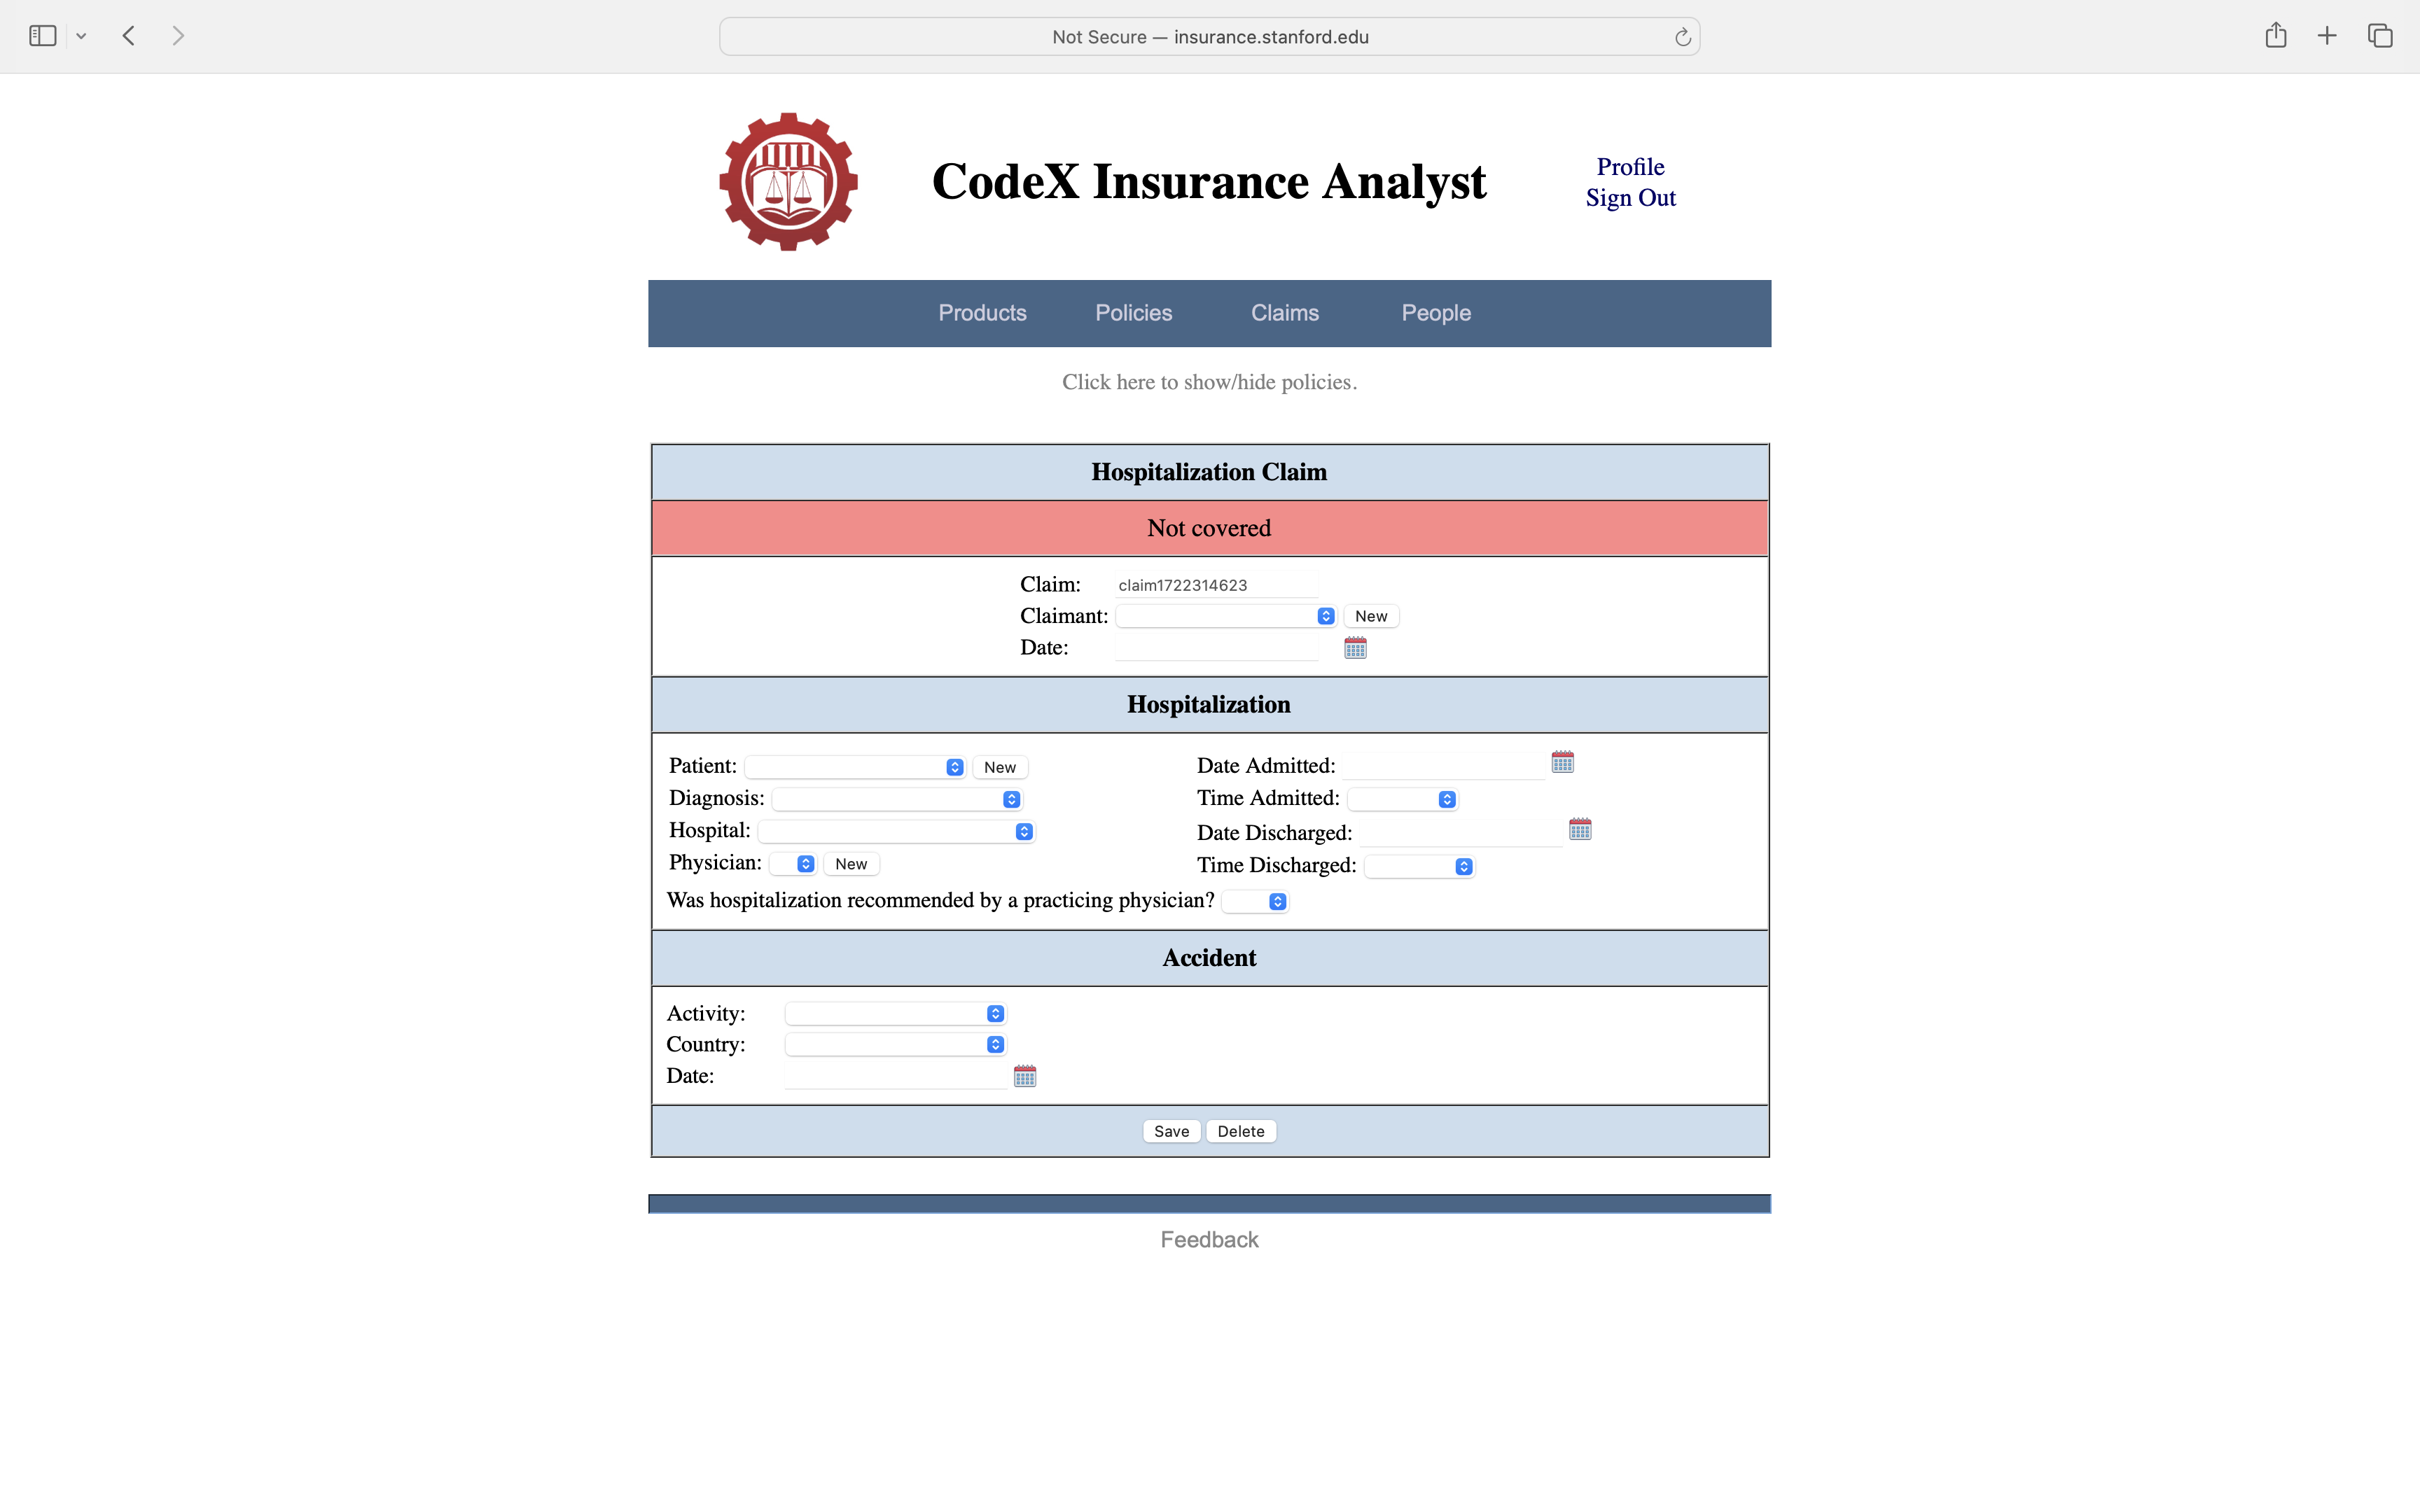
In this case, we see that none of the policy does not cover this claim. The reason is that Sally's stay in the hospital was less than 24 hours, and Steve's hospital cash policy applied only for hospital stays greater than 1 day long.
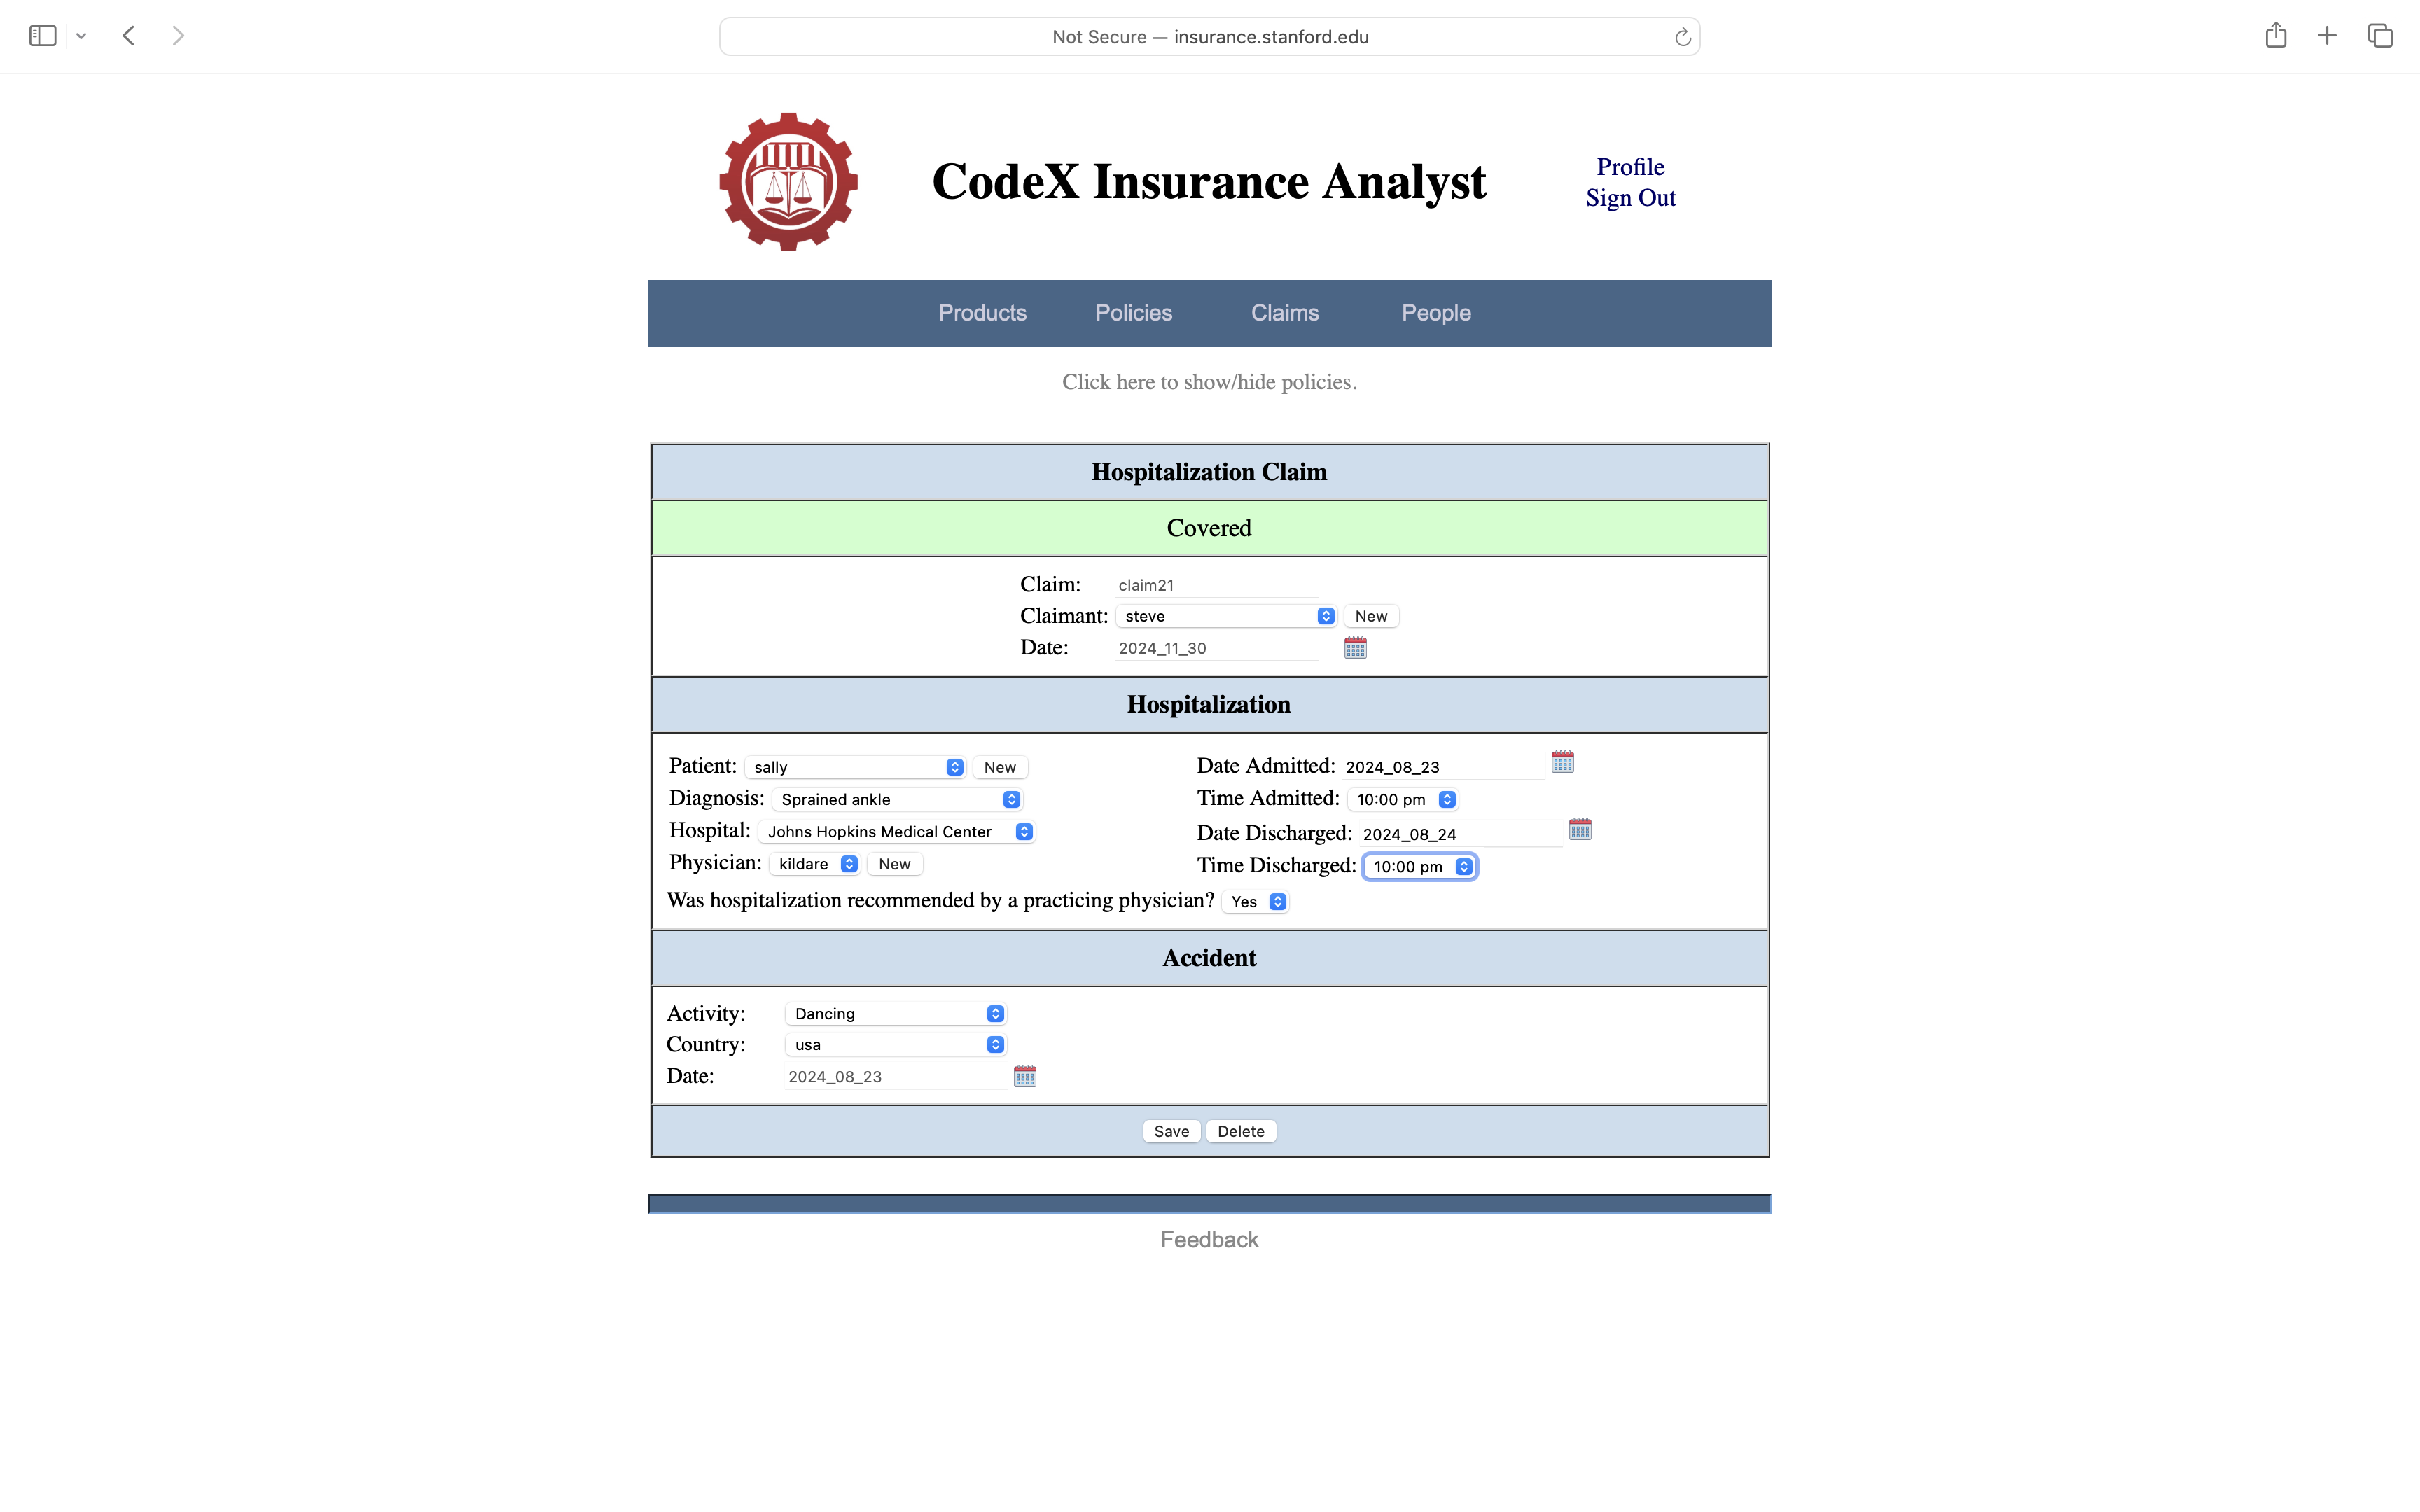
One of the features of CIA is instantaneous analysis. For example, if we change Sally's departure time from 10:00 am to 10:00 pm, making her stay there 24 hours, we see that the claim is covered.
On the other hand, if we change the cause of her sprained ankle from dancing to skydiving, we see that the claim is once again not covered, since skydiving is classified as a hazardous activity, and Steve's policy does not cover injuries due to hazardous activities.

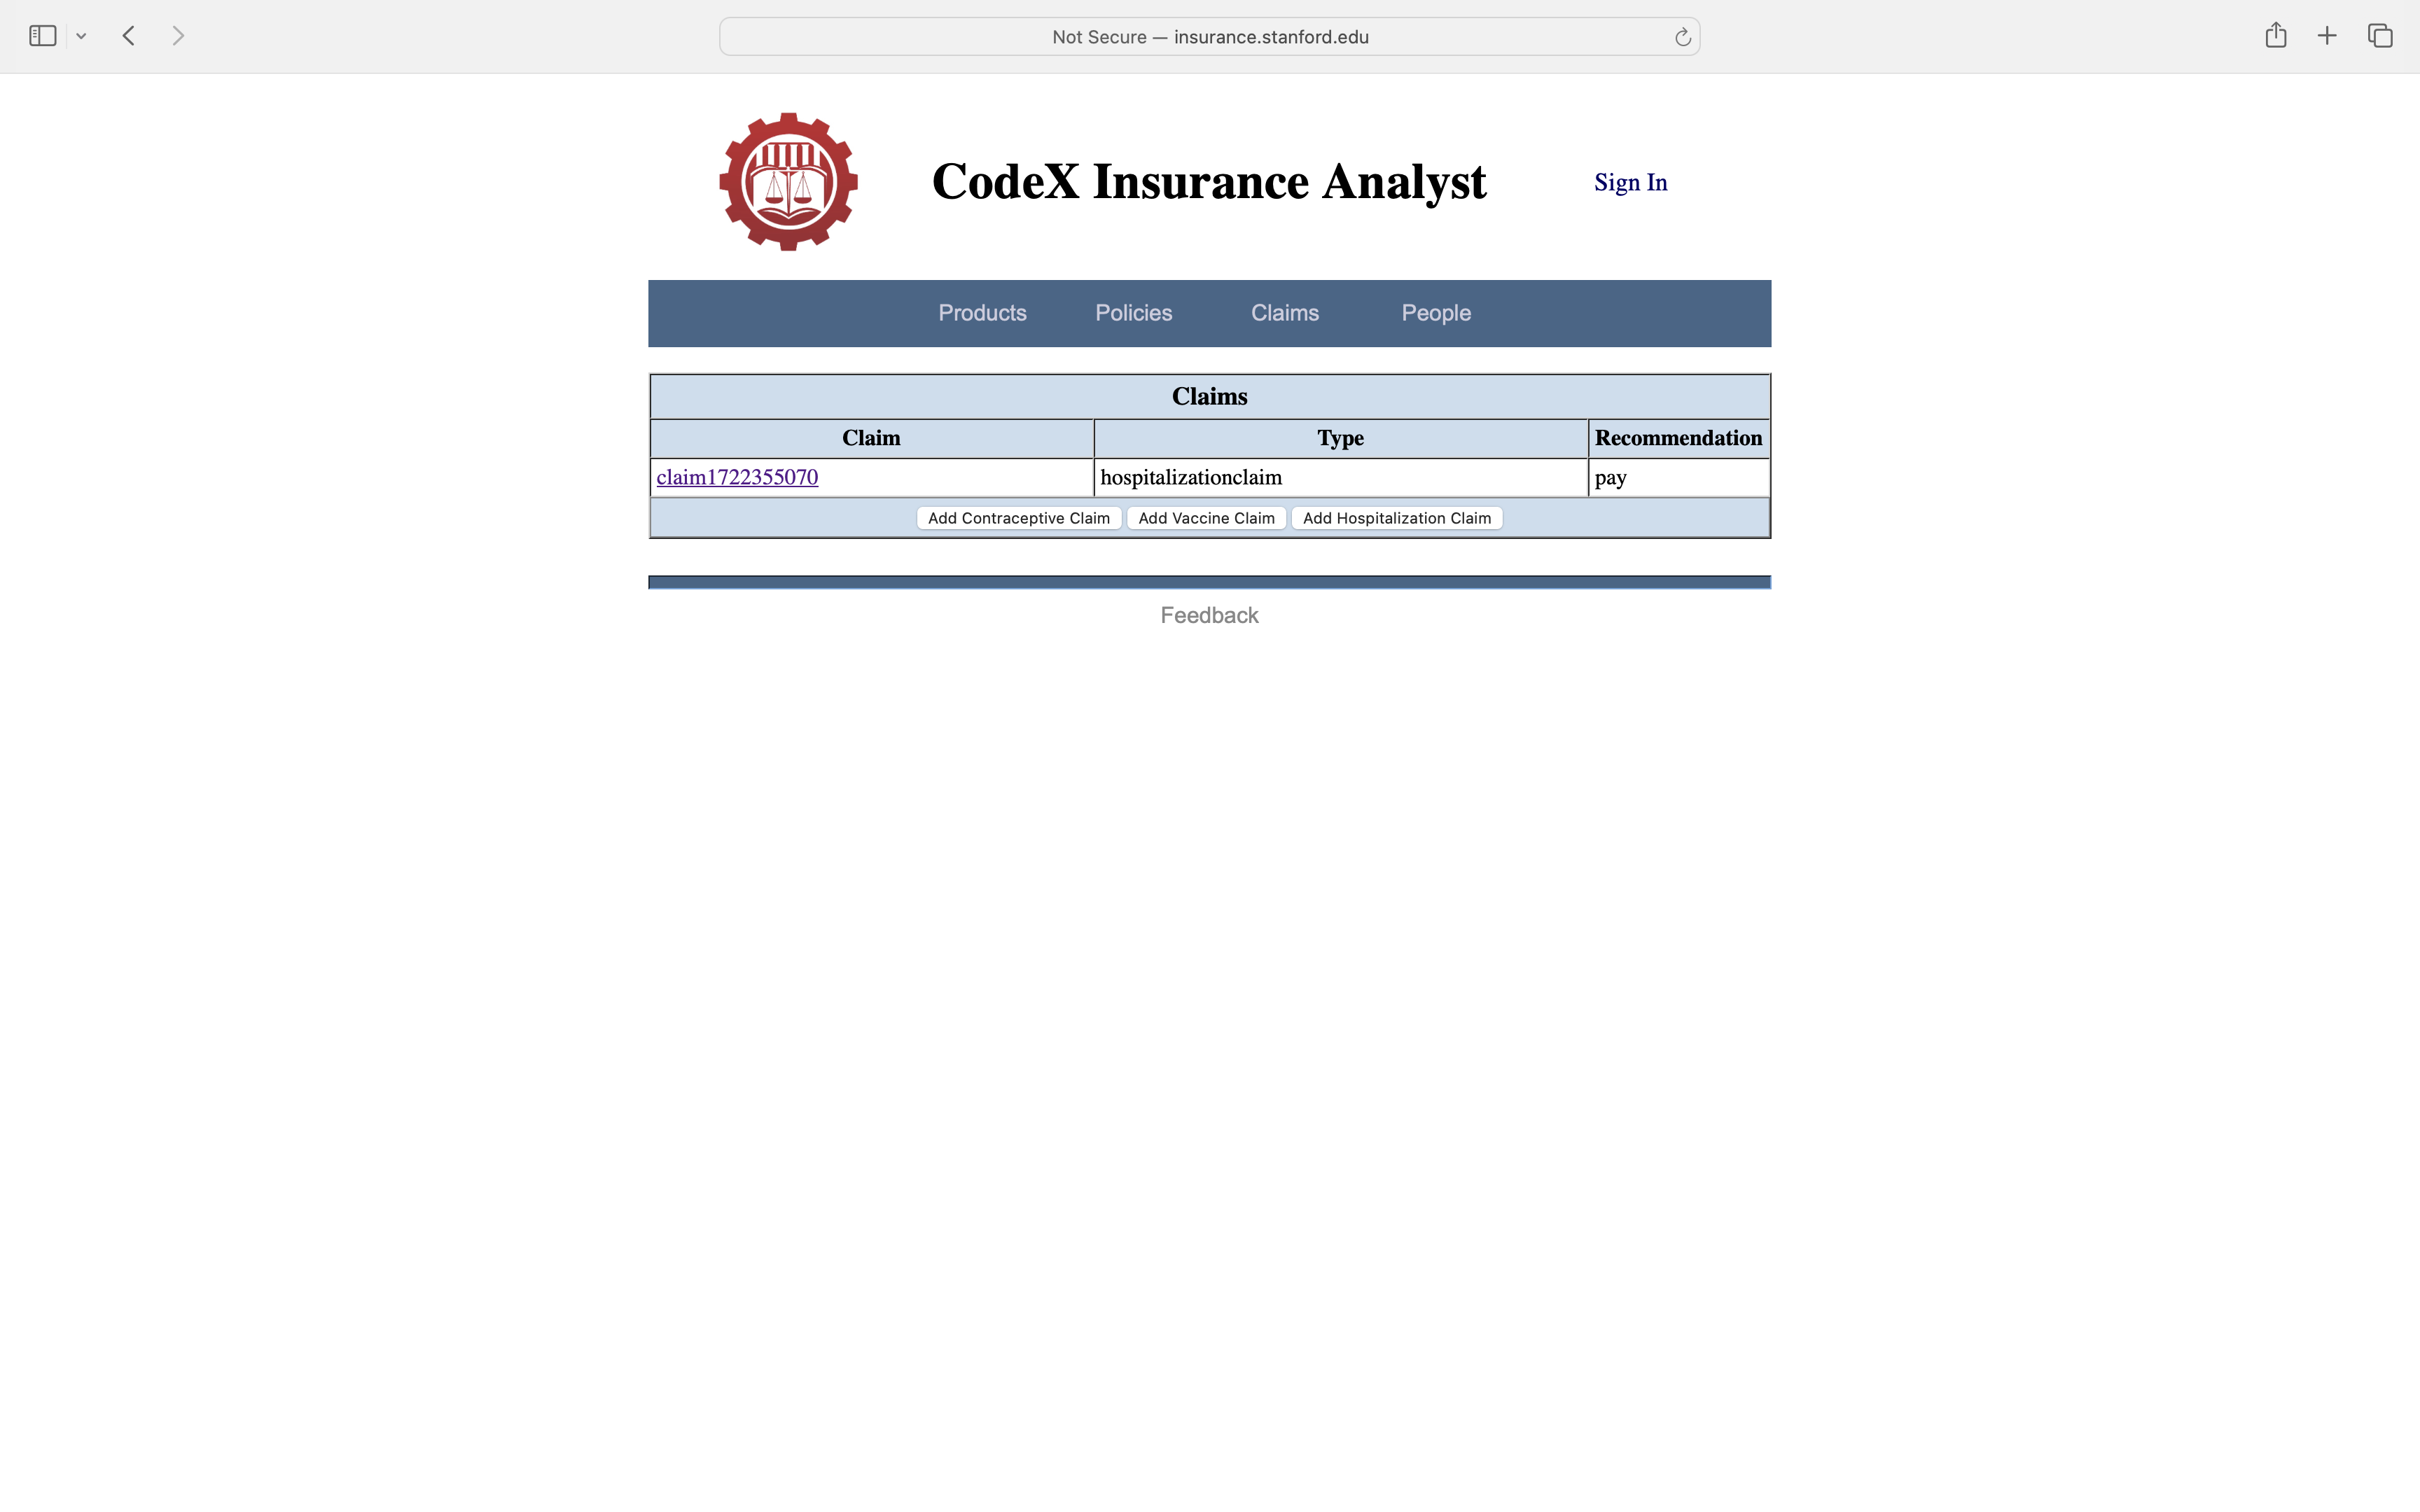
As with People and Policies, we can view our claims by going to the Claims page. In this case, we see that we now have one claim.
7. Conclusion
The primary value of CIA lies in its ability to manage information about our insurance policies and claims and its ability to determine whether our policies cover the real or hypothetical claims we have specified. Though not illustrated here, it also allows us to compare our policies to each other, providing an analysis of overlaps and gaps, thereby making it possible for us to configure insurance portfolios that provide desirable coverage with minimal redundancy. Details on how to use these advanced features are the subject of a forthcoming document.
|